Safety reliably produced.
© RLS Wacon analytics GmbH ∙ +49 (0)5121 28126 0 ∙
Subject to
change without notice
58
Maintenance and service
Replacing the peristaltic pump motor / agitator drive / actuator board (LED)
Required tools: Torx T10 screwdriver and a phase tester
Preparation:
•
Ensure a pressureless supply. (Close the hand valve)
•
Loosen the hose connection to the inlet and outlet on the LIMES
•
Switch on the unit briefly.
•
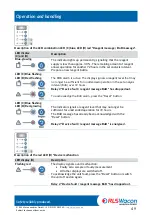
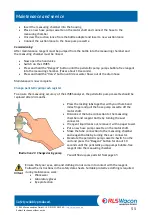
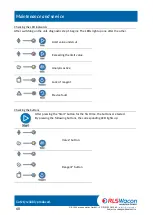
Press and hold the "Valve" button. By opening the solenoid valve, you relax the supply
line, and the measuring chamber empties.
•
Hold a small container under the inlet and outlet.
•
Switch the unit off again.
•
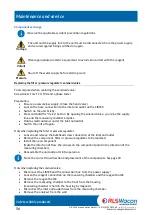
Disconnect the LIMES and the connection box from the power supply!
•
Loosen the reagent connection on the measuring chamber and the reagent bottle
•
Remove the reagent bottle
•
Remove the analyser from the wall
•
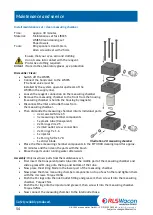
Remove the electronics cover on the back of the analyser
Only when replacing the peristaltic pump motor:
•
Disconnect the electrical connection on the main board
•
Pull the hose pump cassette off the motor shaft
•
Loosen the two screws on the front of the unit
•
Replace the peristaltic pump motor
•
Connect the new peristaltic pump motor according to the previous pinout on the main
board.
See page 22
•
Reassemble the unit and put it into operation.
Only when replacing the agitator drive or actuator board (LED)
•
Disconnect the electrical connection on the main board
•
Pull or lever out the component
•
Replace the component
(The cables from the body of the stirrer motor point in the direction of the housing).
•
Connect the component according to the previous assignment on the main board.
See
page 22
•
Reassemble the unit and put it into operation.
After replacing the components described above, reagent must be pumped from the
bottle into the measuring chamber and the measuring chamber must be rinsed.
•
Now open the hand valve
•
Switch on the LIMES
•
Press and hold the "Reagent" button until the peristaltic pump pumps bubble-free reagent
into the measuring chamber. (Takes about 10 seconds)
•
Press and hold the "Valve" button until clear water flows out of the drain hose
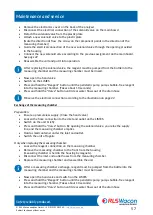
Observe the electrical connection according to the illustration on page 22
Содержание 32-074165
Страница 76: ......

