
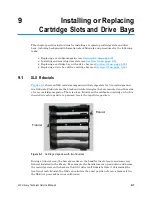


9
Installing or Replacing Cartridge Slots and Drive Bays
XLS Library Technical Service Manual
9-
129
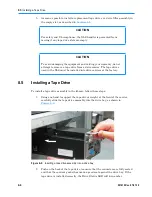
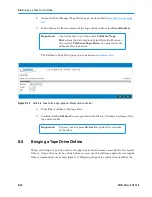
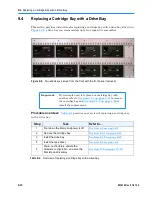
9.3.2
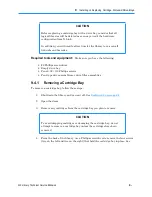
Removing Door Slots
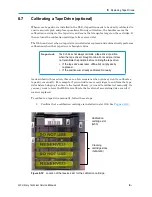
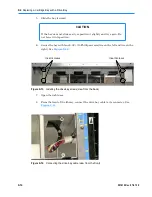
Important:
If you decide to remove door pack 110-tape kit, be sure
to remove all 22 cartridge magazines. Otherwise, the
library will not operate correctly.
Procedure overview:
Table 9-3
provides an overview of removing door slots.
Step
Task
Refer to...
1
Shut down the library and power it off
Section 6.2 on page 6-1
2
Remove the cartridge magazines
“Removing
the Cartridge
Magazines
”
on page 9-7
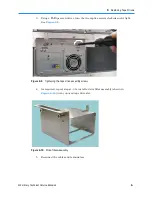
3
Remove the magazine faceplates
“R
emoving the Magazine
Faceplates
”
on page 9-8
4
Power on the library, update the
hardware configuration, and scan the
fiducials and inventory
Section 17.5 on page 17-12
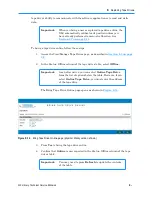
Table 9-3
Overview of removing door slots
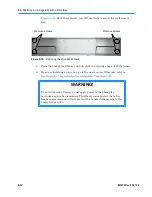
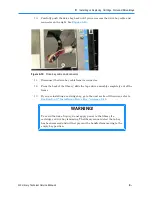
CAUTION
Before removing door slots, consider that all logical libraries will be
deleted as soon as you edit the hardware configuration from X-Link.
In addition, you will need to allow time for the library to re-scan all
fiducials and barcodes.
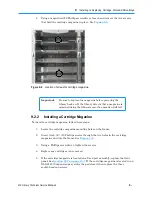
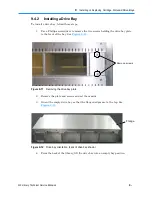
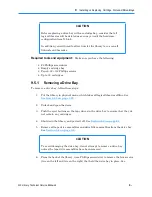
Required tools and equipment:
Make sure you have the following:
•
DOR barcode label bracket (see
Figure 9-8 on page 9-9
)
•
Two 6-32
×
3/8 Phillips screws
•
#2 Phillips screwdriver
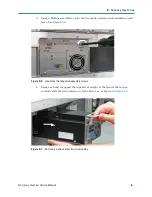
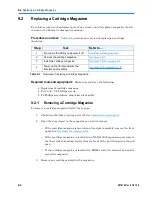
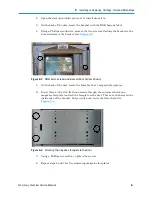
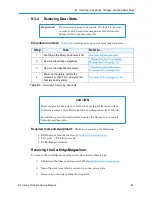
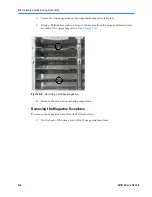
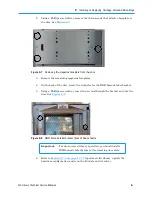
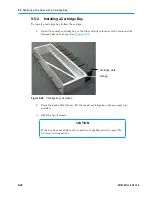
Removing the Cartridge Magazines
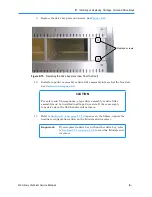
To remove the cartridge magazines on the door, follow these steps:
1. Shut down the library and power it off. See
Section 6.2 on page 6-1
.
2. Open the door from which you want to remove door slots.
3. Remove any cartridges from the door slots.
Содержание XLS Series
Страница 1: ...Technical Service Manual Document No 501610 Rev 07 01 19 XLS Series of Tape Libraries...
Страница 14: ...501610 Rev 07 01 19 Part I Before You Begin Notes...
Страница 58: ...3 7 Cabling for the Carousel Controller 3 12 501610 Rev 07 01 19 Notes...
Страница 70: ...4 5 Inspecting and Cleaning the Gripper and Barcode Reader 4 12 501610 Rev 07 01 19 Notes...
Страница 72: ...Part II Using X Link 501610 Rev 07 01 19 Notes...
Страница 96: ...Part III Replacing FRUs 501610 Rev 07 01 19 Notes...
Страница 136: ...8 8 Bringing a Tape Drive Online 8 14 501610 Rev 07 01 19 Notes...
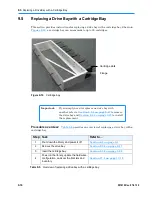
Страница 158: ...9 5 Replacing a Drive Bay with a Cartridge Bay 9 22 501610 Rev 07 01 19 Notes...
Страница 172: ...10 3 Replacing a Side Panel 10 14 501610 Rev 07 01 19 Notes...
Страница 186: ...11 3 Upgrading a Fixed Port Assembly to an I O Port 11 14 501610 Rev 07 01 19 Notes...
Страница 226: ...12 6 Replacing the Y Motor Assembly 12 40 501610 Rev 07 01 19 Notes...
Страница 324: ...Part IV Reference 501610 Rev 07 01 19 Notes...
Страница 352: ...B 2 Packing the XLS B 14 501610 Rev 07 01 19 Notes...
Страница 354: ...C 2 501610 Rev 07 01 19 Notes...
Страница 360: ...Glossary GL 6 501610 Rev 07 01 19 Notes...
Страница 366: ...Index IN 6 501610 Rev 07 01 19 Notes...


