Direction for use
GB 30
VR120
3.
Lining
up
recordings
(assemble
cut)
When
you
add
a
further
recording
to
a
cassette,
which
already
has
a
recording
on
it,
a
short
blank
(flicker)
can
appear
between
the
old
and
the
new
recording
or
the
picture
itself
can
flic
ker.
To
help
reduce
these
from
occurring,
proceed
as
follows:
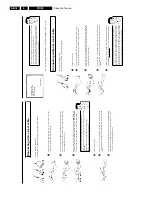
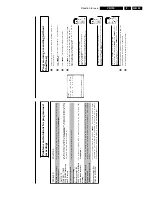
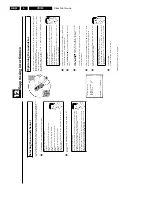
1
Find
the
tape
position
of
the
old
recording
where
you
want
to
insert
the
new
recording.
2
Look
at
the
last
minute
of
the
old
recording
(playback).
3
Press
STOP
h
on
the
remote
control
at
the
tape
position
where
the
new
recording
is
to
go.
9
'
will
appear
on
the
display.
4
Now
start
recording
as
usual
by
pressing
RECORD/OTR
n
on
the
remote
control.
5
Stop
recording
with
STOP
h
.
Selecting
the
recording
speed
(SP
or
LP)
You
can
reduce
the
recording
speed
by
half.
This
makes
it
possible
to
record,
for
exam
ple,
eight-hours
instead
of
four-hours
on
an
'E240'
(four-hour)
cassette.
For
playback,
the
correct
recording
speed
will
automatically
be
selected.
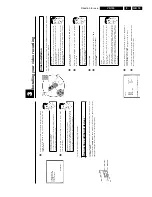
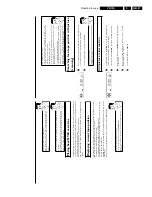
1
Switch
on
the
TV
set.
If
required,
select
the
programme
number
for
the
video
recorder.
2
Press
MENU
on
the
remote
control.
The
main
menu
will
appear.
3
Select
line
'
RECORD
SPEED
'
using
P
r=
or
;q
P
and
confirm
with
OK
.
4
Select
the
required
recording
speed
with
Q
or
P
.
'
SP
'/'
LP
'
AUTO
'
'
SP
'
:
S
tandard
P
lay
(normal
recording
speed)
offers
the
usual
first-class
picture
quality.
'
LP
'
:
L
ong
P
lay
(half
recording
speed,
double
recording
time).
8
hours
can
be
recorded
on
a
4
hour
cassette
(E240)
with
a
somewhat
reduced
picture
quality.
'
AUTO
'
:
AUTO
matic
Long
Play.
If
there
is
not
enough
space
on
the
tape
to
record
a
programmed
recording
in
standard
speed,
the
recording
will
automatically
be
made
in
'
LP
'
(Longplay).
Otherwise,
the
recording
speed
will
be
'
SP
'
(Standardplay).
4
Stop
recording
with
STOP
h
.
Recording
with
automatic
switch/off
(OTR
One/Touch/Recording)
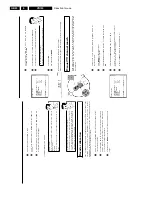
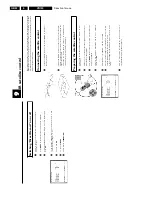
1
Insert
a
cassette.
Using
'Tape
List'
To
save
a
recording
in
the
'Tape
List'
or
to
use
a
'Tape
List'
cassette,
enter
the
cassette
number
using
the
number
buttons
0-9
on
the
remote
control.
The
cassette
is
being
checked.
You
can
find
more
information
on
the
'Tape
List'
in
the
chapter
'Tape
List'.
2
Use
;q
P
or
P
r=
to
select
the
programme
number
you
want
to
record.
3
Press
RECORD/OTR
n
on
the
remote
control.
4
Each
time
you
press
RECORD/OTR
n
you
will
add
30
minutes
to
the
recording
time.
How
can
I
clear
the
recording
time
just
setted?
To
delete
an
entry,
press
CLEAR
(CL)
while
the
display
shows
the
recording
time.
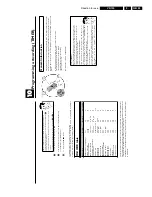
Preventing
accidental
erasing
of
cassettes
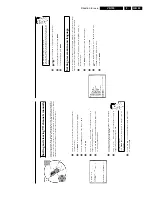
All
cassettes
(except
for
rental
and
store
cassettes)
have
a
security
tab
on
the
back
of
the
cassette
(see
arrow).
To
prevent
recording
over
important
recordings
(erasing),
you
can
remove
this
security
tab
or
slide
it
to
the
left.
If
you
later
decide
to
record
on
a
protected
cassette,
simply
cover
the
hole
with
adhesive
tape
or
slide
the
tab
to
the
right.
Содержание VR570
Страница 12: ...Direction for use GB 12 VR120 3 3 Direction for use RT111 RT116 RT112 RT114 RT123 RT121 RT128 ...
Страница 15: ...Direction for use GB 15 VR120 3 SAT VR870L VR870CC VR720 Set width 435 mm ...
Страница 56: ...Service modes Repair tips GB 56 VR120 5 Engineer s remarks ...
Страница 60: ...60 VR120 6 Block diagrams Waveforms 6 4 Supply voltages and Bus diagram 1941 SAT MOUSE o M63100BFP ...
Страница 79: ...Circuit diagrams and PWB layouts Wiring diagram 79 VR120 7 7 16 Wiring Diagram Motherboard ...
Страница 80: ...80 VR120 7 Circuit diagrams and PWB layouts Wiring diagram 7 17 Mother board solder side 7172 CLOCK ADJUST ...
Страница 81: ...Circuit diagrams and PWB layouts Wiring diagram 81 VR120 7 Engineer s remarks ...
Страница 82: ...82 VR120 7 Circuit diagrams and PWB layouts Wiring diagram Engineer s remarks ...
Страница 83: ...Circuit diagrams and PWB layouts Wiring diagram 83 VR120 7 7 18 Mother board component side ...
Страница 119: ...Tape deck GB 119 VR120 10 ...
Страница 123: ...Tape deck GB 123 VR120 10 Engineer s remarks ...


