Direction for use
GB 27
VR120
3.
a
The
counter
does
not
move
b
This
occurs
when
there
are
no
recordings
on
a
portion
of
a
tape.
Therefore,
the
video
recorder
cannot
receive
any
information
from
the
tape.
This
is
not
a
fault
in
your
machine.
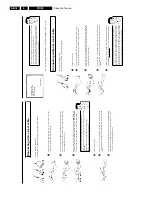
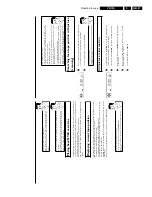
a
The
display/the
screen
shows
'
-0:01:20
'
b
If
you
rewind
a
cassette
from
the
tape
position
'
0:00:00
',
the
counter
will
show
for
instance,
'
-0:01:20
'
(the
cassette
will
be
rewound
to
1
minute
and
20
seconds
before
'
0:00:00
').
a
'/://'
is
displayed
in
the
'
REMAIN
'
counter
b
This
counter
will
automatically
recognise
the
length
of
the
tape.
In
addition,
when
you
put
in
a
cassette
the
video
recorder
must
first
calculate
the
time
played.
Therefore,
'-:--'
appears
first
and
only
after
the
tape
has
been
running
for
a
few
seconds
will
the
correct
playing
time
be
shown.
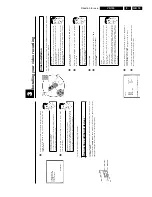
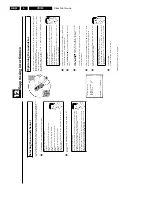
Searching
for
a
tape
position
with
picture
(scanning)
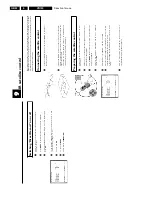
0:30:
21
1
While
a
cassette
is
playing,
press
H
(reverse)
or
I
(forward)
one
or
more
times.
This
will,
for
example,
appear
in
the
display:
2
To
stop
at
a
certain
place
on
the
tape,
press
PLAY
G
.
Decreased
picture
quality
Scanning
interferes
with
the
picture
quality.
The
sound
is
switched
off.
This
is
not
a
fault
in
your
machine.
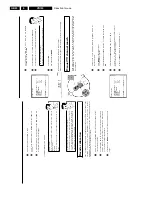
Still
picture
/
slow
motion
0:00:
02
1
During
playback,
press
STILL
R
to
stop
the
tape
and
display
a
still
picture.
This
will,
for
example,
appear
in
the
display:
2
Each
time
you
press
STILL
R
,
the
picture
will
advance
one
frame.
3
When
you
hold
down
the
STILL
R
button,
the
tape
will
be
played
in
slow
motion.
4
When
you
press
I
several
times,
you
have
a
choice
of
several
playback
speeds
for
slow
motion.
5
To
continue
playback,
press
PLAY
G
.
Automatic
switch/off
of
special
functions
Many
functions
(e.g.
pause,
still
picture,
search)
switch
themselves
off
automatically
after
a
short
time
in
order
to
protect
the
cassette
and
to
save
energy.
Do
I
need
to
change
the
playback
speed
when
playing
back
LP
recordings?
For
playback,
the
correct
recording
speed
'SP'
will
automatically
be
selected.
For
more
information,
please
read
the
section
'Selecting
the
recording
speed
(SP/LP)'
in
the
chapter
'Manual
recording'.
Playing
back
NTSC
cassettes
Cassettes
that
have
been
recorded
in
the
NTSC
standard
(for
example,
American
cassettes)
can
be
played
back
using
this
video
recorder.
However,
this
only
works
on
PAL-television
sets
which
are
suitable
for
a
picture
frequency
of
60Hz.
When
you
play
an
NTSC
cassette
'
60HZ
'
will
appear
on
the
display.
Some
special
features
(for
example,
still
picture)
are
not
possible
while
you
are
playing
an
NTSC
cassette.
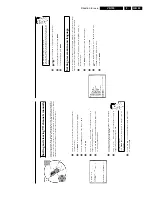
Displaying
current
tape
position
The
display
shows
the
tape
position
in
hours,
minutes
and
seconds.
In
addition,
by
pressing
OK
you
can
show
the
present
tape
position
on
the
TV
screen.
The
following
information
is
displayed
on
the
screen:
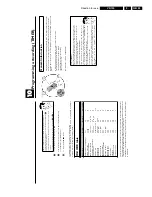
e.g.:
0:02:45
Shows
the
tape
position
in
hours,
minutes
and
seconds.
Moving/blinking
arrow:
This
indicates
the
current
tape
position.
The
arrow
moves
in
a
line
from
left
(tape
start)
to
right
(tape
end).
'
REMAIN
0:06
':
will
show
the
actual
amount
of
playing/recording
time
left
on
the
tape
in
hours
and
minutes.
When
you
play
an
NTSC
cassette,
the
video
recorder
will
not
show
'
REMAIN
0:06
'.
How
can
I
set
the
counter
to
'
0:00:00
'?
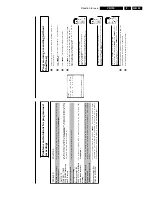
You
can
set
the
counter
to
'
0:00:00
'
using
CLEAR
(CL)
.
When
you
put
a
cassette
in
the
machine,
the
counter
will
automatically
reset
to
0:00:00
'.
Содержание VR570
Страница 12: ...Direction for use GB 12 VR120 3 3 Direction for use RT111 RT116 RT112 RT114 RT123 RT121 RT128 ...
Страница 15: ...Direction for use GB 15 VR120 3 SAT VR870L VR870CC VR720 Set width 435 mm ...
Страница 56: ...Service modes Repair tips GB 56 VR120 5 Engineer s remarks ...
Страница 60: ...60 VR120 6 Block diagrams Waveforms 6 4 Supply voltages and Bus diagram 1941 SAT MOUSE o M63100BFP ...
Страница 79: ...Circuit diagrams and PWB layouts Wiring diagram 79 VR120 7 7 16 Wiring Diagram Motherboard ...
Страница 80: ...80 VR120 7 Circuit diagrams and PWB layouts Wiring diagram 7 17 Mother board solder side 7172 CLOCK ADJUST ...
Страница 81: ...Circuit diagrams and PWB layouts Wiring diagram 81 VR120 7 Engineer s remarks ...
Страница 82: ...82 VR120 7 Circuit diagrams and PWB layouts Wiring diagram Engineer s remarks ...
Страница 83: ...Circuit diagrams and PWB layouts Wiring diagram 83 VR120 7 7 18 Mother board component side ...
Страница 119: ...Tape deck GB 119 VR120 10 ...
Страница 123: ...Tape deck GB 123 VR120 10 Engineer s remarks ...


