170
LD Cart Transporter User's Manual
14766-000 Rev H
10.9 Replacing Non-Periodic Parts
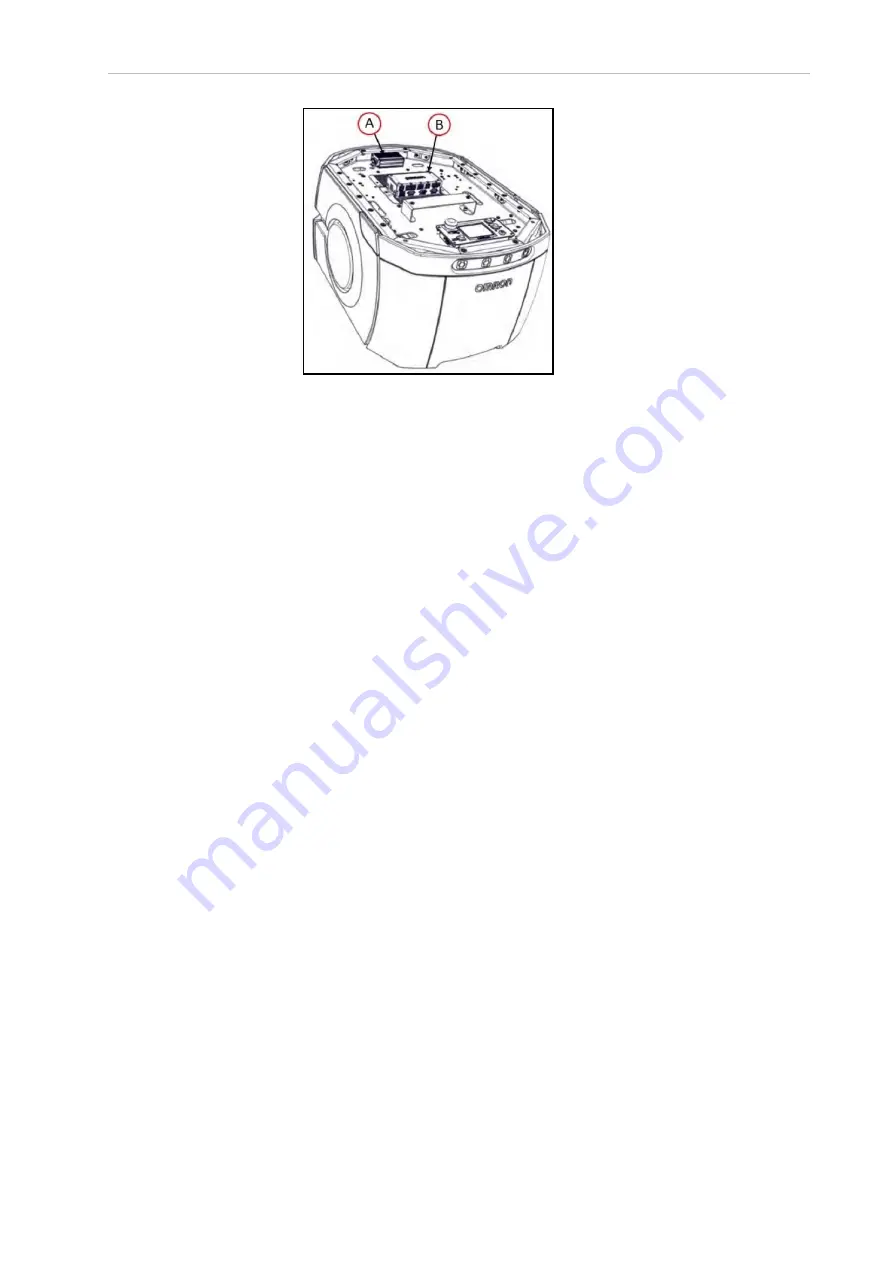
Figure 10-15. (A) Sonar Controller, (B) Core
1. Move the payload structure out of the way, so you have access to the payload bay.
2. Locate the sonar controller.
The controller is at the front of the payload bay, screwed into the payload bay deck with
two screws, and is plugged into the Sonar 1 connector on the core. This connector is not
accessible from the payload bay, but does not need to be unplugged for this procedure.
3. Unscrew the controller from the payload bay deck by removing two screws.
Retain the screws for mounting the replacement controller.
4. Unplug the larger cable from the sonar controller.
Be careful not to let the cable end slip into the chassis.
5. Unplug the four sonar unit cables from the controller.
These are the smaller cables that go to the individual sonar units. Make sure these are
labeled and tied up, so they can't slip into the chassis.
6. Connect the four sonar unit cables to the new controller.
Ensure that the cable labels match the controller labels.
7. Plug the larger cable into the new controller.
8. Screw the new controller to the payload bay deck, using the two screws removed from
the old controller.
9. Reinstall the payload structure.
10. Dispose of the old controller according to local and national regulations concerning elec-
tronic components.


