PART 2: CX-Server PLC Tools
CHAPTER 3 – IO Table Component
OMRON
CX-Server PLC Tools_Page 24
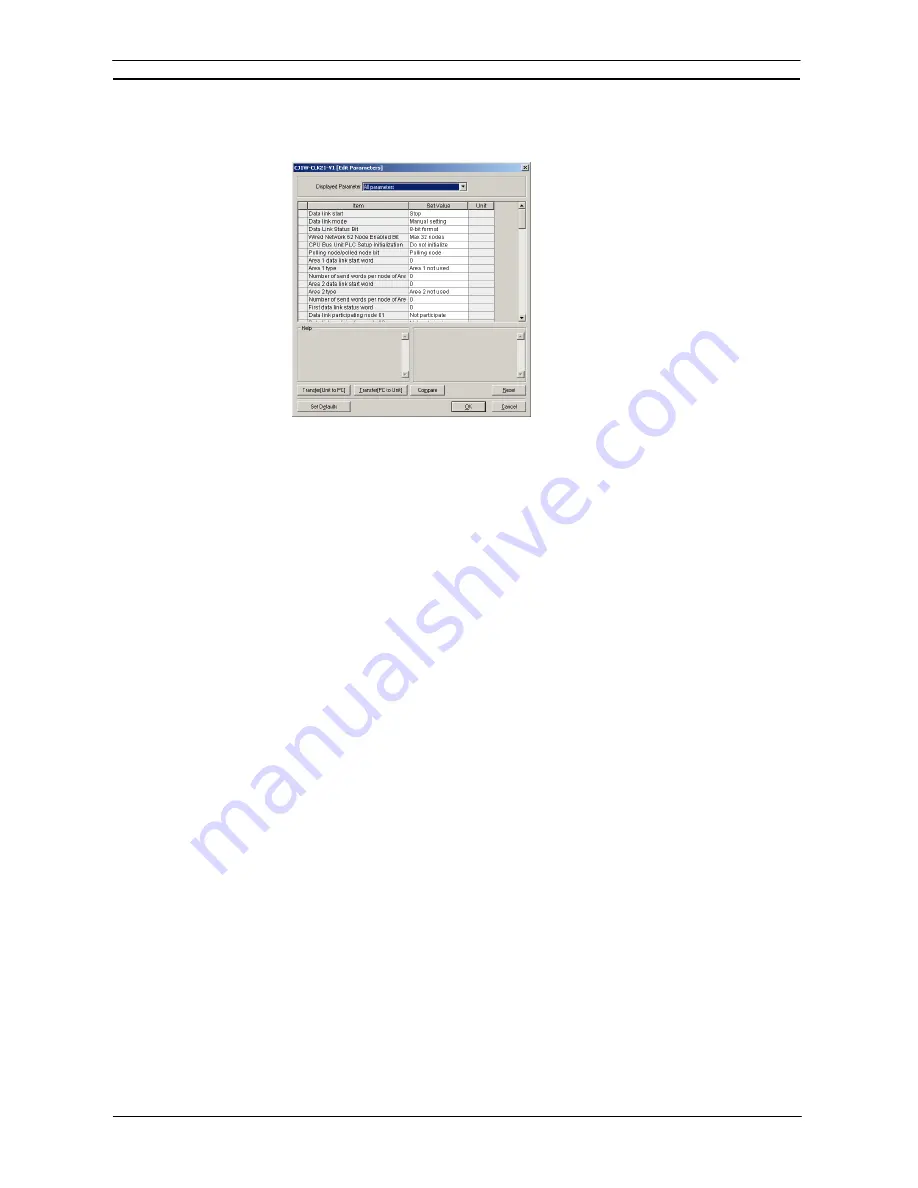
In this case, a Controller Link Unit’s Edit Parameters Dialog Box has been displayed to edit
the Unit’s CPU Bus Unit Allocation DM Settings.
6. Edit the parameters and, if necessary, click the Compare Button. If the Compare Button is
clicked while the PLC is online, the software immediately checks whether the I/O table
settings match the Unit settings (such as the allocated DM area and CIO area) actually in
the PLC’s CPU Unit.
If the contents do not match, the settings read from the actual Unit will be displayed in
orange.
7. When you want to download the parameters set for each Unit to the PLC’s CPU Unit, click
the Download to Unit Button.
8. Click the Reset Button to enable the parameter settings that have been transferred.
Note 1:
When Special I/O Unit or CPU Bus Unit settings are edited in the I/O Table Window,
the parameters allocated in the DM Area or CPU Bus Unit Setup Area for the Unit are
only transferred to the actual PLC when the
Transfer PC to Unit
Button is clicked in
the Edit Parameters Dialog Box. They are not automatically enabled, i.e., the new
parameter settings will not be used. Click the Reset Button to enable the parameter
settings that have been transferred. When the Reset Button is clicked, however,
unexpected operation may result. Always confirm system safety before clicking the
Reset Button.
Note 2:
When the CX-Programmer creates the Special I/O Unit or CPU Bus Unit settings in the
I/O Table Window, it automatically uses the latest version of the CPS file that is
available in the computer.
•
If the actual Unit’s version number is older than the latest CPS file in the computer,
a warning will be displayed when the settings are downloaded to the Unit. A Dialog
Box will ask whether to change the computer’s settings.
In general, click the Yes Button to change the computer’s settings. When the Yes
Button is clicked, the Unit version in the computer’s Unit settings will be changed
to the actual Unit’s version number. (If the No Button is clicked, the version
number in the computer will be newer than the actual Unit’s version number, and
the newer version number will be displayed.)
•
Similarly, if the actual Unit’s version number is newer than the latest CPS file in
the computer when the Unit’s settings are transferred from the PLC to the computer,
the computer’s earlier Unit version number will be displayed. In this case, install
the Unit’s correct (newer) CPS file in the computer. For details, refer to
Installing a
CPS File
below.
If the newer CPS File is not installed, the newer version’s Unit settings cannot be
set and only the older Unit settings (in the older CPS file) can be set.
Содержание CX-Programmer 9
Страница 1: ...Cat No W446 E1 10 CX Programmer Ver 9 SYSMAC WS02 CXPC_ V9 OPERATION MANUAL...
Страница 2: ......
Страница 3: ...SYSMAC WS02 CXPC V9 CX Programmer Ver 9 Operation Manual Revised December 2009...
Страница 4: ......
Страница 6: ......
Страница 19: ...CX Programmer_Page xvi Unit Versions and Lot Numbers...
Страница 30: ......
Страница 31: ...PART 1 CX Programmer...
Страница 32: ......
Страница 100: ......
Страница 120: ......
Страница 198: ...PART 1 CX Programmer CHAPTER 4 Reference OMRON CX Programmer _Page 118...
Страница 224: ...PART 1 CX Programmer Keyboard Shortcuts CX Programmer OMRON CX Programmer _Page 144...
Страница 240: ......
Страница 241: ...PART 2 CX Server PLC Tools...
Страница 242: ......
Страница 250: ......
Страница 256: ......
Страница 268: ...PART 2 CX Server PLC Tools CHAPTER 2 PLC Memory Component OMRON CX Server PLC Tools_Page 18...
Страница 286: ......
Страница 338: ......
Страница 382: ......
Страница 414: ......
Страница 430: ......
Страница 436: ......
Страница 437: ...PART 3 CX Server Runtime...
Страница 438: ......
Страница 482: ......
Страница 488: ......
Страница 504: ......
Страница 530: ......
Страница 540: ......
Страница 541: ......
Страница 542: ......


