- 65 -
3. Basic Operations
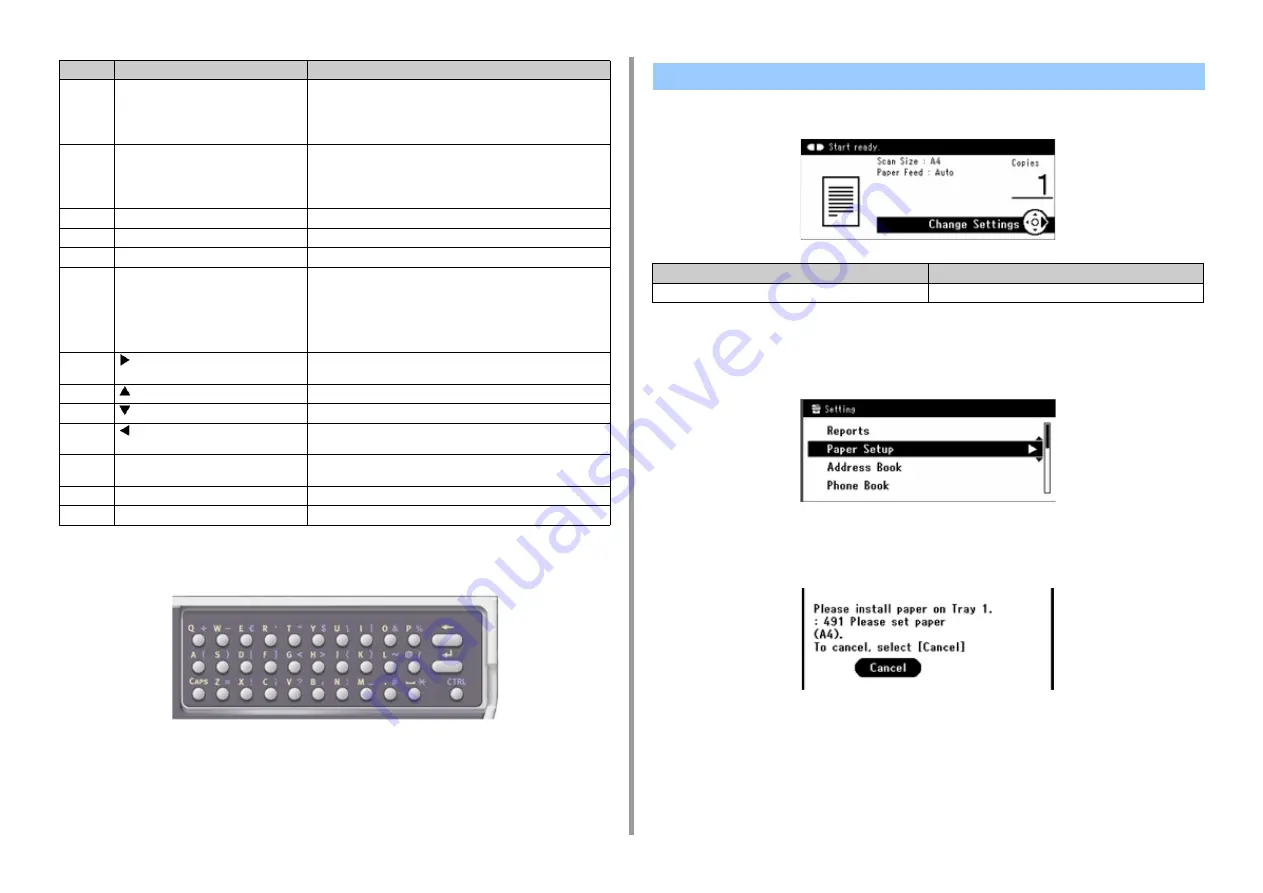
To access the keyboard, open the one-touch-button panel. Use to enter alphabetic
characters.
When this machine turns on, the home screen is displayed on the operator panel.
• Setting Screen
The screen below is used as an example.
• When an error occurs
If an error occurs in the machine, the screen below appears.
10
One-touch key
Calls e-mail addresses or fax numbers that are frequently used
for the copy, fax, or other functions. You must register e-mail
addresses and fax numbers in advance. You can register two
items in each of eight buttons, a total of 16 items.
11
POWER SAVE
Enters or exits the power saving mode.
In Power Save mode, lights up in green; In Sleep mode, flashes
in green (every 3 seconds); In Deep Sleep mode, flashes in
green (every 6 seconds).
12
STOP
Cancels copying, fax transmissions, or other jobs.
13
START COLOR
Starts scanning in color.
14
START MONO
Starts scanning in black & white.
15
CLEAR
Executes the following actions according to the entered items
when pressed or held:
• Minimizes a setting value.
• Enters zero as a setting value.
• Clears what is entered.
• Cancels a selected item.
16
(Scroll right)
• Proceeds to the next screen.
• Moves the cursor right during item selection or character entry.
17
(Scroll up)
Moves the cursor up during item selection or character entry.
18
(Scroll down)
Moves the cursor down during item selection or character entry.
19
(Scroll left)
• Returns to the previous screen.
• Moves the cursor left during item selection or character entry.
20
OK
• Confirms the highlighted item.
• Select a check item.
21
BACK
Returns to the previous screen.
22
DATA IN MEMORY indicator
Lights up when data remains in memory.
No.
Name
Function
Name and Functions on the Operator Panel
No.
Description
1
Displays the status of the machine.
Содержание MC563
Страница 1: ...MC563 ES5463 MFP User s Manual ...
Страница 16: ... 16 2 Setting Up Side view when the additional tray unit is installed ...
Страница 21: ... 21 2 Setting Up 13 Hold the handle B to close the scanner unit ...
Страница 34: ... 34 2 Setting Up 1 Plug the power cord into the power connector 2 Plug the power cord into the outlet ...
Страница 40: ... 40 2 Setting Up 7 Replace the paper cassette into the machine Push the paper cassette until it stops ...
Страница 55: ... 55 2 Setting Up 10 Click Complete 11 Click Next If the following dialog box is displayed click Yes ...
Страница 81: ...4 Copy Copying Cancelling Copying Specifying the Number of Copies ...
Страница 85: ...5 Scan Sending Scanned Data as an E mail Attachment Saving Scanned Data in a Shared Folder Cancelling Scanning ...
Страница 95: ... 95 6 Print 5 Change the settings in each tab to suit your needs 6 Click OK 7 Click Print on the Print screen ...
Страница 107: ... 107 6 Print Supply Levels Panel Item Description 1 Consumables Displays the remaining amount of consumables ...
Страница 108: ...7 Fax Basic Operations of Fax Functions Setting for Receptions ...
Страница 199: ...46590302EE Rev2 ...


