- 46 -
2. Setting Up
• An SSID is also called a network name, ESSID or ESS-ID.
• An encryption key is also called a network key, security key, password, or Pre-shared Key.
Connecting to the Machine Directly
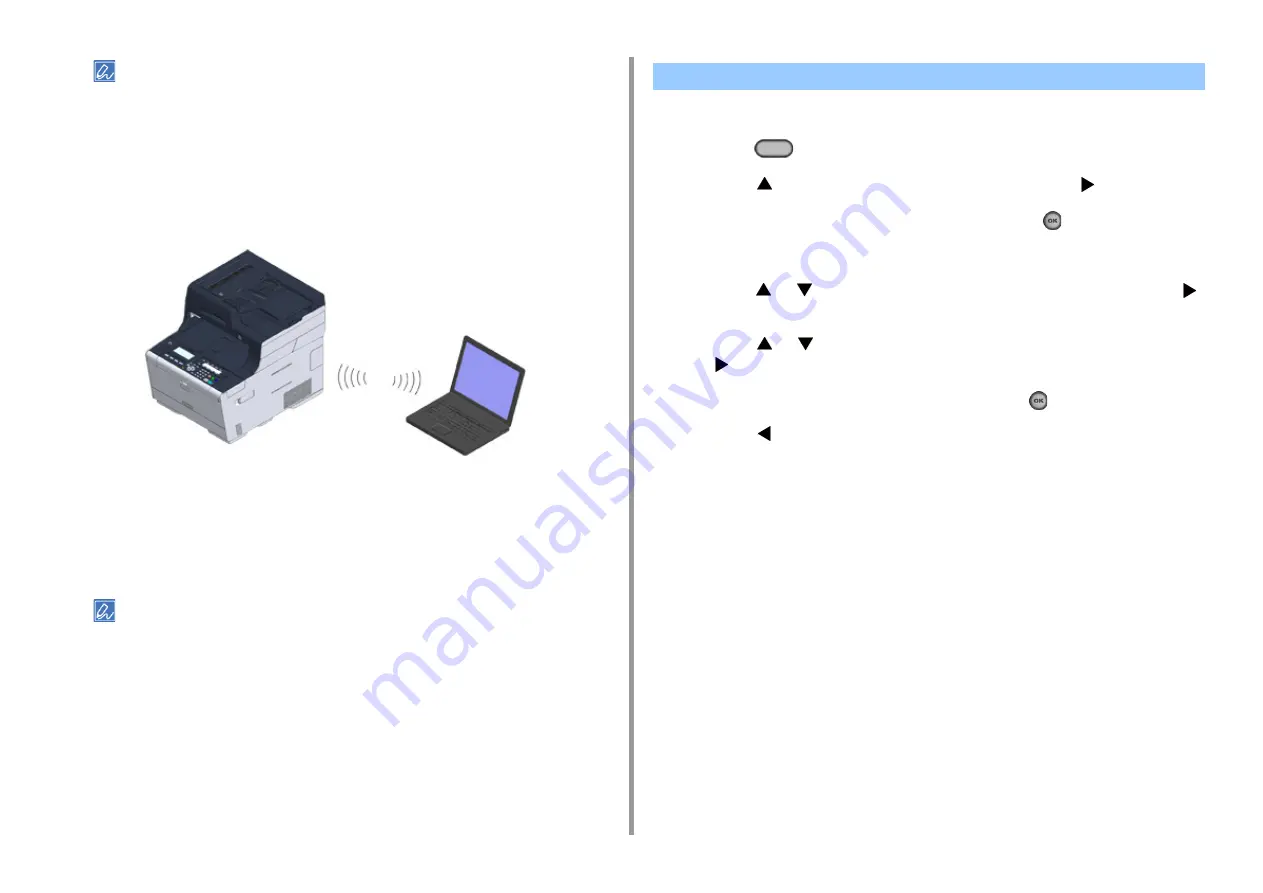
You can use the machine as a wireless access point to directly connect wireless devices
(computers, tablets, smartphones, etc.). Check the following.
1
Check if your wireless devices match the following requirements.
Standards: IEEE 802.11 b/g/n
Security: WPA2-PSK(AES)
2
Check if your wireless devices support WPS-PBC (push button).
If you are not sure that the device supports WPS-PBC, connect manually after turning the machine on.
After attaching the wireless module, enable the wireless LAN module on the operator panel.
1
Press the
(SETTING) button.
2
Press the
button to select [Admin Setup] and press the
button.
3
Enter the administrator password, and then press the
(OK) button.
The factory default administrator password is "999999". If the administrator password is
changed, enter the updated password.
4
Press the
or
button repeatedly to select [User Install] and press the
button.
5
Press the
or
button repeatedly to select [Wireless Module] and press
the
button.
6
Check that [Enable] is selected, and then press the
(OK) button.
7
Press the
button until the home screen is displayed.
8
Press the power button to turn the machine off.
Go to "Connecting to an Access Point (Infrastructure)".
Enabling Wireless LAN Connection
Содержание MC563
Страница 1: ...MC563 ES5463 MFP User s Manual ...
Страница 16: ... 16 2 Setting Up Side view when the additional tray unit is installed ...
Страница 21: ... 21 2 Setting Up 13 Hold the handle B to close the scanner unit ...
Страница 34: ... 34 2 Setting Up 1 Plug the power cord into the power connector 2 Plug the power cord into the outlet ...
Страница 40: ... 40 2 Setting Up 7 Replace the paper cassette into the machine Push the paper cassette until it stops ...
Страница 55: ... 55 2 Setting Up 10 Click Complete 11 Click Next If the following dialog box is displayed click Yes ...
Страница 81: ...4 Copy Copying Cancelling Copying Specifying the Number of Copies ...
Страница 85: ...5 Scan Sending Scanned Data as an E mail Attachment Saving Scanned Data in a Shared Folder Cancelling Scanning ...
Страница 95: ... 95 6 Print 5 Change the settings in each tab to suit your needs 6 Click OK 7 Click Print on the Print screen ...
Страница 107: ... 107 6 Print Supply Levels Panel Item Description 1 Consumables Displays the remaining amount of consumables ...
Страница 108: ...7 Fax Basic Operations of Fax Functions Setting for Receptions ...
Страница 199: ...46590302EE Rev2 ...


