- 42 -
2. Setting Up
Setting Up This Machine
The first time the machine is turned on or when the settings are initialized, set up the
machine with the necessary information.
The factory default display language is English and administration password is "999999".
To change the display language and administration password, follow the procedure below.
It is recommended to change the administrator password to enhance security. Set the
administrator password using from 6 to 12 alphanumeric characters.
Be careful not to forget the set password.
• Language Setup
• Setting the Administrator Password
• Easy Setup
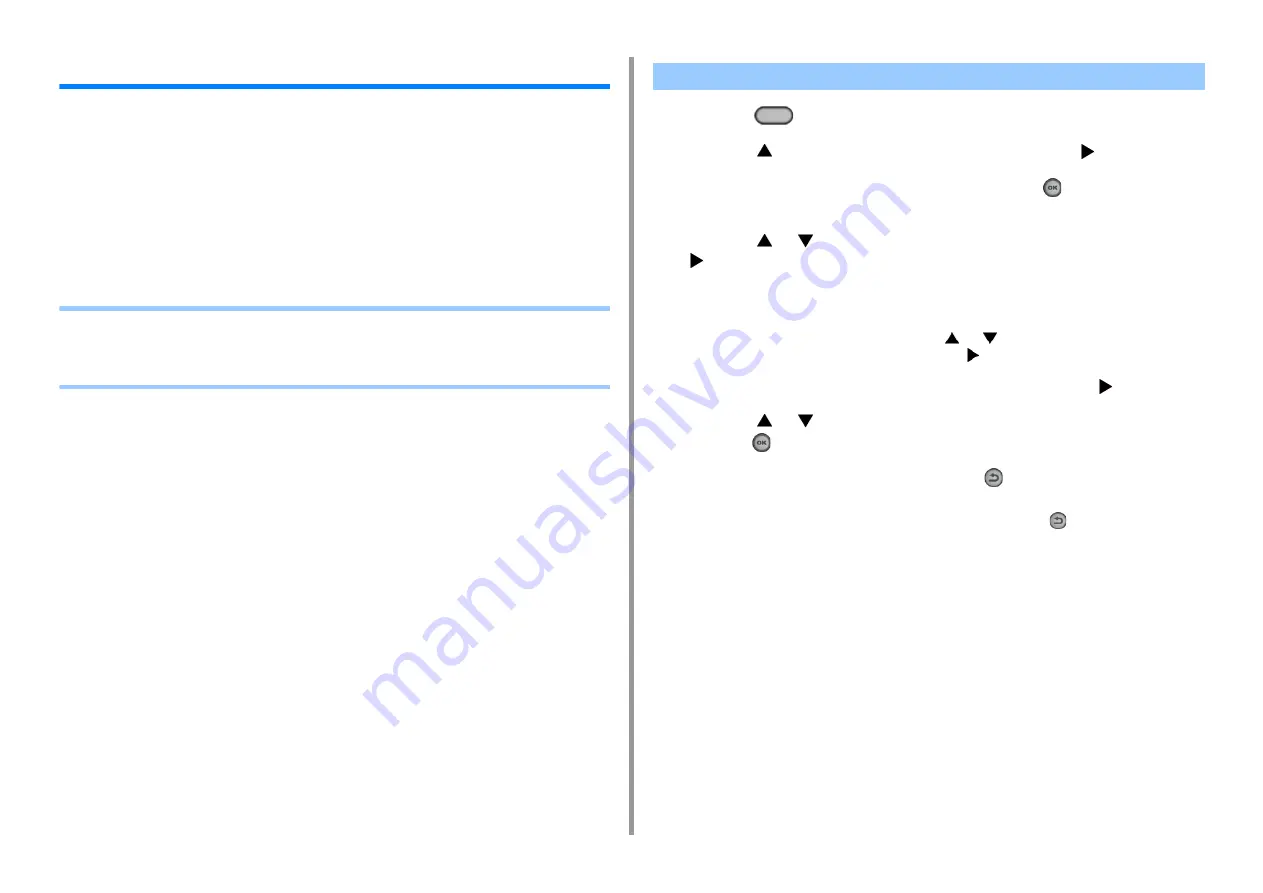
1
Press the
(SETTING) button.
2
Press the
button to select [Admin Setup] and press the
button.
3
Enter the administrator password, and then press the
(OK) button.
The factory default administrator password is "999999".
4
Press the
or
button repeatedly to select [Manage Unit] and press the
button.
5
If you do not want to change the display language, go to step 5 in "Setting the
Administrator Password".
To change the display language, press the
or
button repeatedly to select
[Language Maintenance Setup] and press the
button.
6
Check that [Select Language] is selected, and then press the
button.
7
Press the
or
button repeatedly to select language you want to use and
press the
(OK) button.
8
To set the administrator password, press the
(Back) button once and go to
step 5 in "Setting the Administrator Password".
If you want to set the administrator password later, press the
(Back) button
repeatedly until the top screen is displayed.
Language Setup
Содержание MC563
Страница 1: ...MC563 ES5463 MFP User s Manual ...
Страница 16: ... 16 2 Setting Up Side view when the additional tray unit is installed ...
Страница 21: ... 21 2 Setting Up 13 Hold the handle B to close the scanner unit ...
Страница 34: ... 34 2 Setting Up 1 Plug the power cord into the power connector 2 Plug the power cord into the outlet ...
Страница 40: ... 40 2 Setting Up 7 Replace the paper cassette into the machine Push the paper cassette until it stops ...
Страница 55: ... 55 2 Setting Up 10 Click Complete 11 Click Next If the following dialog box is displayed click Yes ...
Страница 81: ...4 Copy Copying Cancelling Copying Specifying the Number of Copies ...
Страница 85: ...5 Scan Sending Scanned Data as an E mail Attachment Saving Scanned Data in a Shared Folder Cancelling Scanning ...
Страница 95: ... 95 6 Print 5 Change the settings in each tab to suit your needs 6 Click OK 7 Click Print on the Print screen ...
Страница 107: ... 107 6 Print Supply Levels Panel Item Description 1 Consumables Displays the remaining amount of consumables ...
Страница 108: ...7 Fax Basic Operations of Fax Functions Setting for Receptions ...
Страница 199: ...46590302EE Rev2 ...


