96 of 271
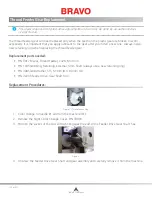
Figure 3
•
Note: You may also need to adjust the height of the closest needle measurement gauge so that
the plunger touches the needle and NOT the needle clamp.
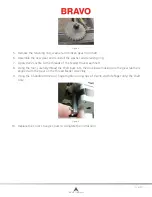
Figure 4
9.
Zero your closest needle dial indicator on the first needle.
10. Pull the plunger away and be sure it goes to zero when it touches the needle. Zero the gauge
again if needed.
11. Record the zero measurement under Needle 1 on the worksheet that is provided with this TAB.
(See example of worksheet below.)
12. Pull the plunger back and hit the Frame Back button again. The machine changes to Needle 2 and
goes to needle depth.
13. Record the measurement under Needle 2 on your worksheet. Anything on the left side of zero on
the dial indicator is a negative number. Estimate to the closest quarter of a thousandth.
14. Repeat this process for each needle, recording each measurement on your worksheet.
Table of Contents
Содержание Bravo
Страница 1: ...Technical Manual Rev 082115 ...


