68 of 271
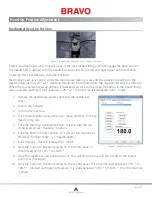
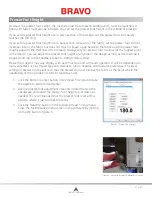
b. This number may not be the exact number you entered. If it is not, use the microstep forward
command on the keypad (press and hold the press and hold the Trace key, then press the Up
Arrow button) to increase the z position by tenths of degrees until the correct hook timing
position (201.5) is displayed in the Current Z Position box.
•
NOTE:
If you microstep too far, use the GoTo function of the software to move to 201° and
microstep forward. Do not microstep backward.
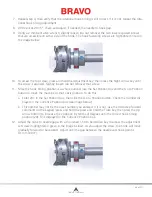
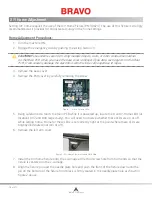
5. You can now adjust the hook timing if needed, using the following image as a guide.
To set the hook timing rotationally, align the hook point to the approximate hook timing position
as shown in the following image. (The following image reflects the view of the needle and hook
point when looking from the front of the machine).
Remember the optimal position is such that the hook point is even with the left side of the needle.
Please note that it is not uncommon to repeat the adjustment several times to obtain the correct
hook timing.
6. Slightly loosen the three timing set screws (highlighted in blue in the image below) with a 2 mm
bent hex wrench and then rotationally position the rotary hook so that the hook point is even with
the left side of the needle. Lightly tighten each of the three timing set screws before fully tighten-
ing them.
•
NOTE:
While adjusting the needle to hook gap and/or hook timing, you should periodically
make sure that the z axis position has not changed (check the Current Z Position box). If the z
position has changed, repeat steps 4-6 of this procedure.
Table of Contents
Содержание Bravo
Страница 1: ...Technical Manual Rev 082115 ...


