152 of 271
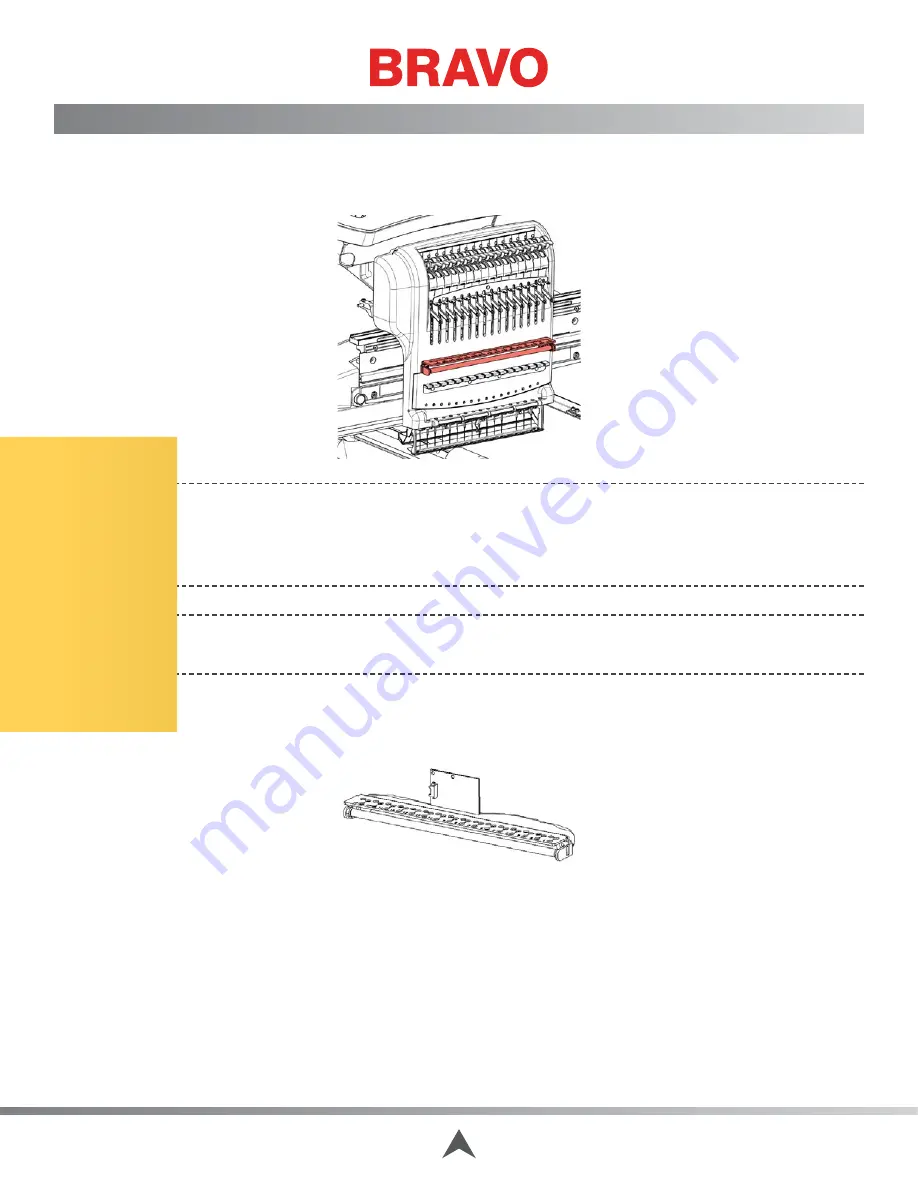
Thread Sensor Assembly Replacement
The thread sensor assembly has to be replaced when diagnostic tests indicate it has failed. Symptoms
such as inconsistent thread feed, inconsistent thread tension, and an increase in tension can be related
errors during embroidery operations.
CAUTION!!
Handle the thread sensor assembly carefully. The wiring is extremely fragile to han-
dling. Although this assembly is resistant to electrical static discharge (ESD) damage, use normal
precautions when handling electrical components. Parts that are damaged due to mishandling
are not covered under the machine warranty.
CAUTION!!
DO NOT allow the PCB or bracket to hang by the wires. Support the weight of the
PCB during installation or removal.
Replacement Parts Needed:
• Thread Sensor Assembly
If the assembly is loose, you may want to re-assemble with tape, seating each bracket boss into the
thread guide holes.
1. Remove the needlecase access cover.
2. Remove any thread from the needlecase.
3. Remove the needlecase cover.
4. Remove the two M3 nuts mounting the thread sensor PCB to the needlecase and remove the PCB.
Table of Contents
Содержание Bravo
Страница 1: ...Technical Manual Rev 082115 ...


