13
General Setup & Registration
1. Before installing screens into the print stations, check the
recommended print order, consider the mesh count, type of
ink, and area (image size) of ink deposit. This is the best
time to eliminate problems, such as ink build-up and butt-
to-butt registration blurring due to mesh count or ink type,
or improper screen tension. Experience is always the best
teacher for pre-press trouble shooting. It is always better to
eliminate problems before you start to print.
2. Once you determine print order, install all your screens in
their print stations and zero out the micros. Locate and align
the “trap” screen or screen that has the main image to
which all other colors register. When setting this screen, be
sure to leave 3/8" (9mm) to l/2" (12mm) between the inside
of the front screen holder and the frame. Leaving this gap
will help you later as you align the rest of your screens
because not all the screens are going to be in the exact
location as the first one. This gap should give you enough
room to align “mis-exposed” screens without running out of
room in the frame holders.
3. Install the flood bar, squeegee and add ink in your “trap”
screen, making sure that all adjustments are secure, then
print it on a Pelon. Be sure you have the proper ink deposit
and squeegee pressure before you register the rest of your
screens to this image.
4. Rotate the index table and pallet with the image around,
printed in step No. 3, to the remaining screens and register
them visually. You may find that registering your screen
slightly above the trap print will help, due to mesh
elongation during the print stroke. When locking down a
registered screen, do not tighten down the rear hand knob
because you are going to need to release the rear clamps
later when doing any micro-registration unless you have the
optional rear micro.
5. Install all squeegees and flood bars. Place a small
amount of ink in the screen to start with. This way, if the
color is incorrect, clean-up won’t be much of a problem.
6. Walk around the press and print one screen at a time.
Check the print for proper ink deposit, adjust print speed,
squeegee angle and pressure accordingly.
7. Once you have your desired ink deposit on all screens,
start to fine tune your registration. Remember to use the
same pallet and plenty of spray tack (adhesive) when
making test prints for registration.
NOTE: When using the micro-
registration, you must have the rear
screen frame clamps released to
allow the screen frame to move
freely and to avoid side loading of the
screen frame.
8. When using the micro register adjustments, be sure to
back the adjustment knob off after you lock down the Kipp
Elisa handles. This will take any side load or torque off of the
adjuster so the next time you release the Kipp Elisa handle,
the screen won’t shift.
9. Once you have a good print and it’s been approved, go
back and add ink to your screens.
10. When finished with the job, and during tear down,
always clean the press and make sure to keep the carriage
shafts clear of ink or pallet adhesive and well lubricated.
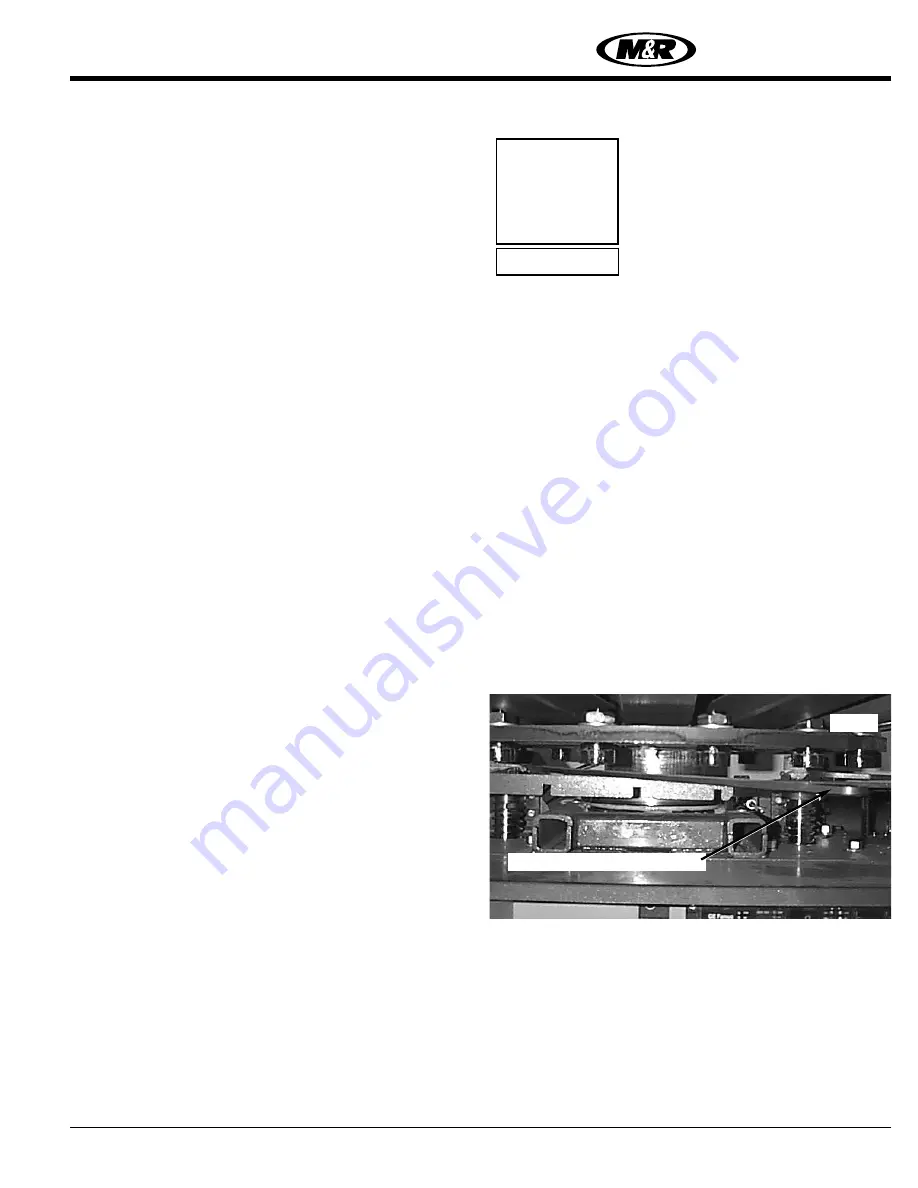
CENTRAL OFF-CONTACT LEVER:
The Central Off-Contact Lever provides a single point
adjustment that allows the press Operator to change the
off-contact dimension of all the screens with a simple
adjustment of a lever. This eliminates the need to
individually adjust off-contact for screens when printing
different thickness garments. i.e. (T-shirts to sweat-shirts).
(See Fig. 1)
This convenient control lever allows the press Operator to
adjust the off-contact setting for the press from a maximum
of 3/16" (5mm) to the minimum setting. The adjustment is
calibrated in three settings at 1/16" (1.5mm) increments.
M&R Printing Equipment, Inc. - Glen Ellyn, Illinois
i
IMPORTANT!
Fig. 1
Central Off-Contact Adj. Lever
Challenger II
mrprint.com
Содержание Challenger II 12 COLOR
Страница 4: ......
Страница 6: ......
Страница 8: ......
Страница 82: ...Leveling the Pallets M R Printing Equipment Inc Glen Ellyn Illinois 74 NOTES Challenger II mrprint com...
Страница 88: ...Idec Relay Identification NOTES 80 Challenger II mrprint com...
Страница 120: ...R Re ep pl la ac ce em me en nt t P Pa ar rt ts s M R Printing Equipment Inc Glen Ellyn Illinois 60137 U S A 112...
Страница 121: ...Challenger b...
Страница 122: ......
Страница 127: ...NEW BALL SCREW INDEX DRIVE ASSEMBLY Revised 12 27 00...
Страница 128: ......
Страница 129: ......
Страница 130: ......
Страница 131: ......
Страница 132: ...Challenger b...
Страница 133: ......
Страница 138: ......
Страница 139: ......
Страница 140: ......
Страница 141: ......
Страница 142: ......
Страница 143: ......
Страница 144: ......
Страница 145: ......
Страница 146: ......
Страница 147: ......
Страница 148: ......
Страница 149: ......
Страница 150: ......
Страница 151: ......
Страница 152: ......
Страница 153: ......
Страница 154: ......
Страница 155: ......
Страница 156: ......
Страница 157: ......
Страница 158: ......
Страница 159: ......
Страница 160: ......
Страница 161: ......
Страница 162: ......
Страница 163: ......
Страница 164: ......
Страница 165: ......
Страница 166: ......
Страница 167: ......
Страница 168: ......
Страница 169: ......
Страница 175: ......


