


61
APPENDIX J: CONVERTING FILES TO AVI
Use the built-i, browser-based remote surveillance software to convert saved video files to AVI.
The AVI format allows you to playback the video files in many multimedia players. AVI conversion
involves two parts: selecting a file, then converting the file.
To select a file:
1. Open Internet Explorer. In the address bar, enter the IP address of your system.
2. Log in using your
ADMIN password
. If passwords are not enabled on your system, leave the
password field
blank
.
3. Click
REPLAY
at the top of the main screen.
4. Use the calendar to select a date and click
REFRESH
.
5. Find a desired file from the File List and double-click to playback the file in the main screen.
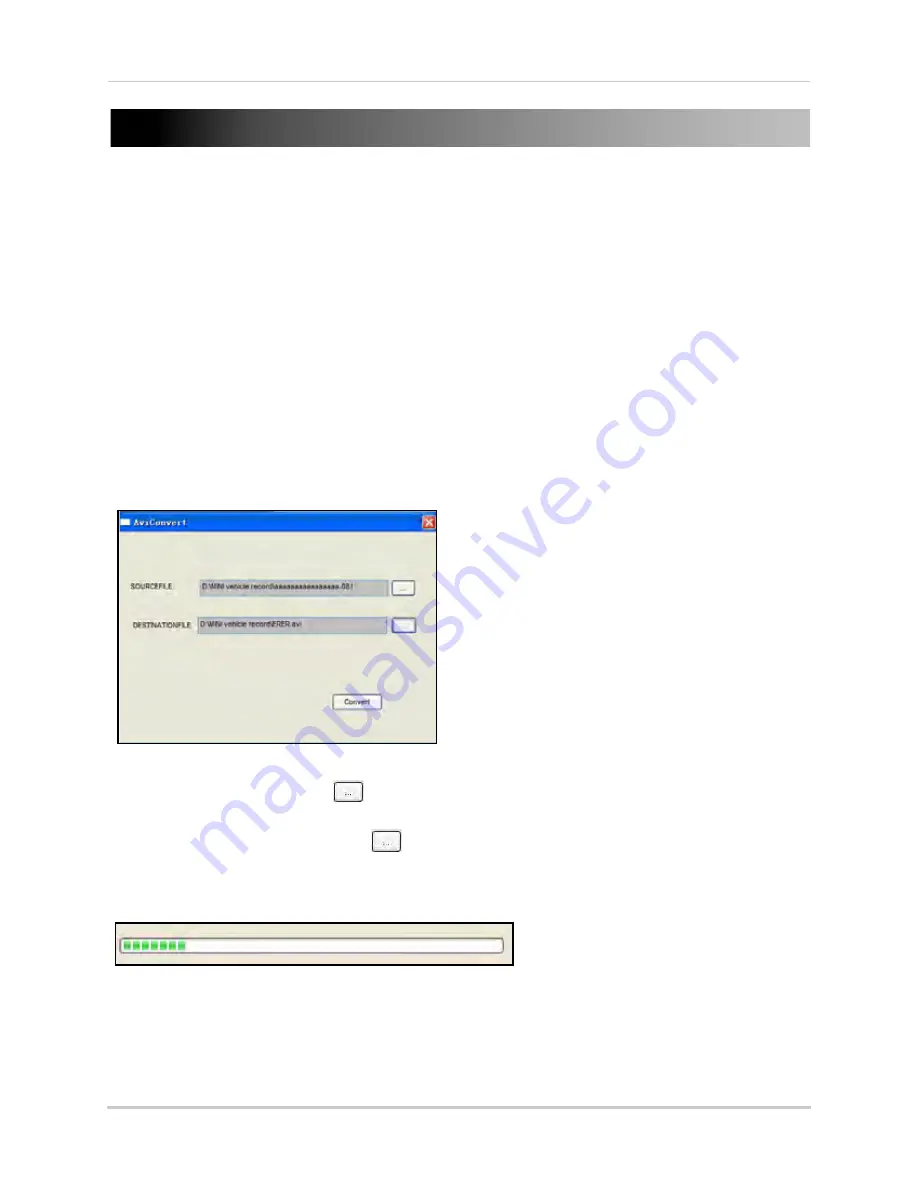
To convert the file:
1. With a file selected and played back in the main screen, click
264 TO AVI
. The AVI Convert
window opens.
2. Under SOURCE FILE, click
to select the .264 file you wish to convert. By default, the file
you have already viewed in playback should be selected.
3. Under DESTINATION FILE, click
to select the save directory for the converted file. ENter
a name for the file. By default, converted files are saved to
C:\DVR\
.
4. Click
CONVERT
. File conversion begins. The progress bar indicates the status of the
conversion.
Click
OK
in the confirmation window.
NOTE:
You can view the AVI file in media players such as VLC and DivX Player. The DivX, XviD, or FFDShow
codec (not included) is required if viewing AVIs in Windows Media Player.
Figure 39.0 AVI Convert window
Figure 39.1 AVI Conversion progress