16
Using the Main Menu
Backup
Use the File List sub-menu to find recorded
video on your system and copy it to a USB flash
drive (not included).
NOTE:
The system is compatible with most
major brands of USB flash drives, with
capacities from 256 MB to 4 GB.
To backup recorded data:
1. Connect a blank USB flash drive to the top
USB port on the front panel of the system.
2. Open the Search menu and search for
recorded data on the system.
3. Click
FILE LIST
.
4. Select the files you want to backup and
click the "BAK" box next to the file name
(see figure 0.0). Select multiple files if
desired. Click
ALL
to select all files; click
OTHER
to deselect all files.
NOTE:
The size of each file is shown in the File
List menu. Use this to help you find a USB flash
drive large enough to hold all the files you wish
to backup.
5. Click
BACKUP
from the side-panel to
immediately begin copying the files to the
USB flash drive.
NOTE:
Backup progress appears in the status
window.
DO NOT
remove the USB flash drive
during backup.
6. If backup is successful, click
CLOSE
in the
confirmation window and then remove the
USB flash drive.
NOTE:
If there is not enough space on the USB
flash drive, the system will display the following:
"Space is not enough."
Backup File Data
The system will create a folder on the USB
flash drive named
RecordFile
. The files are
saved as .264 files.
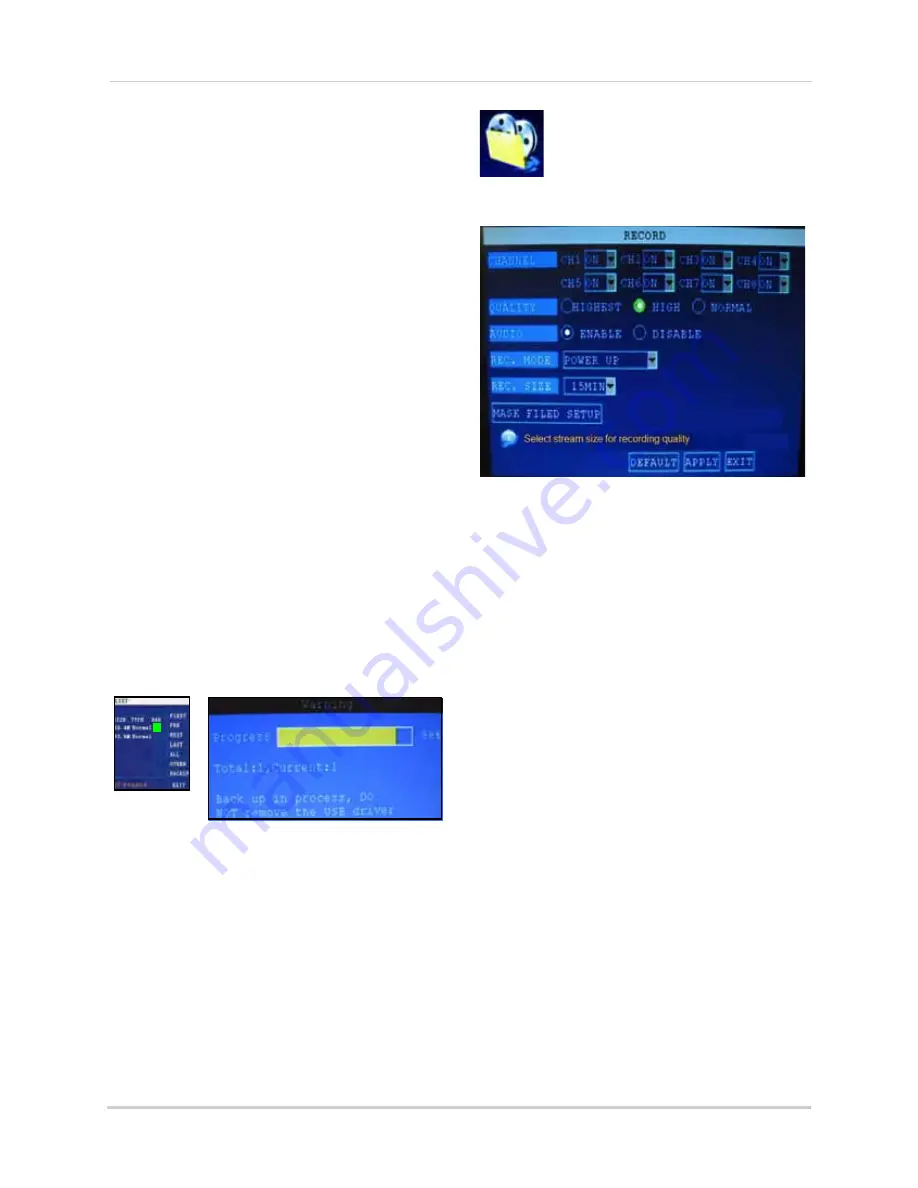
RECORD
Configure record parameters,
enable/disable audio.
NOTE:
Audio capable cameras (not included) are
required for audio recording.
To configure recording options:
1. Under CHANNEL, use the drop-down
menus and select
ON
/
OFF
to enable/
disable recording from the selected
channel.
2. Under QUALITY, select
HIGHEST
,
HIGH
, or
NORMAL
.
3. Under AUDIO, select
ENABLE
or
DISABLE
.
If audio recording is enabled, the system
will record audio from connected audio
capable cameras (not included).
4. Under REC. MODE, select
POWER UP
or
TIMER RECORD
. If you select POWER UP,
the system will record continuously
(Normal Recording) when the system is
powered on. If you select TIMER RECORD,
you have to set a recording schedule on
the system. See “Setting a Recording
Schedule” on page 17.
Figure 10.3 Select files and click BACKUP
3
Figure 11.0 Record menu


