


34
Using Remote Surveillance
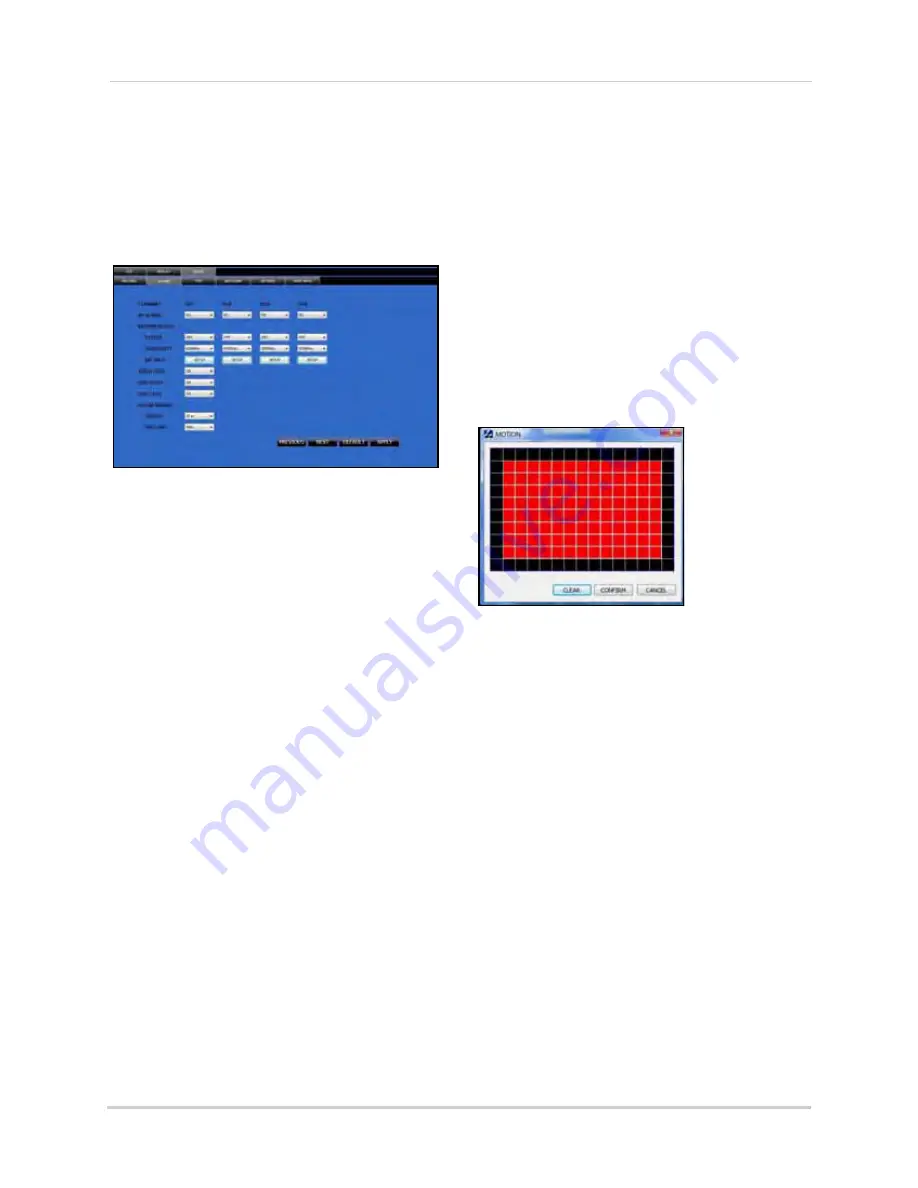
ALARM
The Alarm tab allows you to configure alarm
settings as well as set motion detection.
To open Alarm setup:
• Click
SETUP
at the top of the main screen
and then click
ALARM
.
Configure the following alarm and motion
detection settings for each respective channel:
NOTE:
Click
NEXT/PREVIOUS
for
additional channels (8-channel models
only)
•
I/O ALARM
: Select
NO
(normal open),
NC
(normal close) or
OFF
•
MOTION DETECT
: Configure the following:
•
STATUS
: Select
ON
/
OFF
to enable/disable
motion detection
•
SENSITIVITY
: Select
HIGHEST
,
HIGH
,
NORMAL
, or
LOW
•
MD
(motion detection)
AREA
: Click
SETUP
to
open the Motion Grid (see Motion Grid on page 36)
•
VIDEO LOSS
: Select
ON/OFF
to enable/
disable the alarm when a camera is
disconnected
•
HDD SPACE
: Select
ON/OFF
to enable/
disable the alarm when the hard drive is
full (Overwrite must be turned off)
•
HDD LOSS
: Select
ON/OFF
to enable/
disable the alarm is the internal hard drive
is damaged or incurs failure
•
ALARM MANAGE
: Configure the
following:
•
OUTPUT
: Set the time (in seconds) for the
buzzer to sound when an alarm is triggered—
0s
,
10s
,
20s
,
40s
, or
60s
•
POST REC
: Set the time for the system to record
after an alarm is triggered—
30s
,
1min
,
2min
, or
5min
Click
APPLY
to save your settings and then
click
OK
in the confirmation window.
MOTION GRID
To set the motion grid:
1. Click
SETUP
at the top of the main screen
and then click
ALARM
.
2. Under
MOTION AREA
, click
SETUP
for
each respective channel you wish to apply
motion detection. The Motion Grid opens.
NOTE:
Click
NEXT/PREVIOUS
for additional
channels (8-channel models only).
3. Click the blocks to enable/disable motion
detection.
RED
=motion detection
enabled
;
BLACK
=motion detection
disabled
. You can
click and drag to select multiple blocks;
click
CLEAR
to disable all the blocks.
4. Click
CONFIRM
and then click
OK
in the
confirmation window.
Figure 28.0 Record menu
Figure 28.1 Motion Grid