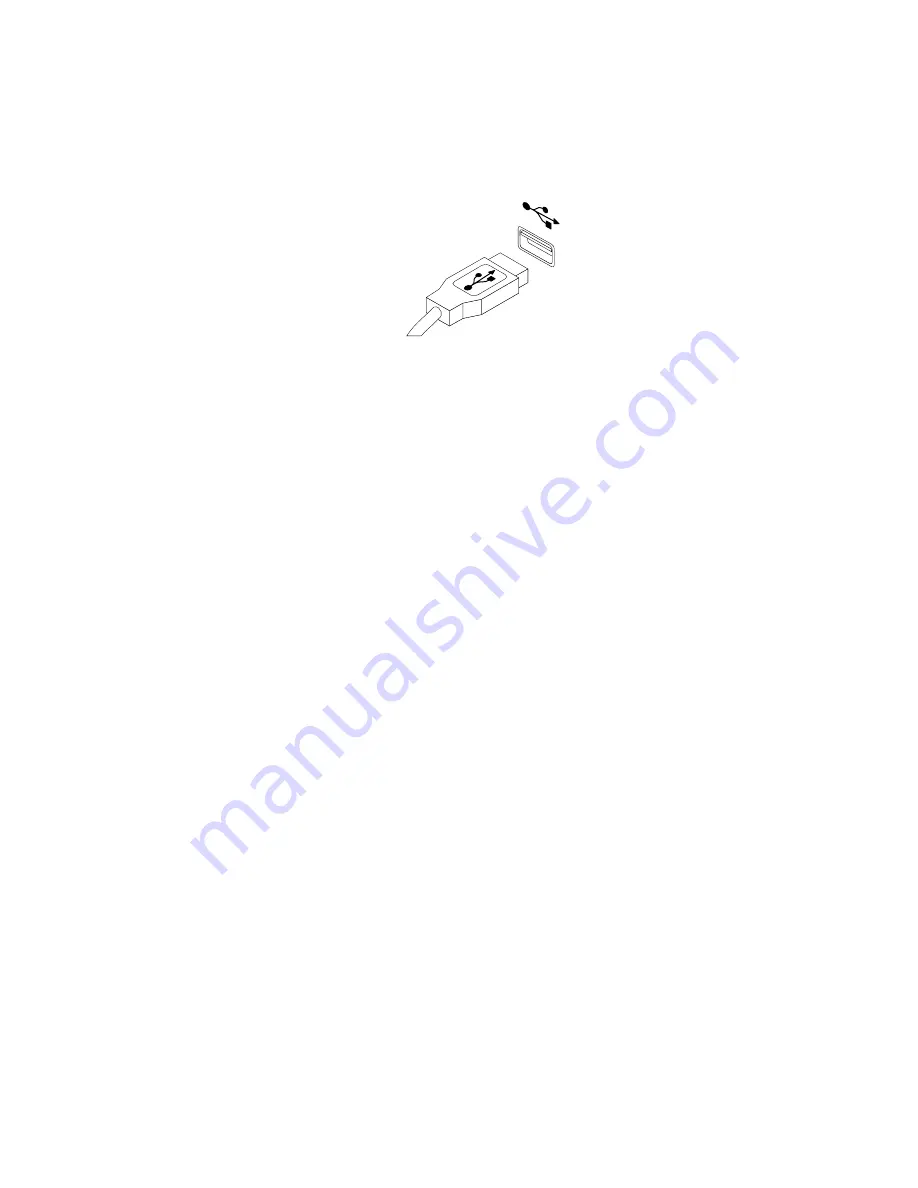
2. Connect a new keyboard or mouse to one of the USB connectors on the computer. Depending on
where you want to connect the new keyboard or mouse, see “Locating connectors, controls, and
indicators on the front of your computer” on page 28 or “Locating connectors on the rear of your
computer” on page 29.
Figure 72. Connecting the USB keyboard or mouse
What to do next:
• To work with another piece of hardware, go to the appropriate section.
• To complete the installation or replacement, go to “Completing the parts replacement” on page 151.
Completing the parts replacement
After completing the installation or replacement for all parts, you need to reinstall the computer cover and
reconnect cables. Depending on the parts you installed or replaced, you might need to confirm the updated
information in the Setup Utility program. Refer to “Using the Setup Utility program” on page 63.
To reinstall the computer cover and reconnect cables to your computer, do the following:
1. Ensure that all components have been reassembled correctly and that no tools or loose screws are left
inside your computer. See “Locating components” on page 31 for the locations of various components
in your computer.
2. Ensure that the cables are routed correctly before reinstalling the computer cover. Keep cables clear of
the hinges and sides of the computer chassis to avoid interference with reinstalling the computer cover.
3. Lower the drive bay assembly. See “Accessing the system board components and drives” on page 108.
4. If you have removed the front bezel, reinstall it. To reinstall the front bezel, align the three tabs on
the front bezel with the corresponding holes in the chassis and pivot the front bezel inwards until
it snaps into position.
Chapter 11
.
Installing or replacing hardware
151
Содержание ThinkCentre M79
Страница 1: ...ThinkCentre M79 Hardware Maintenance Manual Machine Types 10CT 10CU 10CV and 10CW ...
Страница 6: ...iv ThinkCentre M79 Hardware Maintenance Manual ...
Страница 8: ...vi ThinkCentre M79 Hardware Maintenance Manual ...
Страница 16: ... 18 kg 37 lb 32 kg 70 5 lb 55 kg 121 2 lb 8 ThinkCentre M79 Hardware Maintenance Manual ...
Страница 19: ...1 2 Chapter 1 Read this first Important safety information 11 ...
Страница 20: ...1 2 12 ThinkCentre M79 Hardware Maintenance Manual ...
Страница 21: ...Chapter 1 Read this first Important safety information 13 ...
Страница 27: ...Chapter 1 Read this first Important safety information 19 ...
Страница 31: ...Chapter 1 Read this first Important safety information 23 ...
Страница 40: ...Figure 4 Component locations 32 ThinkCentre M79 Hardware Maintenance Manual ...
Страница 68: ...Figure 8 Installing a padlock 60 ThinkCentre M79 Hardware Maintenance Manual ...
Страница 80: ...72 ThinkCentre M79 Hardware Maintenance Manual ...
Страница 98: ...90 ThinkCentre M79 Hardware Maintenance Manual ...
Страница 112: ...104 ThinkCentre M79 Hardware Maintenance Manual ...
Страница 168: ...160 ThinkCentre M79 Hardware Maintenance Manual ...
Страница 172: ...164 ThinkCentre M79 Hardware Maintenance Manual ...
Страница 175: ...Appendix D China Energy Label Copyright Lenovo 2014 167 ...
Страница 176: ...168 ThinkCentre M79 Hardware Maintenance Manual ...
Страница 178: ...170 ThinkCentre M79 Hardware Maintenance Manual ...
Страница 184: ...176 ThinkCentre M79 Hardware Maintenance Manual ...
Страница 185: ......
Страница 186: ......


