JANOME Embroidery Software Instruction Book
Chapter 10 Embroidery Stamps and Motifs
81
4
Press
Enter
to finish.
The size and layout settings you select become the
current Motif Fill settings.
Making custom motifs
The Make Motif function lets you save your own
motifs for future use. Motifs may be saved to
different files or ‘motif sets’.
Saving motifs
Any embroidery object can be saved as a motif for
future use.
To save a motif
1
Select the embroidery object you want to save as a
motif.
2
Select
Embroidery > Make Motif
.
3
The
Make Motif
dialog opens.
4
Select a
Motif Set
from the list.
5
If you want to automatically remove machine functions
from the motif, select the
Remove Functions
checkbox.
For example, if your sample contains color changes
which you do not require in the actual motif, select this
checkbox.
6
Click
OK
.
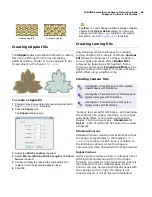
7
Click to mark two reference points for the motif. These
determine the default motif orientation in motif runs and
fills. Reference points also determine the spacing
between each motif.
8
Reference point 1 becomes the anchor point in the final
motif. Reference point 2 becomes the rotation point.
9
Click
OK
. The motif is ready to use.
Creating motif sets
The Make Motif function lets you create your own
‘motif sets’ to organize and classify your motifs.
To create a motif set
1
Select the embroidery object you want to save as a
motif.
2
Select
Embroidery > Make Motif
.
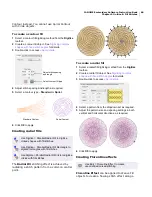
The
Make Motif
dialog opens.
3
Click
New
.
The
New Motif Set
dialog opens.
4
Enter a name for the new motif set and click
OK
. The
Motif Set
is ready for use.
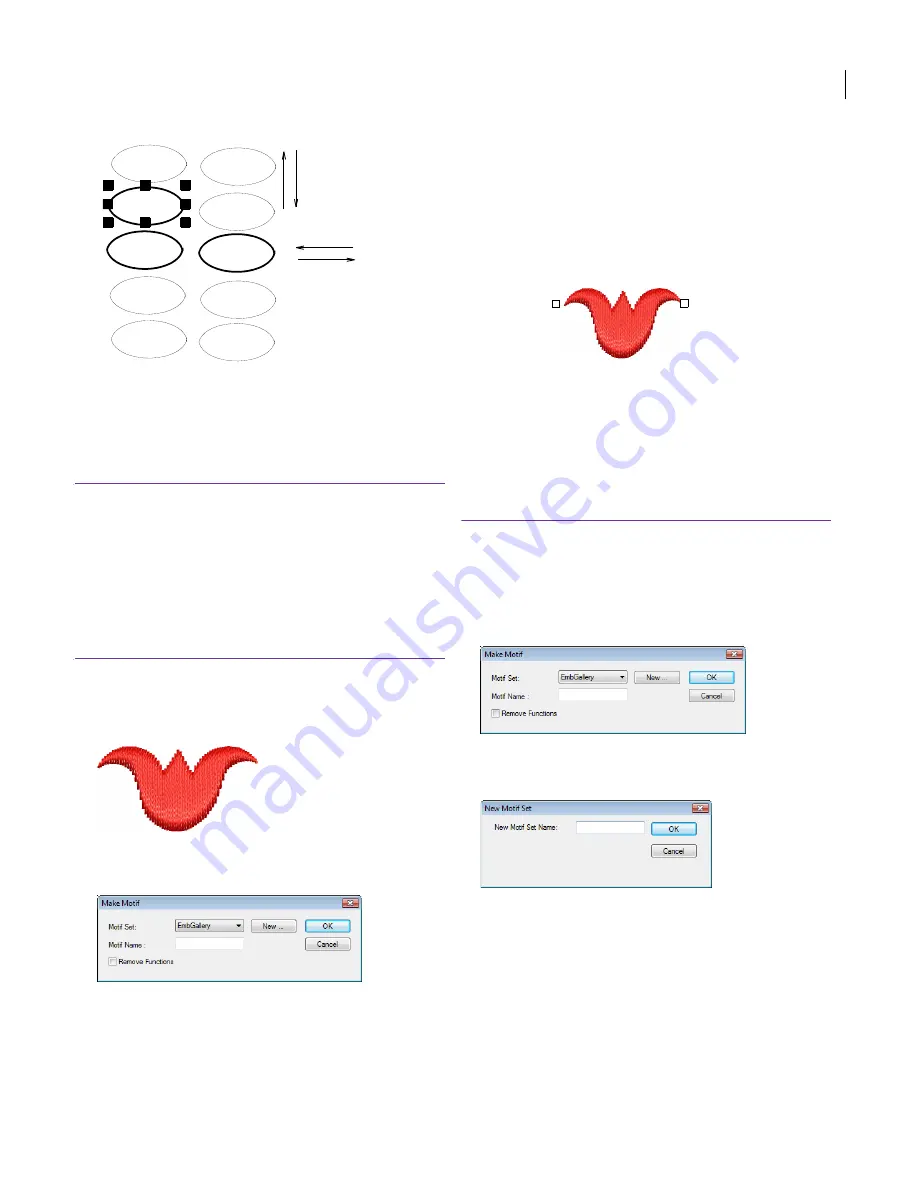
Change row
spacing
Change offset
Ref point 1
Ref point 2
Содержание DigitizerPro
Страница 236: ...234 Part IX Software Feature Table ...
Страница 243: ...241 Part X Appendices Glossary Index ...


