JANOME Embroidery Software Instruction Book
Chapter 17 Reshaping and Editing Objects
128
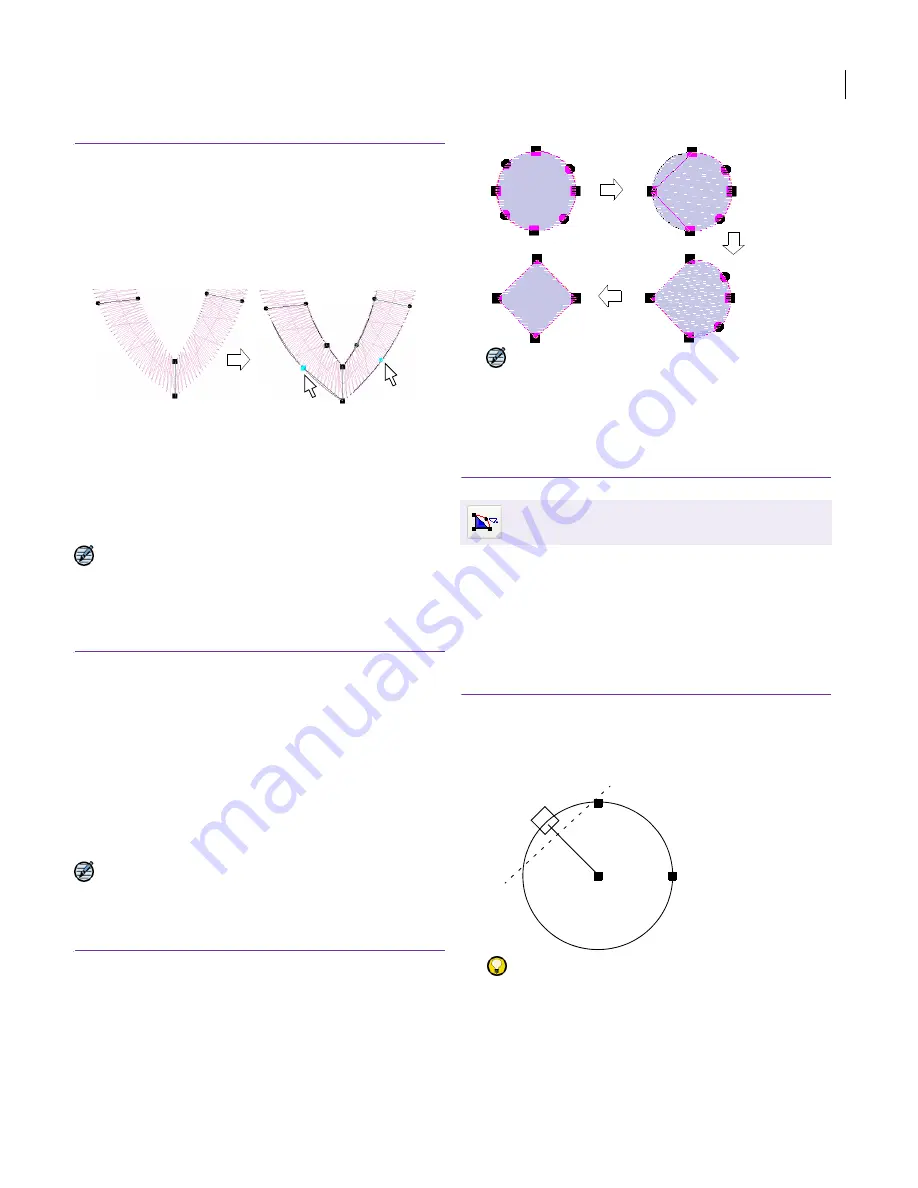
To add control points
1
Position the pointer where you want to add the control
point.
2
Click to add a control point.
Left-click to add a corner point.
Right-click to add a curve point.
3
Adjust the position of the control point by dragging it
along the outline as required.
Changing control points
Reshape object outlines by changing corner
control
points
to curves, or vice versa.
Note You cannot change the end points of Turning
Angle Fill columns, or any control point in objects
created with the Parallel Fill Circle tool. See also
Reshaping circle objects
.
To change control points
1
Select the control point.
2
Press
Spacebar
.
Corner control point changes to curve, and vice versa.
Deleting control points
Delete unwanted
control points
to change an
outline or to remove unwanted boundaries from
Parallel Fill objects.
Note You cannot delete the control points from
objects created with the Parallel Fill Circle tool.
See also
Reshaping circle objects
.
To delete control points
1
Select the control point or points.
2
Press
Delete
.
Note
If the object only has two control points (or two
pairs of control points as in the case of
Turning Angle
Fill
objects), deleting one deletes the whole object.
Reshaping circle objects
You can change Circle objects from circles to ovals
using the Reshape tool. Circle objects have two
reshape
control points
(used to change the radius
and orientation of the object), a center point (used
to reposition it), and a stitch entry point. You
cannot add, change or delete control points in
these objects.
To reshape circle objects
1
Select a
Parallel Fill Circle
object.
2
Click the
Reshape
icon.
Try this!
To move a circle, click the control point in the
circle’s center, and drag it to a new position.
3
Click a control point on the circle outline.
To reshape without changing the orientation, use the
top control point.
Left-click
Right-click
Use Edit > Reshape to reshape circle objects.
Entry point
Control point
Center point
Stitch angle
90°
Содержание DigitizerPro
Страница 236: ...234 Part IX Software Feature Table ...
Страница 243: ...241 Part X Appendices Glossary Index ...


