JANOME Embroidery Software Instruction Book
Chapter 2 System Setup
9
Upon successful installation of the software and any
additional Windows files that need updating, the
Installation Complete
screen appears.
13
Click
Finish
.
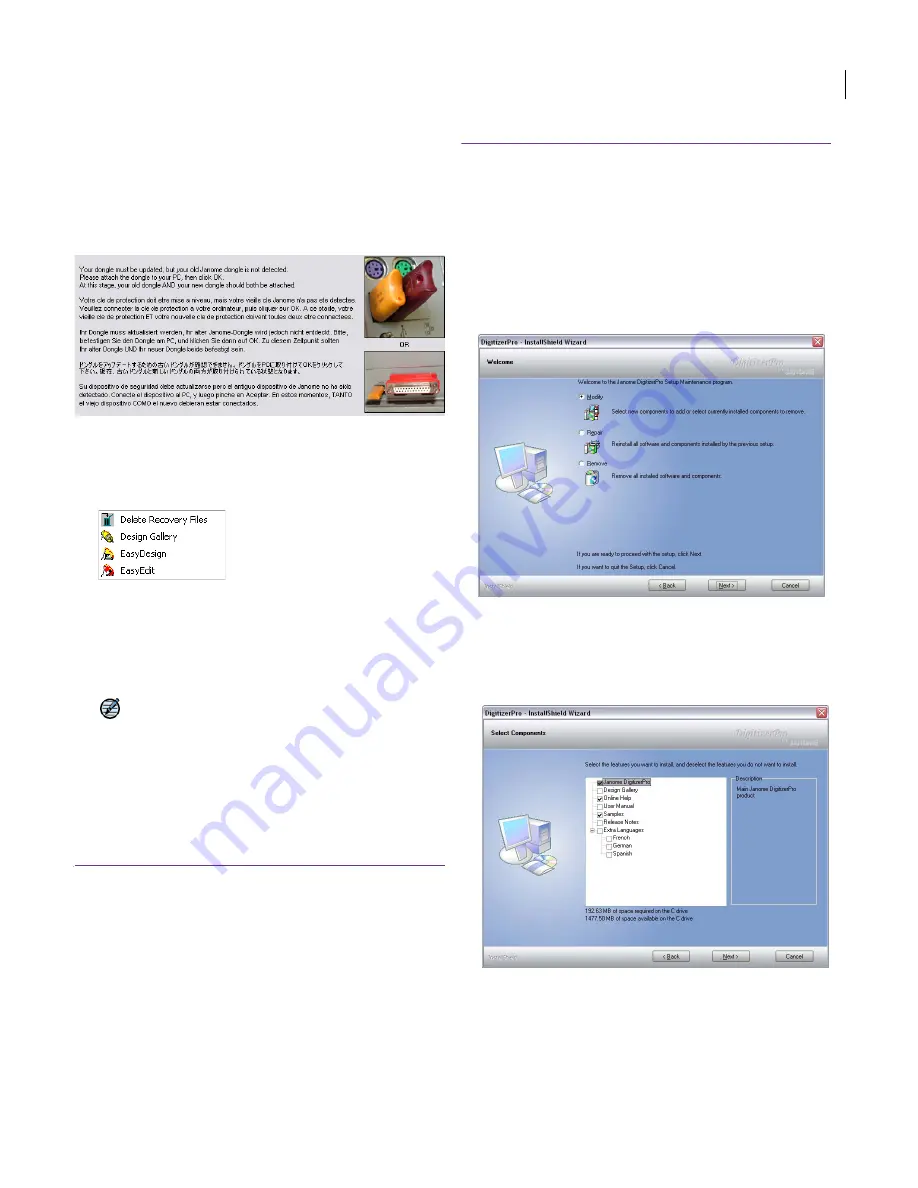
The computer will be rebooted and you will be
prompted to attach both old and new dongles.
14
Click
OK
.
Upon detecting the new dongle, a
Setup Complete
screen appears. A JANOME Embroidery Software
program group is included in the
Start
menu.
Corresponding shortcut icons are placed on the
Windows Desktop.
15
Use the
Uninstall
program under the Windows
Start
menu or
Add/Remove Programs
from the Windows
Control Panel to remove any earlier versions on your
system.
Note
The uninstall process may leave some files in the
old JANOME Digitizer folder. You should manually
delete this folder and its contents using Windows
Explorer.
Modifying an existing JANOME
Embroidery Software installation
Whether you are updating your current JANOME
Embroidery Software software or wanting to
uninstall it, you follow the same procedure. When
you run the installation program again, it will
automatically detect if there is an existing copy of
JANOME Embroidery Software on your system and
give you to option to modify, repair or remove it.
To modify an existing JANOME Embroidery
Software installation
1
Close all Windows programs but leave Windows
running.
2
Insert the JANOME Embroidery Software Installation
CD-ROM.
If JANOME Embroidery Software software is already
installed on the computer, the following Welcome
screen will appear.
3
Choose the option you require – Modify, Repair,
Remove – and click
Next
.
If you choose to modify or repair your current
installation, the
Select Components
screen will
appear.
4
Select the components to install or remove:
Содержание DigitizerPro
Страница 236: ...234 Part IX Software Feature Table ...
Страница 243: ...241 Part X Appendices Glossary Index ...


