JANOME Embroidery Software Instruction Book
Chapter 24 Printing Designs
191
2
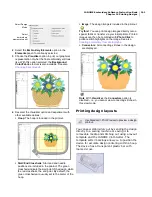
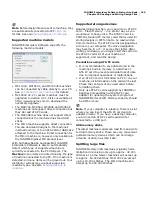
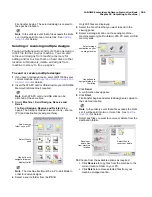
Select the
Embroidery Elements
option in the
Elements
panel if not already selected.
3
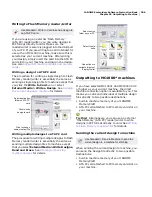
Choose the
Visualizer
option to print out graphical
representation of what the final embroidery will look
like. With this option selected, the
Background
Color/Fabric
element is also available. See also
Changing backgrounds
.
4
Deselect the Visualizer option and experiment with
other available options:
Hoop
: The hoop is included in the printout.
Start/End Crosshairs
: Start and end needle
positions are included in the printout. The green
crosshairs indicate the start point of the design, while
the red crosshairs, the end point. By default, the
green crosshairs are usually set to the center of the
hoop.
Image
: The design image is included in the printout.
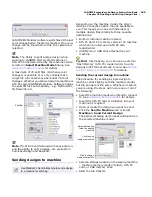
Try this!
You can print design images directly onto a
special fabric or transfer via your inkjet printer. Printed
images can then be combined with
Photo Click
to
produce stitch highlights on the image. See also
Creating embroidery from photographs
.
Connectors
: All connecting stitches in the design
are displayed.
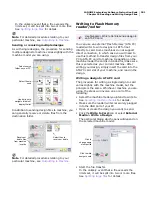
Note
With
Visualizer
, the
Connectors
option is
disabled – i.e. you cannot view connecting stitches in
this view mode.
Printing design layouts
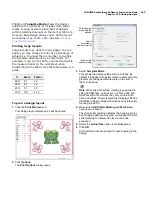
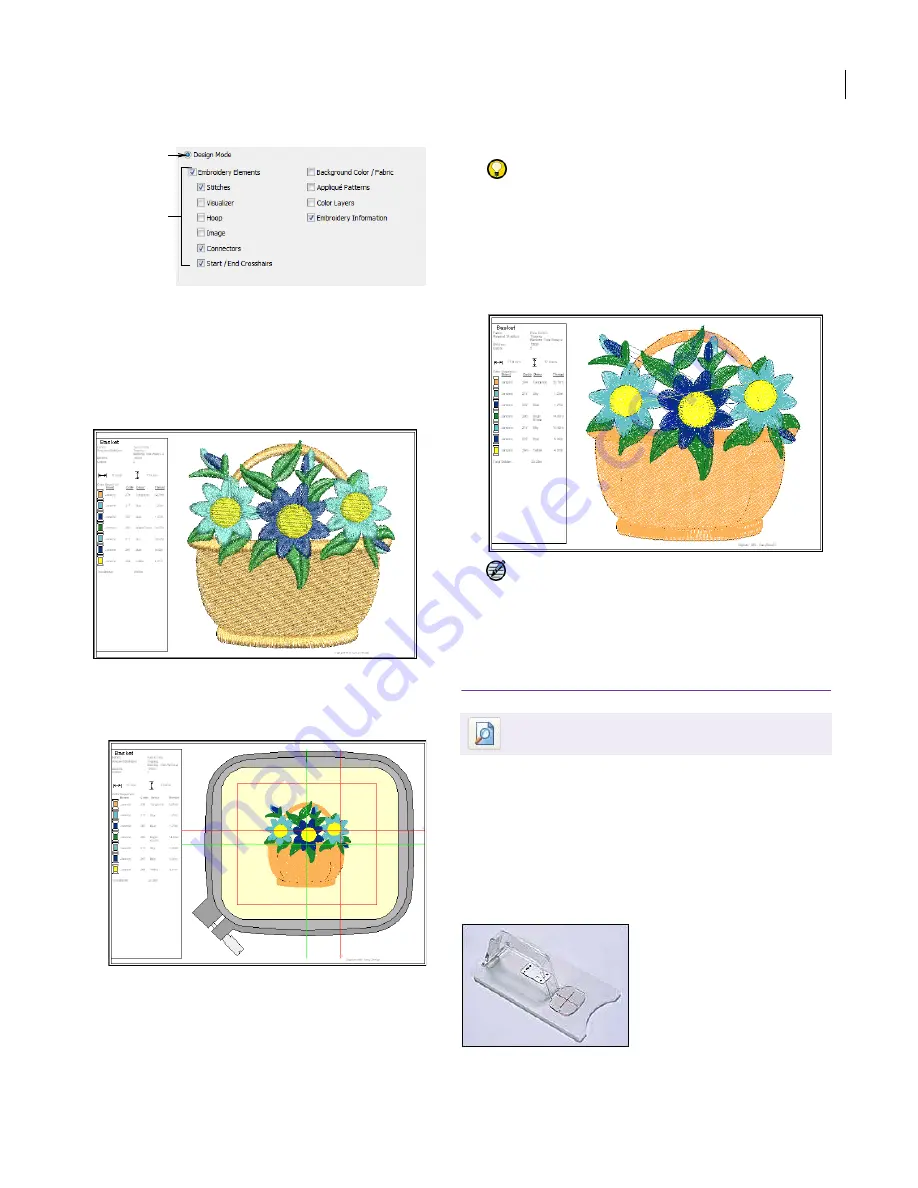
You can sew embroidery out by sending the design
directly to a sewing machine or saving it to
removable media and stitching out using a layout
template and the JANOME Cloth Setter. The
template setter markings allow you to position the
device for accurate design centering within a hoop.
The device has a transparent plastic bar with
marked cross.
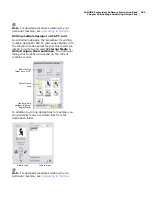
Select
embroidery
elements to print
Select Design
Mode
Use Standard > Print Preview to preview a design
printout.
Содержание DigitizerPro
Страница 236: ...234 Part IX Software Feature Table ...
Страница 243: ...241 Part X Appendices Glossary Index ...

