JANOME Embroidery Software Instruction Book
Chapter 23 Special Lettering Features
179
Changing lettering stitch types
By default, lettering objects are filled with Satin
Fill. You can also apply other basic fill stitch types,
such as Weave Fill, as with other embroidery
objects. See
Selecting fill stitches
for details.
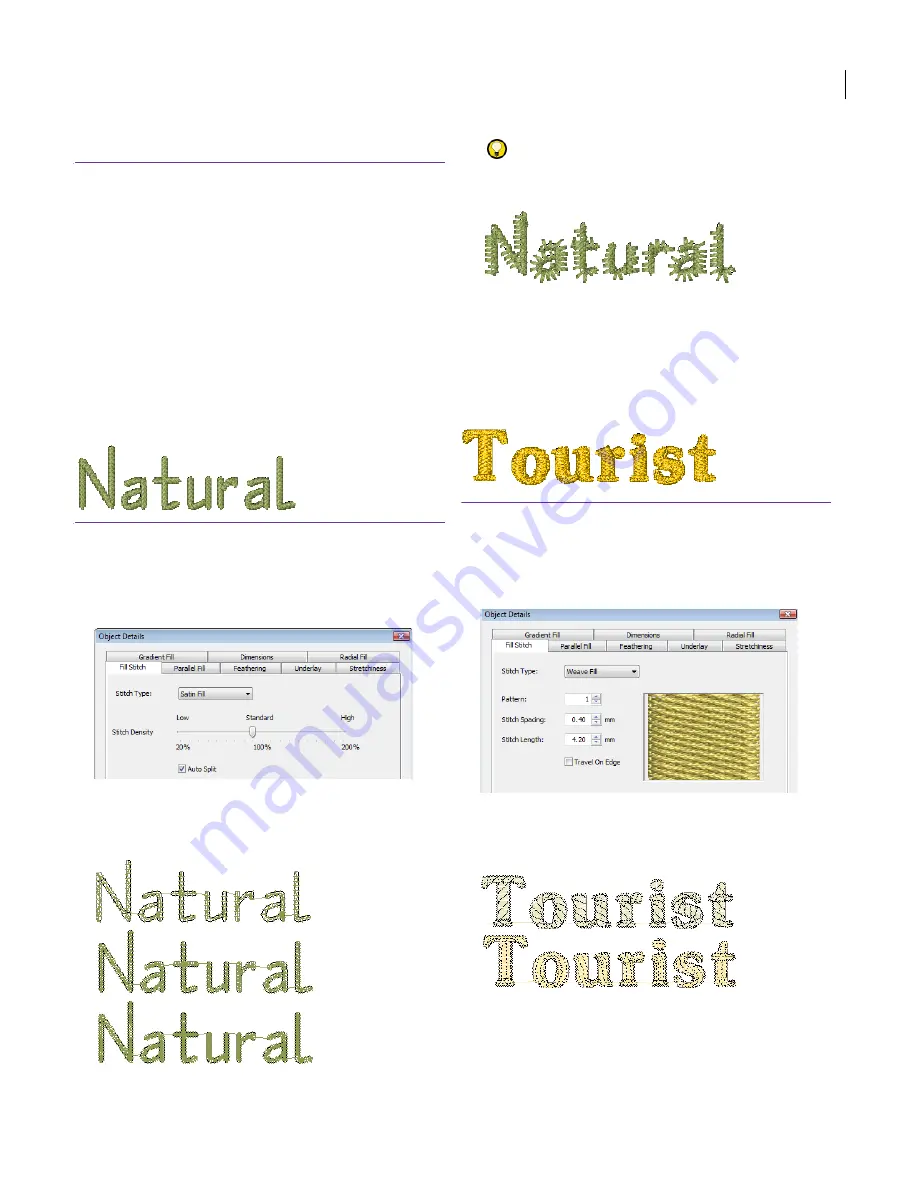
Adjusting Satin Fill settings for lettering
objects
By default, lettering objects are filled with Satin
Fill. Where a letter is narrow, stitches are tight,
thus requiring fewer stitches to cover the fabric.
Where a column is very narrow, stitches need to be
less dense because too many needle penetrations
can damage the fabric. See also
Creating satin fills
.
To adjust Satin Fill settings for lettering
objects
1
Double-click a selected lettering object.
The
Object Details > Fill Stitch
dialog opens.
2
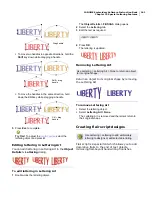
Move the slider to set the stitch density you want for
your lettering.
3
Click
OK
.
Try this!
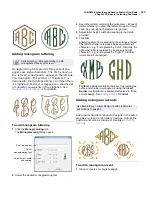
Add extra texture to lettering by applying
Feather Edge
. See
Applying Feather Edge
for details.
Adjusting Weave Fill settings for
lettering objects
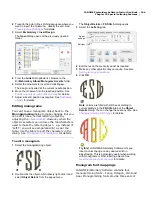
You can fill lettering shapes with Weave Fill
stitching. It is suitable for filling large, irregular
lettering shapes. See also
Creating weave fills
.
To adjust Weave Fill settings for lettering
objects
1
Double-click a selected lettering object.
The
Object Details > Fill Stitch
dialog opens.
2
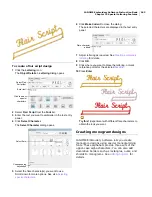
Select
Weave Fill
.
3
Select a
Weave
Fill
Pattern. See
Selecting Weave Fill
patterns
for details.
4
Adjust stitch spacing to increase or decrease density.
See
Adjusting Weave Fill stitch spacing
for details.
Density: 50%
Density: 100%
Density: 150%
Pattern 4
Pattern 8
Содержание DigitizerPro
Страница 236: ...234 Part IX Software Feature Table ...
Страница 243: ...241 Part X Appendices Glossary Index ...

