26
4. Repeat Step 1 to Step 3 if necessary for the other HDD tray.
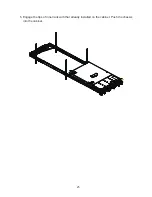
5. Install rack mounting handles at both side of the NAS server.
6. Install the NAS server in the rack.(Refer to previous discussions)
7. Connect your NAS server to the network with LAN cable from the LAN port located at
the back of your NAS server.(At least one network connection is required)
8. Plug the power cord into the power connector on you NAS server.
9. Make sure the power switch on the power supply is in on position.
10. Press the power button on left of the front panel on NAS server.
2.4 Installing Disk Drives - 4600U, 12600U
and 12620U
Follow the procedure to install a rack mount enclosure:
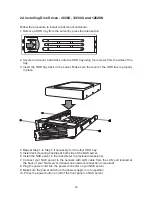
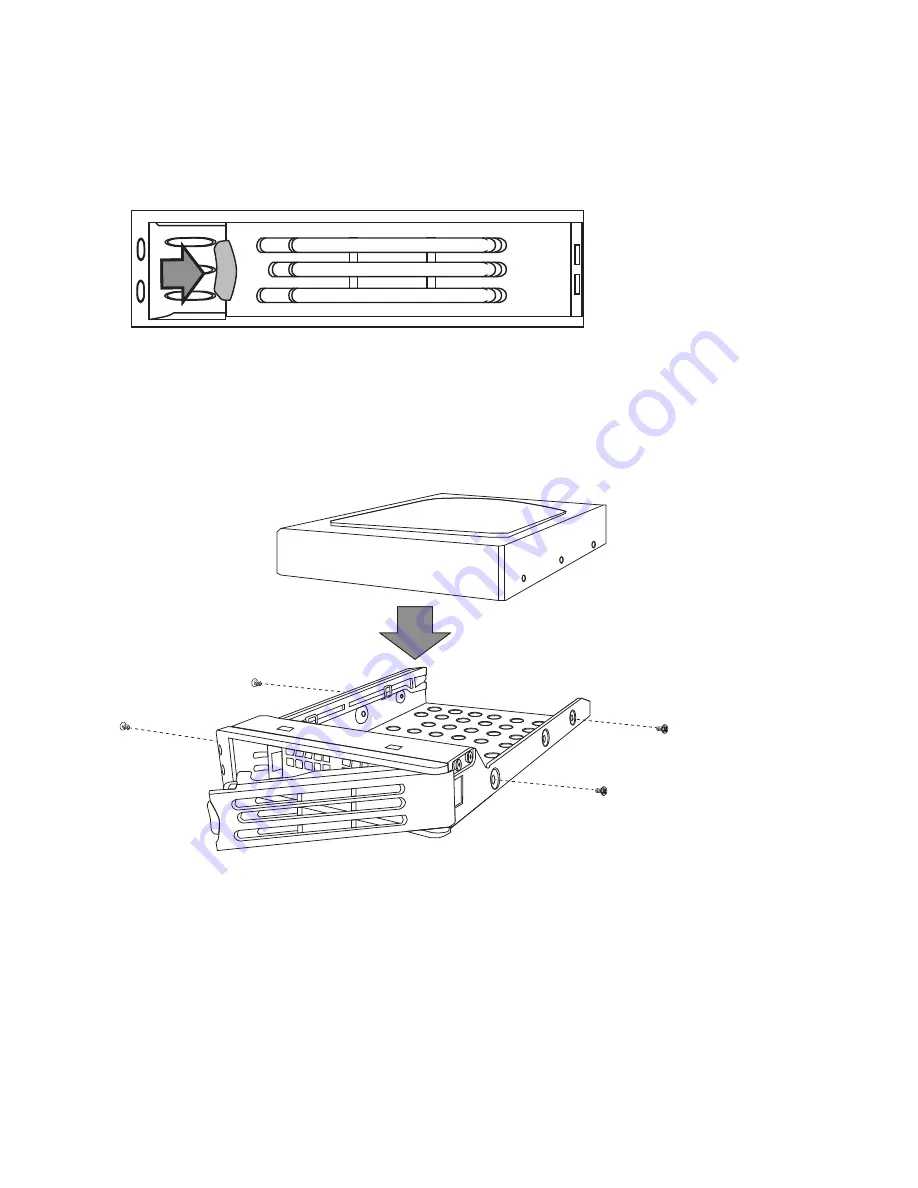
1. Remove a HDD tray from the server by press the release tab.
2. Secure and mount a hard disk onto the HDD tray using four screws from the sides of the
tray.
3. Insert the HDD tray back in the server. Make sure the lever of the HDD tray is properly
in place.
Содержание nastorage 12600 series
Страница 1: ...1 NAStorage 4600 12600 12620 Series Tower 1U 2U Rack mount User Manual Rev 1 1 ...
Страница 16: ...16 6 Use the bezel key to lock the drive tray Repeat the above process to install more disk drives Bezel Lock ...
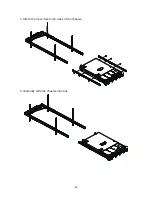
Страница 24: ...24 3 Attach the inner rails to the sides of the chassis 4 Gradually slide the chassis into rack ...
Страница 50: ...50 4 Click to open the Trusted Root Certification Authorities tab Click the Import button ...
Страница 59: ...59 5 Save the compiled module to a position as shown below ...
Страница 158: ...158 ...


