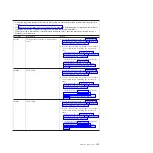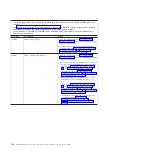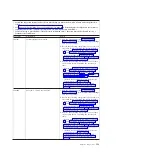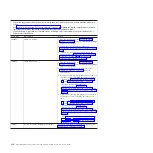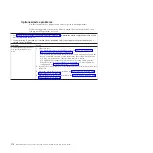
Memory problems
Use this information to diagnose and resolve memory problems with the blade
server.
Follow the suggested actions in the order in which they are listed in the Action
column until the problem is solved.
v
See Chapter 4, “Parts listing, Types 7871 and 1949,” on page 41 to determine which components are CRUs and
which components are FRUs.
v
If an action step is preceded by “(Trained service technician only),” that step must be performed only by a
trained service technician.
Symptom
Action
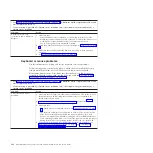
The amount of system memory
that is displayed is less than the
amount of installed physical
memory.
1.
Make sure that:
v
You have installed the correct type of memory (see “Installing a memory
module” on page 64).
v
If you changed the memory, you updated the memory configuration in the
Setup utility (see “Using the Setup utility” on page 20).
v
All banks of memory are enabled. The blade server might have
automatically disabled a memory bank when it detected a problem, or a
memory bank might have been manually disabled (see “Using the Setup
utility” on page 20).
2.
Check the IMM event log for a memory error (see “Viewing event logs
through the Setup utility” on page 99):
v
If a DIMM was disabled by a systems-management interrupt (SMI), replace
the DIMM (see “Removing a memory module” on page 63 and “Installing a
memory module” on page 64).
v
If a DIMM was disabled by the user or by POST, run the Setup utility and
enable the DIMM (see “Using the Setup utility” on page 20).
3.
Reseat the DIMM, and the optional expansion unit, if one is installed (see
“Removing a memory module” on page 63, “Installing a memory module” on
page 64, “Removing an optional expansion unit” on page 57, and “Installing
an optional expansion unit” on page 58).
4.
Replace the following components one at a time, in the order shown, restarting
the blade server each time:
a.
Optional expansion unit, if one is installed (see “Removing an optional
expansion unit” on page 57, and “Installing an optional expansion unit” on
page 58)
b.
DIMM (see “Removing a memory module” on page 63 and “Installing a
memory module” on page 64).
c.
(Trained service technician only) System-board assembly (see “Removing
the system-board assembly” on page 94 and “Installing the system-board
assembly” on page 95).
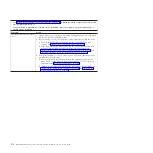
Multiple rows of DIMMs in a
branch are identified as failing.
1.
Make sure that the DIMMs are installed in the proper sequence (see “Installing
a memory module” on page 64).
2.
Reseat the DIMMs and restart the server (see “Removing a memory module”
on page 63 and “Installing a memory module” on page 64).
3.
Remove each DIMM one at a time, restarting the server after removing each
DIMM until the error is gone (see “Removing a memory module” on page 63).
4.
Replace the failed DIMM; then, reinstall the DIMMs to their original
connectors and restart the server (see “Installing a memory module” on page
64).
5.
(Trained service technician only) Replace the system board (see “Removing the
system-board assembly” on page 94 and “Installing the system-board
assembly” on page 95).
Chapter 6. Diagnostics
167
Содержание BladeCenter HS22V 7871
Страница 1: ...BladeCenter HS22V Type 7871 and 1949 Problem Determination and Service Guide...
Страница 2: ......
Страница 3: ...BladeCenter HS22V Type 7871 and 1949 Problem Determination and Service Guide...
Страница 16: ...xiv BladeCenter HS22V Type 7871 and 1949 Problem Determination and Service Guide...
Страница 20: ...4 BladeCenter HS22V Type 7871 and 1949 Problem Determination and Service Guide...
Страница 34: ...18 BladeCenter HS22V Type 7871 and 1949 Problem Determination and Service Guide...
Страница 64: ...48 BladeCenter HS22V Type 7871 and 1949 Problem Determination and Service Guide...
Страница 112: ...96 BladeCenter HS22V Type 7871 and 1949 Problem Determination and Service Guide...
Страница 240: ...224 BladeCenter HS22V Type 7871 and 1949 Problem Determination and Service Guide...
Страница 244: ...228 BladeCenter HS22V Type 7871 and 1949 Problem Determination and Service Guide...
Страница 252: ...236 BladeCenter HS22V Type 7871 and 1949 Problem Determination and Service Guide...
Страница 257: ......
Страница 258: ...Part Number 00Y8038 Printed in USA 1P P N 00Y8038...


