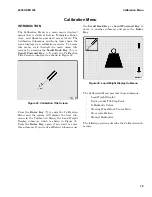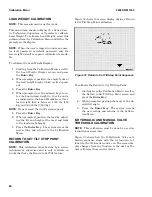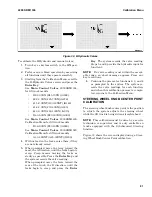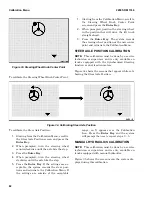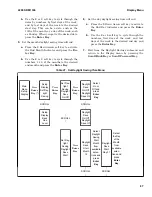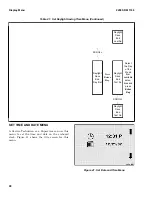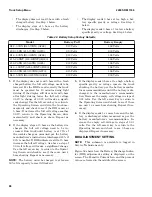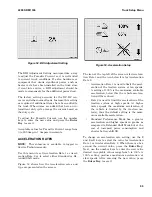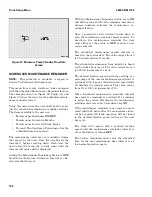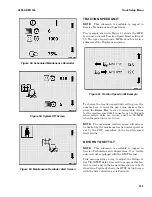
Procedure for Setting Time and Date
NOTE:
To exit from a menu at any time without
making any changes, press the Scroll Back Key
or Scroll Forward Key.
1.
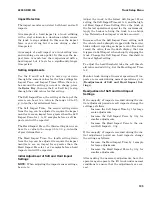
At the Display Menu, scroll to the Set Time and
Date Format submenu, unless already there,
and press the Enter Key (*) to enter this sub-
menu.
2.
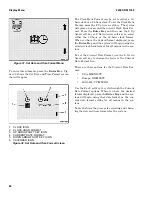
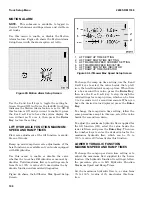
Press the 2 or 3 soft key to select the Time Icon,
then press the Enter Key.
The system will display a flashing line under the
hour portion of the time. To change the hour:
a.
Use the number keys to enter the correct
hour and press the Enter Key. If the hour
does not need to be changed, just press the
Enter Key.
If the number you entered is a valid hour set-
ting, the system accepts it and moves the
flashing line to the next segment, the minutes
portion of the time.
b.
Use the number keys to enter the minutes
and press the Enter Key. If the minutes are
correct, simply press the Enter Key.
If the number you entered is a valid minutes
setting, the system accepts it and moves the
flashing line to the A (for AM) or P (for PM)
designator.
c.
To change the AM/PM setting, use the 2 or 3
soft key, then press the Enter Key. If the
current AM or PM setting is correct, simply
press the Enter Key.
The system puts the new time settings into ef-
fect immediately.
3.
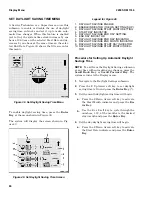
To set the system date, use the 2 or 3 soft key
to select the Date Icon and press the Enter
Key.
The system will display a flashing line under the
left segment of the date. If the Current Date For-
mat is DD/MM/YY, for example, then the left
segment displayed is the day of the month. (Cur-
rent Date Format can be changed in the Set Date
and Time Format submenu.)
a.
Use the number keys to enter the correct
value and press the Enter Key. If the cur-
rent value for the left segment of the date is
correct, simply press the Enter Key.
b.
Repeat step a. for the middle and right seg-
ments of the date.
The system will put the new system date into
effect immediately.
SET UNITS MENU
A Service Technician or a Supervisor can use this
menu to set the type of units the system will use to
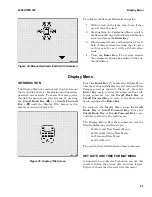
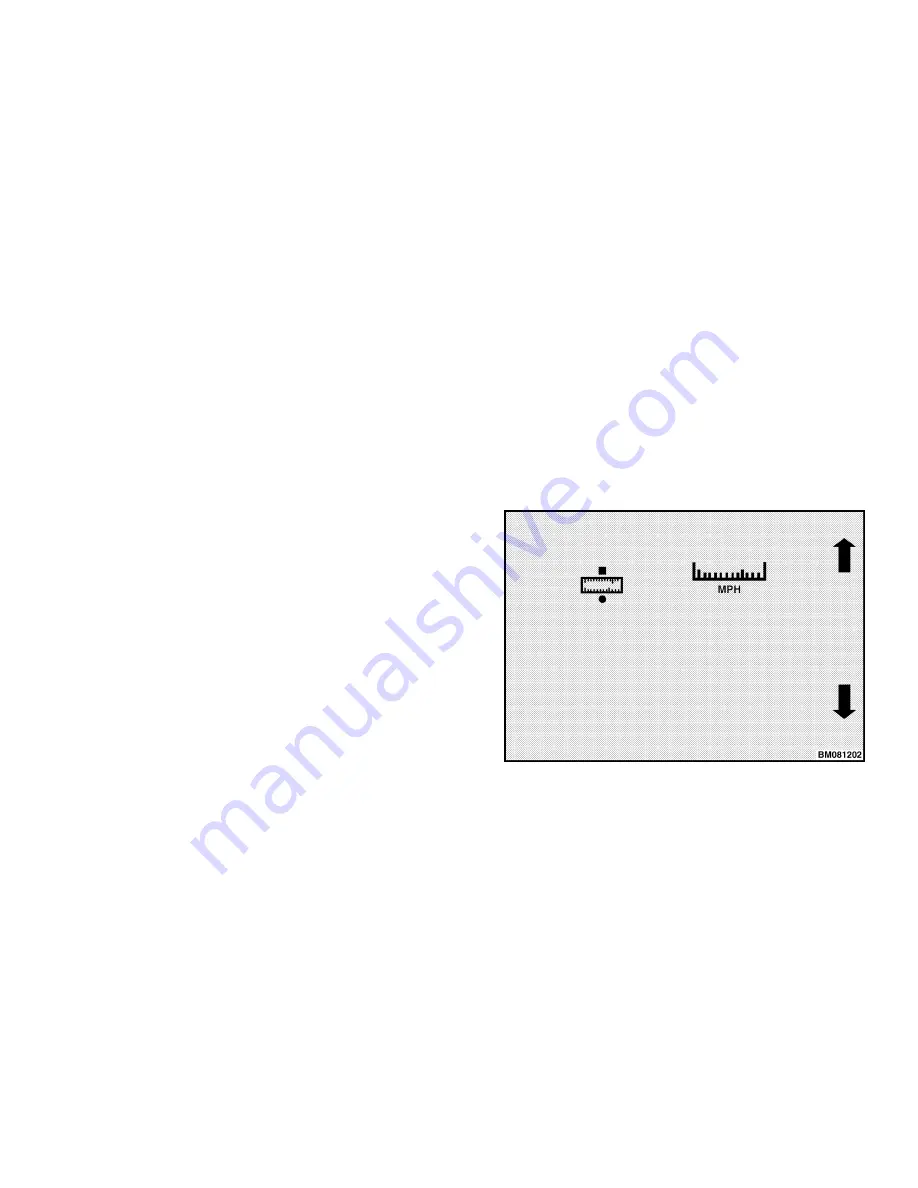
either Imperial or Metric. Figure 42 shows the Set
Units submenu.
Figure 42. Set Units Menu
To set the type of units the system will use, either
Imperial or Metric, enter the Set Units Menu. Use
the 2 Up Arrow or 3 Down Arrow soft key to select
Imperial or Metric. When the corresponding icon
for the type of units desired is displayed on the
screen, press the Enter Key and the system will
begin using the units selected immediately.
2200 SRM 1336
Status Menu
91
Содержание A1.3-1.5XNT
Страница 6: ... THE QUALITY KEEPERS HYSTER APPROVED PARTS ...
Страница 9: ...Figure 3 Technician Flowchart Sheet 1 of 4 2200 SRM 1336 Menu Flowchart 3 ...
Страница 10: ...Figure 3 Technician Flowchart Sheet 2 of 4 Menu Flowchart 2200 SRM 1336 4 ...
Страница 11: ...Figure 3 Technician Flowchart Sheet 3 of 4 2200 SRM 1336 Menu Flowchart 5 ...
Страница 12: ...Figure 3 Technician Flowchart Sheet 4 of 4 Menu Flowchart 2200 SRM 1336 6 ...
Страница 123: ......
Страница 124: ...TECHNICAL PUBLICATIONS 2200 SRM 1336 2 14 8 13 4 13 12 12 3 12 12 11 ...


