Use Cases/Tutorials
p. 162
Who will receive notifications?
When you configure notifications you can choose both a primary and secondary email address to
receive notifications.
What notifications can be sent?
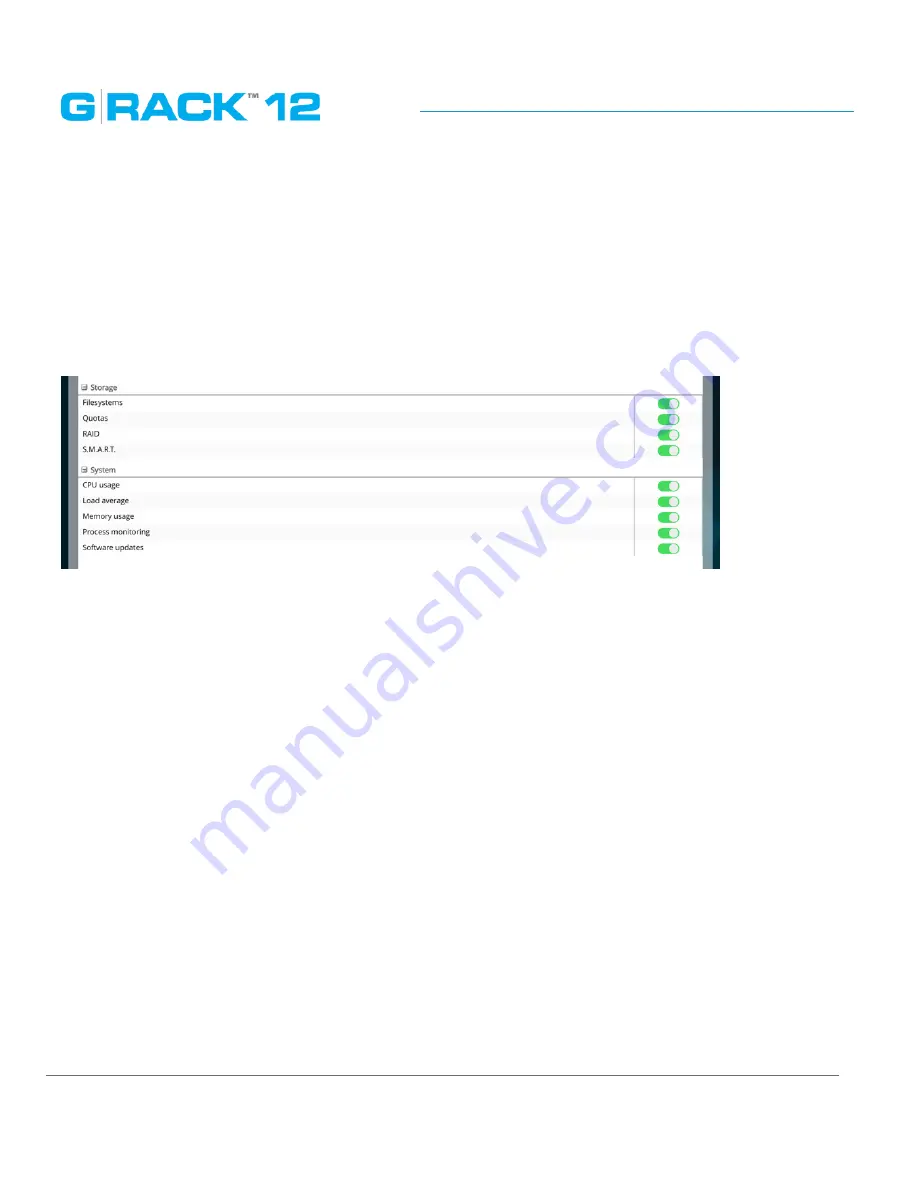
If you have set your emails for notifications, by default you will be notified about the following
system parameters and function monitors.
To customize notification settings go to Monitoring menu where you will be able to turn on and off
additional notifications.
How can I determine the admin interface URL?
To define the URL, please use DHCP client to scan for the new address ( e.g. Bonjour) or, if there
is no DHCP server available, utilize the default IP address to connect and set a static IP address of
172.16.12.12. It is recommended to use an IP Search Utility when accessing and configuring G-RACK
12 for the first time.
How do I log in to the admin interface?
Once you have the IP address from above you simply need to type the address in to the URL bar of
your browser. (Example: http://192.168.10.200)
The default user name is „admin” and the password is „gtech”. If you have changed the admin
password and forgotten it , you are not able to login. You will be required to contact G-Technology
Support.
How do I add a User to a Workspace?
1. You need to have a workspace previously configured.
2. Click Workspaces icon.
3. Select a workspace.
4. Click the permissions button.
Содержание G-RACK 12
Страница 1: ......
Страница 2: ...Copyrights...
Страница 4: ...Introduction...
Страница 9: ...Getting Started...
Страница 12: ...Getting Started p 12 Front View Rear View...
Страница 31: ...Getting Started p 31 All settings can be changed manually in the G RACK 12 Administrative Tool at any time...
Страница 32: ...Administrative Tool...
Страница 41: ...Administrative Tool p 41 Delete Workspace To delete a workspace highlight the workspace and click Delete button...
Страница 48: ...Administrative Tool p 48 Extended information from smartctl utility...
Страница 77: ...Administrative Tool p 77 SMB CIFS Workspaces Add a workspace that will connect via SMB CIFS service...
Страница 92: ...Administrative Tool p 92 Comment Optional comment text box...
Страница 109: ...Administrative Tool p 109 Example error message...
Страница 124: ...Administrative Tool p 124 Memory usage Network interfaces...
Страница 130: ...Hardware Description...
Страница 159: ...Use Cases Tutorials...
Страница 180: ...Use Cases Tutorials p 180...
Страница 184: ...Use Cases Tutorials p 184 You need to click the enable slider to activate this option...
Страница 191: ...Use Cases Tutorials p 191 Lastly a review is presented before the shares are created...
Страница 192: ...Use Cases Tutorials p 192 Once you confirm the process starts...
Страница 215: ...Use Cases Tutorials p 215 6 The RAID is ready...
Страница 221: ...iSCSI Essentials...
Страница 228: ...iSCSI Essentials p 228 Links and references https en wikipedia org wiki ISCSI...
Страница 234: ...Troubleshooting...
Страница 247: ...F A Q...
Страница 272: ...Technical Support Warranty...
Страница 283: ...Glossary...
Страница 289: ...Appendices...


