277
Di
s
pl
a
yi
ng
sa
ve
d im
a
ge
s
Di
s
pl
a
yi
ng
/e
di
tin
g
/m
a
n
a
gi
ng
d
a
t
a
<Create item>
Creating Stamp/Frame/Menu icon
from still images
Creating Stamp
・
Stamps can be created from still images, bigger
than 34
k
34 dots or smaller than CIF image size.
1
Select a still image on Image list
screen, and press
p
[Function]
s
6
"Create items"
s
1
"Stamp".
2
Select a Stamp frame and press
C
.
3
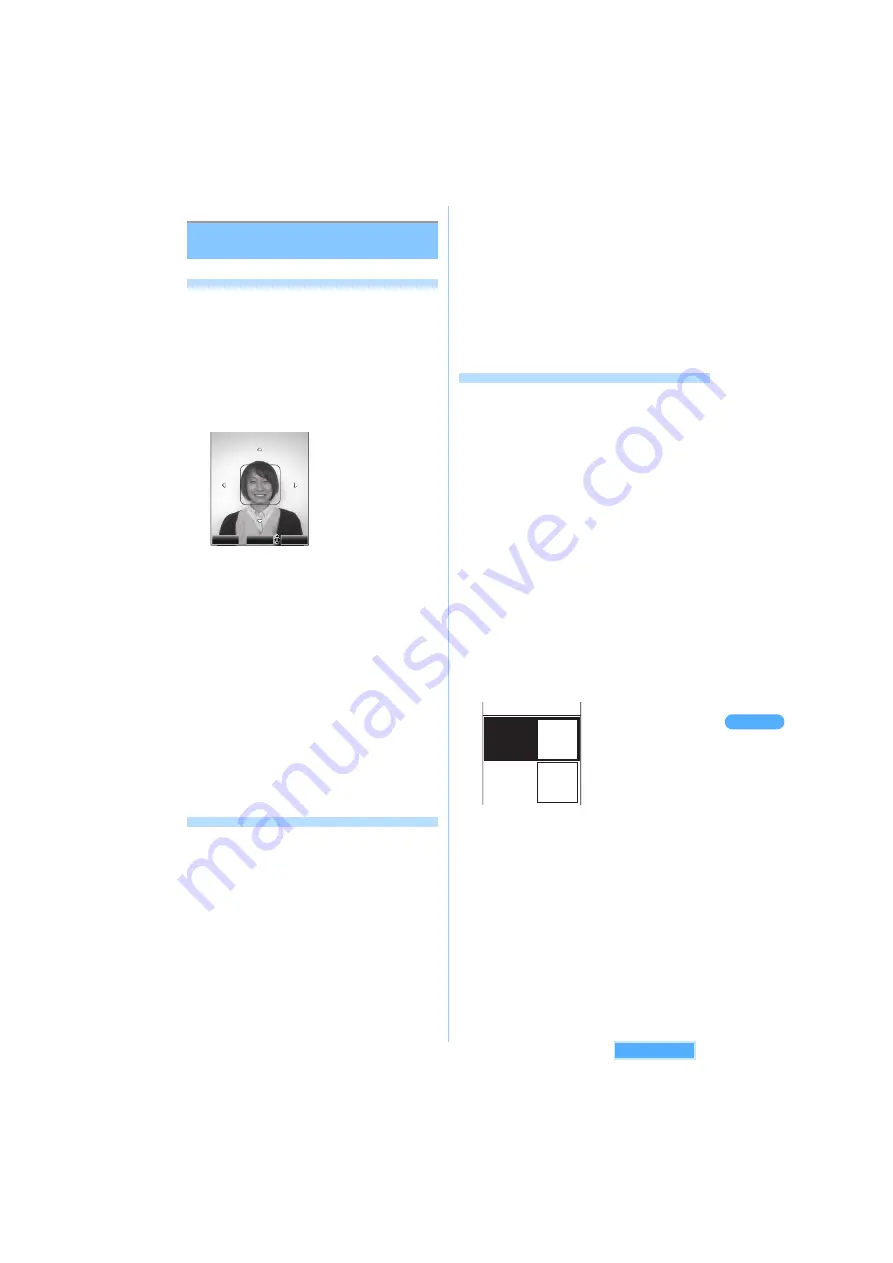
Place an image on stamp frame.
・
Press
A
to scroll the image.
・
Press
m
[FrameSize] to switch the frame
size.
・
Press
p
[Optimize] to fit either vertical or
horizontal shorter line into the current frame
size, and the image is zoomed out without
changing the aspect ratio. Press
p
[Release] to return to the previous size.
4
Press
C
.
5
Confirm the created stamp and press
C
.
6
Enter the title and press
C
.
The image is saved in "Data box"
J
"My
picture"
J
"Items" folder.
・
Up to 18 two-byte (Full Mark)/36 one-byte
(Half Mark) characters can be entered.
Creating Frame
・
You can create frames from still images in sizes of
CIF (352
k
288), Stand-by display, QCIF, or Sub-
QCIF.
1
Select a still image on Image list
screen, and press
p
[Function]
s
6
"Create items"
s
2
"Frame".
2
Select a frame and press
C
.
The area excluded from the frame is displayed
in gray.
3
Confirm the frame to be created and
press
C
.
The frame is displayed as preview.
4
Press
C
.
5
Enter the title and press
C
.
The image is saved in "Data box"
J
"My
picture"
J
"Items" folder.
・
Up to 18 two-byte (Full Mark)/36 one-byte
(Half Mark) characters can be entered.
Creating Menu icon
Created Menu icons are available to be applied to
such as Main menu.
・
Still images with file restriction (excluding being
set with FOMA terminal) are not allowed to be
customized as Menu icon. However, Single icon
can be created from images of following sizes:
*
1
The size of 6-for-1 is for GPS menu, and of
9-for-1 is for Main menu or i-mode menu.
*
2
The size of 12-for-1 is for Mail menu.
・
Some of the image sizes are unavailable to be
customized as icons.
1
Press
p
[Function] on Image list
screen
s
6
"Create items"
s
3
"Menu icon".
2
Press
1
"Set of icons" or
2
"Single icon".
3
Select a partition type and press
C
.
・
For creating Set icons, select Background
color with
S
and press
C
.
4
Select "Image 1" and press
C
.
5
Select a folder, and press
C
.
6
Select an image and press
C
.
・
Press
m
[Play] to view the image.
OK
FrameSize
optimize
- 80
k
84 dots (Image "6-for-1/9-for-1")
*
1
- 80
k
63 dots (Image "12-for-1")
*
2
Menu icon
Image 1
Image for
normal
display
Image 2
Image for
item sel.
display
See next page
Содержание SA702i
Страница 54: ......
Страница 94: ......
Страница 138: ......
Страница 156: ......
Страница 252: ......
Страница 253: ...251 i channel i channel 252 Displaying i channel 253 Setting i channel 253 ...
Страница 346: ......
Страница 360: ......
Страница 399: ...397 Appendix External device linkage Troubleshooting MEMO ...
Страница 400: ...398 Appendix External device linkage Troubleshooting MEMO ...
Страница 401: ...399 Appendix External device linkage Troubleshooting MEMO ...
Страница 402: ...400 Appendix External device linkage Troubleshooting MEMO ...
Страница 403: ...401 Appendix External device linkage Troubleshooting MEMO ...
Страница 404: ...402 Appendix External device linkage Troubleshooting MEMO ...
Страница 405: ...403 Appendix External device linkage Troubleshooting MEMO ...
Страница 406: ...404 Appendix External device linkage Troubleshooting MEMO ...
Страница 407: ...405 Index Quick reference manual Index 406 Quick reference manual 412 ...
Страница 413: ......


