MIL-3000FTX Series of FastPort Print Servers
8-3
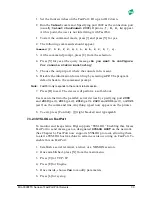
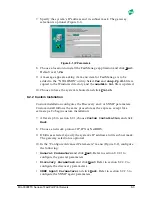
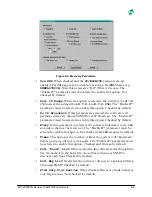
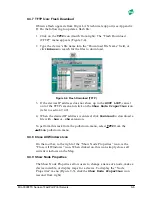
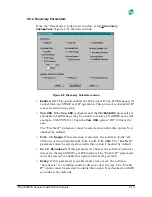
7. Specify the system’s IP address and its subnet mask. The gateway
selection is optional (Figure 8-1).
Figure 8-1. IP Parameters
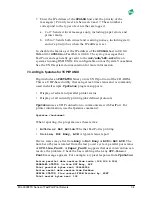
8. Choose a location to install the FastManage application and click
Next
.
Default is
c:\fm
.
9. A message appears asking if a menu item for FastManage is to be
added to the “NWADMIN” utility. Select
Yes
and
snap-fp.dll
file is
copied to the Windows directory and the
nwadmin.ini
file is updated.
10. Choose to have the system rebooted and click
Finish.
8.2.2 Custom Installation
Custom installation configures the Discovery and/or SNMP parameters.
Custom install follows the same procedure as the express, except for a
extra steps. To begin custom installation:
7. After step 6 in section 8.2.1, choose
Custom Installation
and click
Next
.
8. Choose a network protocol: IP, IPX or NetBIOS.
9. If
IP
was selected, specify the system’s IP address and its subnet mask.
The gateway selection is optional.
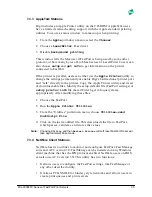
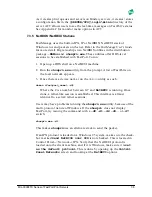
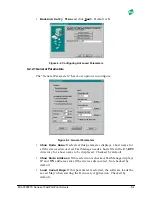
10. In the “Configure Advanced Parameters” menu (Figure 8-2), configure
the following:
•
General Parameters
and click
Next
. Refer to section 8.2.2.1 to
configure the general parameters.
•
Discovery Parameters
and click
Next
. Refer to section 8.2.2.2 to
configure the discovery parameters.
•
SNMP Agent Parameters
and click
Next.
Refer to section 8.2.2.3 to
configure the SNMP agent parameters.

