


Ch. 4 - Taking a Picture
Captures for Preparation and Modification
User's Guide to the SPOT Cooled Color Digital Camera, 6/9/98
58
6.
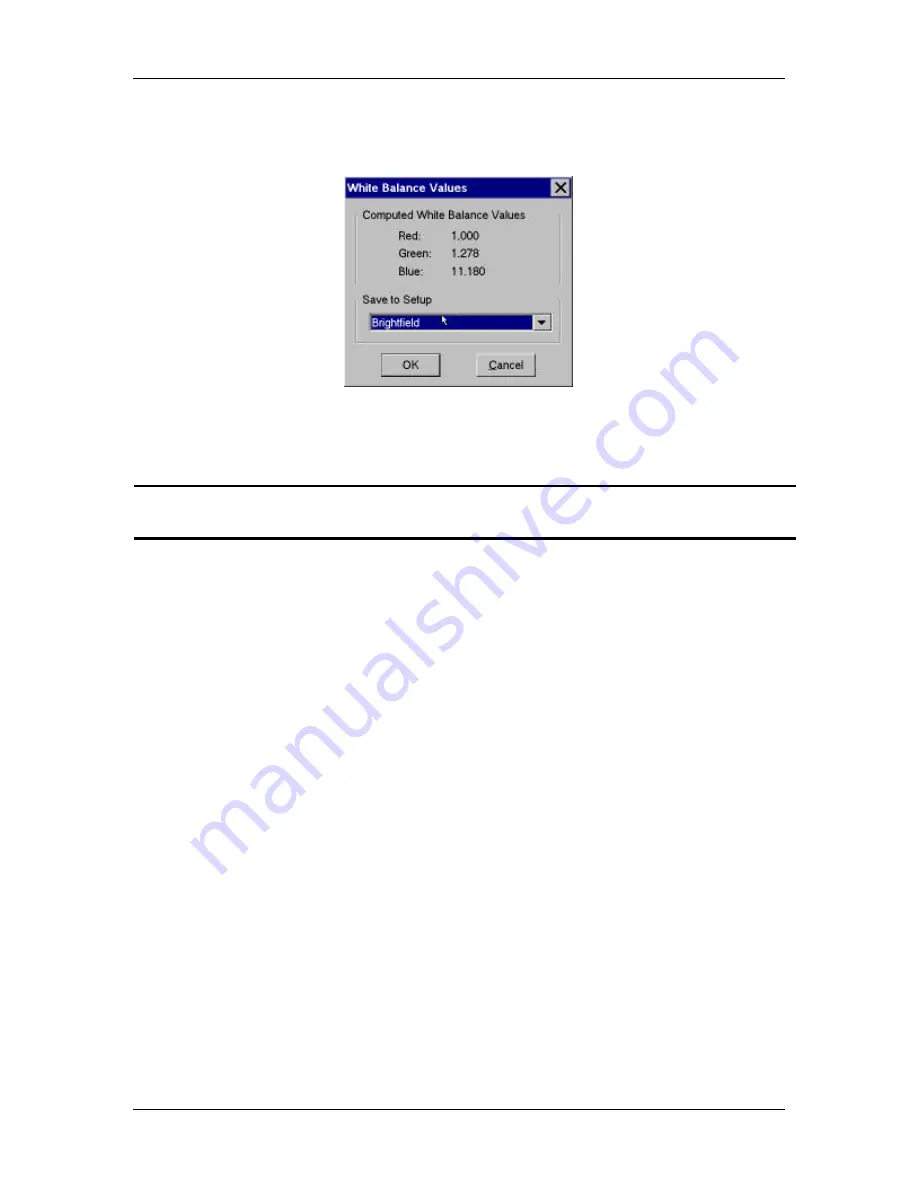
When the camera finishes calculating the white balance values, the following window
appears:
7.
The computed white balance values appear, along with the Save to Setup option. The
camera automatically saves the computed values to the current active setup (i.e., the
image setup that appears in the scroll bar at the bottom right corner of the screen).
!
Note: Due to the inherently poor blue light sensitivity of CCD chips, the blue
value is often much higher than the red and green values.
8.
To change the setup that the new white balance values are saved to, click on Save to
Setup scroll bar, and select a setup from the list.
9.
Click on OK.
10.
The program returns to the main screen.
11.
To edit the white balance values that you saved, open the image setup (i.e.,
Brightfield from the previous example). The values should appear in the Red, Green,
and Blue selection bars. Edit the values as needed.
Get Background Image
The Get Background Image option is the first step in the background subtract process
described in Chapter 3, Preparing to Take a Picture. The Background Subtract option
allows you to rid your images of the background glow that is sometimes seen in
fluorescence images. Sometimes, you will notice this glow while looking at the
specimen under the microscope; other times, you will only notice it after you have
already captured an image.


