


Ch 3 – Preparing to Take a Picture
Image Setup Options
User’s Guide to the SPOT Cooled Color Digital Camera, 6/9/98
38
If you do not know the exact pixel values of the area that you want to capture (the
most common scenario and the easier method), do the following:
a)
Click on the Full Chip option.
b)
Capture the full image [i.e., select the Get Image (exposure from setup) option
from the Camera menu]. The image capture appears on the screen.
c)
Position the cursor at the upper left edge of the image region that you want to
define.
d)
Click on the left mouse button and use the mouse to drag the cursor across the
screen. A dotted border appears around the area of the image that you selected.
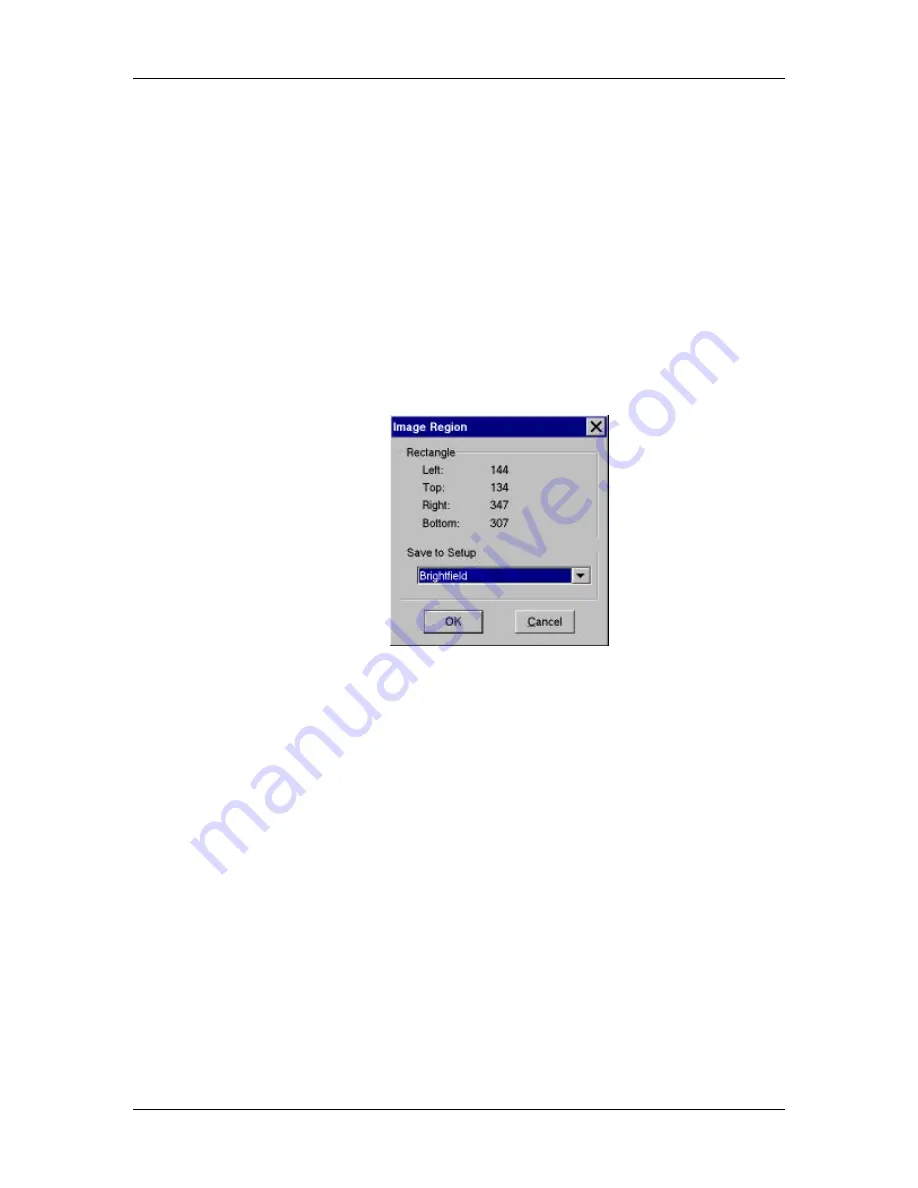
e)
From the Camera menu, select the Set Image Region option. The Image Region
window displays the pixel values for the region that you selected, as illustrated
below:
f)
Click on OK to save the region values to the current image setup, or select a
different image setup. The region values are now saved to the Image Setup.
Auto Corrections
The fourth and final aspect of defining an image setup is to determine the post-exposure
adjustments (corrections) that you want the SPOT camera/software to make. The
available corrections/adjustments include the following:
§
Chip Defect Correction
§
Noise Filter
§
Image Size Double
§
Gamma Adjust
§
Horizontal Flip
§
Vertical Flip
§
Background Subtract
§
Flat-Field Correct
The following sections describe the available options.


