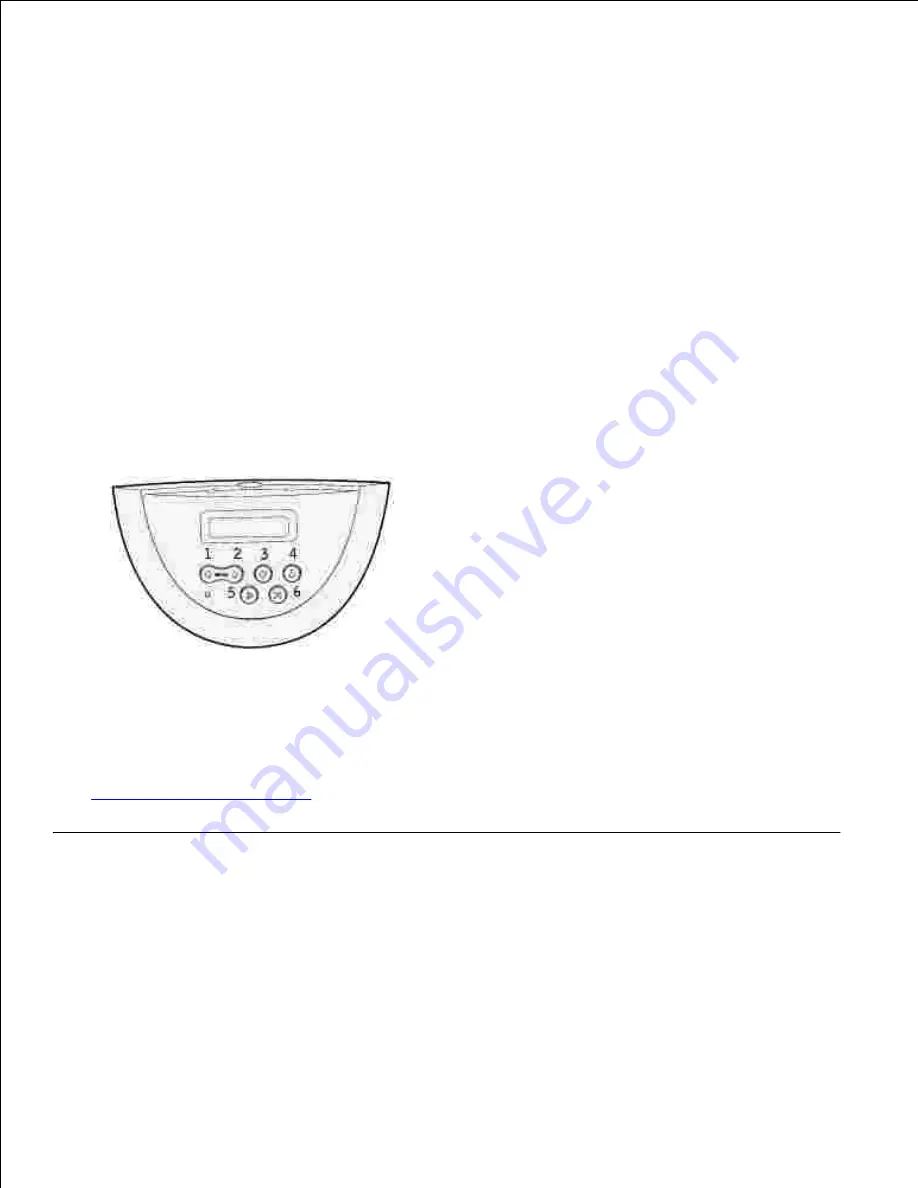
Confidential jobs
When you send a job to the printer, you can enter a personal identification number (PIN) from the driver.
The PIN must be four digits using the numbers 1–6. The job is then held in printer memory until you enter
the same four-digit PIN from the printer operator panel and choose to print or delete the job. This ensures
that the job does not print until you are there to retrieve it, and no one else using the printer can print the
job.
When you select Confidential Job from the Job Menu and then select your user name, the following prompt is
displayed:
Enter PIN:
=____
Use the buttons on the operator panel to enter the four-digit PIN associated with your confidential job. The
numbers next to the button names identify which button to press for each digit (1–6). As you enter the PIN,
asterisks are displayed to ensure confidentiality.
If you enter an invalid PIN, the message No Jobs Found. Retry? appears. Press Go to reenter the PIN, or
press Stop to exit the Confidential Job menu.
When you enter a valid PIN, you have access to all print jobs matching the user name and PIN you entered.
The print jobs matching the PIN you entered appear on the display when you enter the Print A Job, Delete A
Job, and Print Copies menu items. You can then choose to print or delete jobs matching the PIN you entered.
(See
Printing and deleting held jobs
for more information.) After printing the job, the printer deletes the
confidential job from memory.
Printing folio and statement sizes
Folio and statement sizes are not available in the Paper Size menu until Size Sensing is turned off. To turn
off Size Sensing:
Press and hold the
Select
and
Return
buttons while you turn the printer on.
1.
Release the buttons when
Performing Self Test
appears on the display.
2.
Содержание 5200n Mono Laser Printer
Страница 3: ...Refer to the Drivers and Utilities CD for details March 2003 Rev A01 ...
Страница 16: ...1 Tab 2 Slot Guide the cartridge in until it snaps into place 6 Close the upper door and then the lower door 7 ...
Страница 67: ...1 Support 2 Support extension Gently releasing the support extension drops it to its open position 3 ...
Страница 153: ...Pull down and out if the print media is in this position Close the duplex rear door Make sure it snaps into place 6 ...
Страница 155: ...Pull down and out if the print media is in this position Close the duplex rear door Make sure it snaps into place 3 ...
Страница 157: ...Close the duplex rear door Make sure it snaps into place 3 Remove the standard tray 4 ...
Страница 188: ...support dell com ...


