301
5
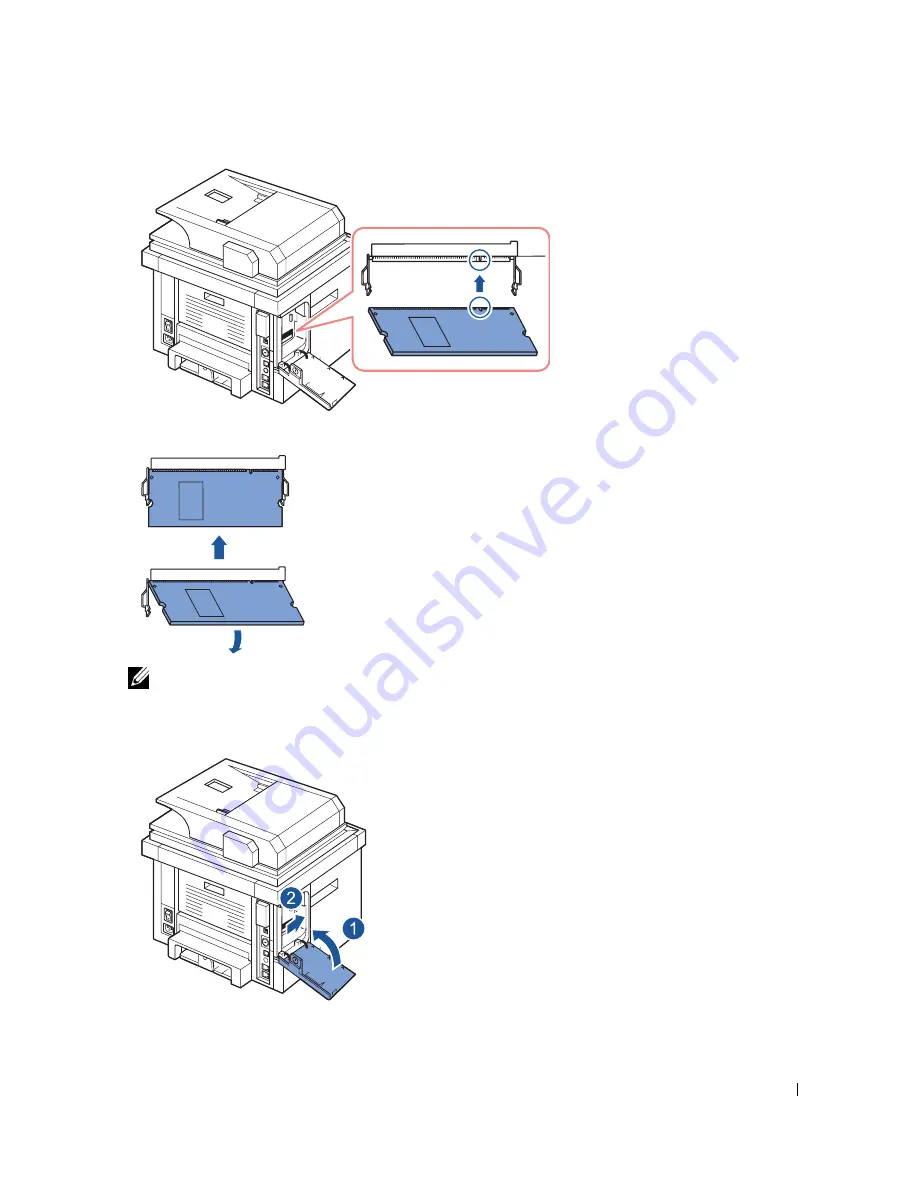
Press the memory module into the slot with care until you hear a “click”.
NOTE:
The notches and grooves illustrated above may not match those on an actual DIMM
and its slot.
6
Replace the control board cover.
7
Reconnect the power cord and printer cable, and turn the printer on.
After installing the memory DIMM, printer drivers will automatically configure the
updated memory.
Содержание 2355 Mono Laser
Страница 1: ...Dell 2355dn Laser MFP User s Guide ...
Страница 17: ...16 ...
Страница 31: ...30 4 Close the front cover ...
Страница 72: ...71 5 Click Update Firmware ...
Страница 99: ...98 ...
Страница 127: ...126 ...
Страница 181: ...180 ...
Страница 213: ...212 ...
Страница 214: ...Macintosh Installing Software for Macintosh Setting Up the Printer Printing Scanning ...
Страница 230: ...229 8 Enter your printer s name location description and click Next 9 Click Finish to complete installation ...
Страница 251: ...250 5 Reinsert the toner cartridge and close the front cover 6 Plug in the power cord and power the printer on ...
Страница 260: ...Troubleshooting Clearing Jams in the DADF Clearing Jams in the Paper Tray Clearing LCD Error Messages Solving Problems ...


