150
Scanning and Sending to SMB Server
Select the folder and share it with the machine in order to receive the scanned file. You need to
set the SMB server setting from the
Embedded Web Service
before following the next steps.
See "Setting up an SMB server".
1
Load the document(s) face up with top edge in first into the DADF.
OR
Place a single document face down on the document glass.
For details about loading a document, see "Loading an Original Document".
2
Press
Scan
from the home screen.
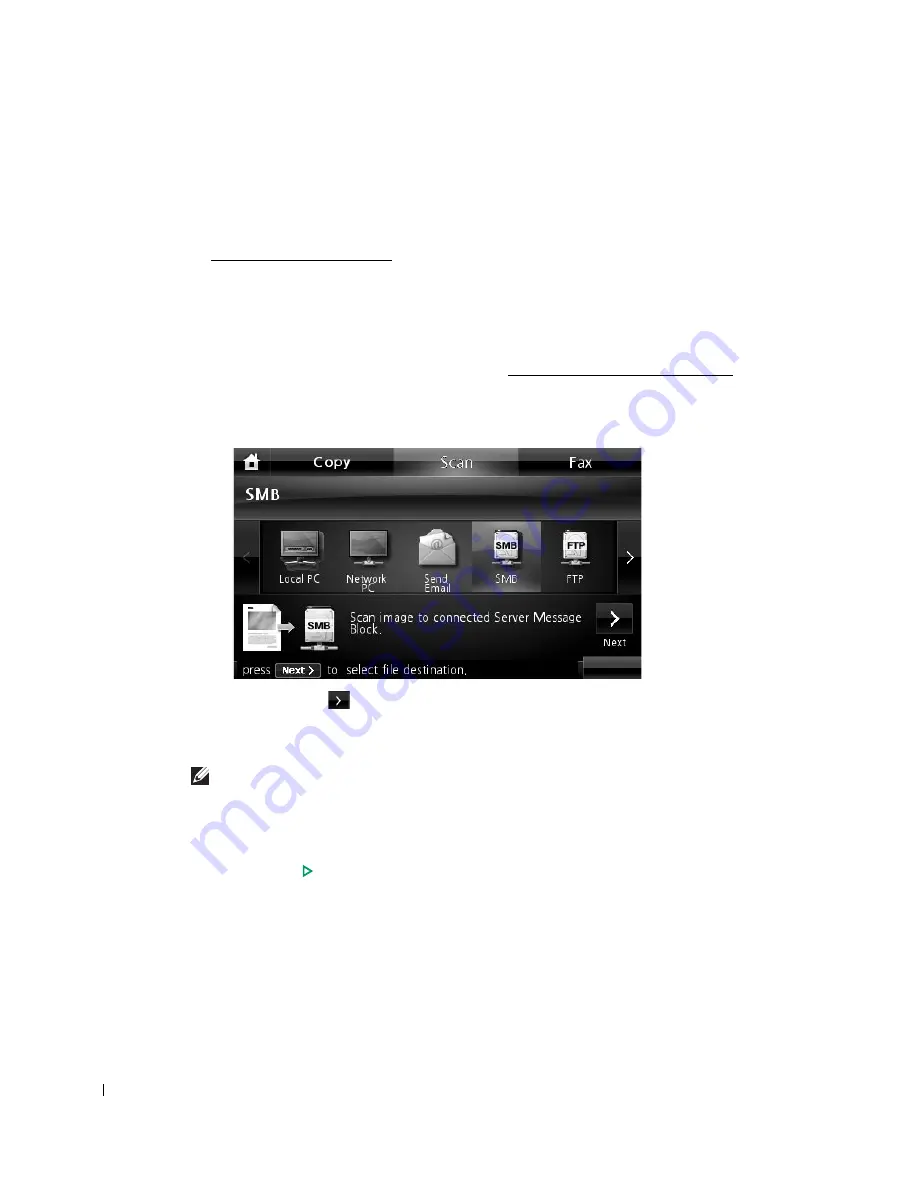
3
Press the left/right arrows to select
SMB
.
4
Press the
Next
(
) button.
5
Show the SMB server list you entered in the
Embedded Web Service
. Select the
destination SMB server.
You can select up to five destinations.
6
If necessary, customize the scan settings including original size, scan color, scan format,
duplex, and image quality by using
Options
.
7
Press
Start
(
)
. (on the touch screen or the operator panel)
The machine begins scanning and then sends the scanned image to the specified server.
Содержание 2355 Mono Laser
Страница 1: ...Dell 2355dn Laser MFP User s Guide ...
Страница 17: ...16 ...
Страница 31: ...30 4 Close the front cover ...
Страница 72: ...71 5 Click Update Firmware ...
Страница 99: ...98 ...
Страница 127: ...126 ...
Страница 181: ...180 ...
Страница 213: ...212 ...
Страница 214: ...Macintosh Installing Software for Macintosh Setting Up the Printer Printing Scanning ...
Страница 230: ...229 8 Enter your printer s name location description and click Next 9 Click Finish to complete installation ...
Страница 251: ...250 5 Reinsert the toner cartridge and close the front cover 6 Plug in the power cord and power the printer on ...
Страница 260: ...Troubleshooting Clearing Jams in the DADF Clearing Jams in the Paper Tray Clearing LCD Error Messages Solving Problems ...


