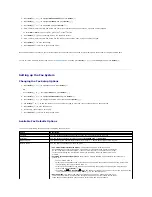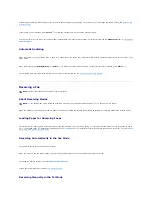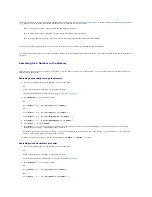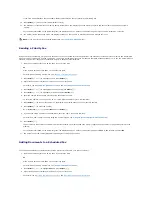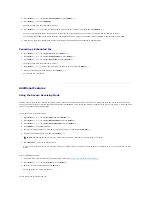
1.
Access the
Secure Receive
menu by following steps 1 thorough 3 in
"To turn the secure receiving mode on:"
.
2.
Press
Scroll
(
or
) to display
Off
and press
Select
(
).
3.
Enter the four-digit passcode and press
Select
(
).
The mode is deactivated and the printer prints faxes stored in memory.
4.
Press
Cancel
(
) to return to Standby mode.
Printing Reports
The following reports are available:
Phonebook List
This list shows all of the numbers currently stored in the printer's memory as speed dial and group dial numbers.
You can print this Phonebook list using
Directory
(
) on the operator panel; see
"Printing a Phonebook List"
.
Sent Fax Report
This report shows information about the faxes you recently sent.
Received Fax Report
This report shows information about the faxes you recently received.
System Data List
This list shows the status of the user-selectable options. You may print this list to confirm your changes after changing any settings.
Scheduled Job Information
This list shows the documents currently stored for Delayed faxes or Toll Save faxes. The list shows the starting time and type of operation.
Message Confirmation
This report shows the fax number, number of pages, elapsed time of the job, communication mode, and communication results.
Junk Fax Number List
This list shows up to 10 fax numbers specified as junk fax numbers by using the Junk Fax Setup menu; see
"Advanced Fax Setting Options"
. When the Junk
Fax Setup feature is turned on, incoming faxes from those numbers may be blocked.
This feature recognizes the last 6 digits of the fax number set as a remote machine's ID.
Scan Journal List
This report displays information for the Network scan records including IP address, time and date, number of pages scanned, and result. This report is
automatically printed every 50 Netscan jobs.
Email Report
Содержание 1815dn Multifunction Mono Laser Printer
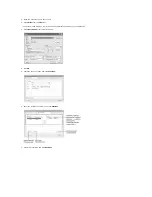
Страница 41: ...Your PC begins to send the fax data and printer sends the fax ...
Страница 68: ......
Страница 77: ...6 Click OK ...
Страница 89: ......


