


Cryo-con Model 24C
Basic Setup and Operation
Basic Setup and Operation
Configuring a Sensor
Before connecting a new sensor to the Model 24C, the instrument should be
configured to support it. Most common sensors are factory installed while others
require a simple configuration sequence.
A complete list of sensors installed at the factory is shown in
Appendix A
. To configure
the instrument for one of these sensors, proceed as follows:
1. To install the sensor on Input Channel A, press the
ChA
key. For Channel B,
press the
ChB
key etc. This will take you to the Input Channel Setup menu
for the selected channel. The first line of this display will show the current
temperature in real-time and allow you to select the desired display units.
Press the
+
or
0
keys to sequence through the available options and press
the
Enter
key to make the selection.
2. Use the navigation keys to go down to the
Sen:
filed. Press the
+
or
0
keys to
scroll through all of the sensor types available. When the desired sensor is
displayed, press the
Enter
key to configure the instrument.
Select
None
to disable the input channel.
At the end of the factory-installed sensors, eight user-installed selections will
be shown. The default name for these are User Sensor N. However, this
name can be changed to give a better indication of the sensor type that is
connected.
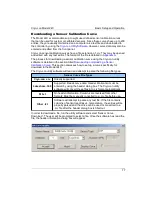
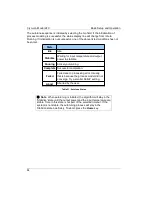
For most sensor types installation is now complete; press the Home key to
return to the Home Status display. The exceptions are NTC resistor sensors
that use constant-voltage AC excitation. With these types of sensors, scroll
down to the Bias Voltage field and select the desired constant-voltage
excitation level.
i
Note:
Only NTC resistor sensors require the selection of a Bias
Voltage.
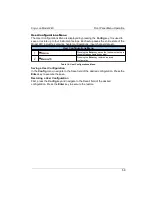
Once sensor configuration is complete, review the section on
Sensor Connections
to
connect the sensor to the instrument.
73


