


Cryo-con Model 24C
Appendix B: Updating Instrument Firmware
Loading Firmware
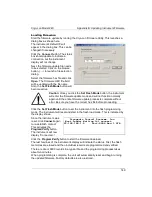
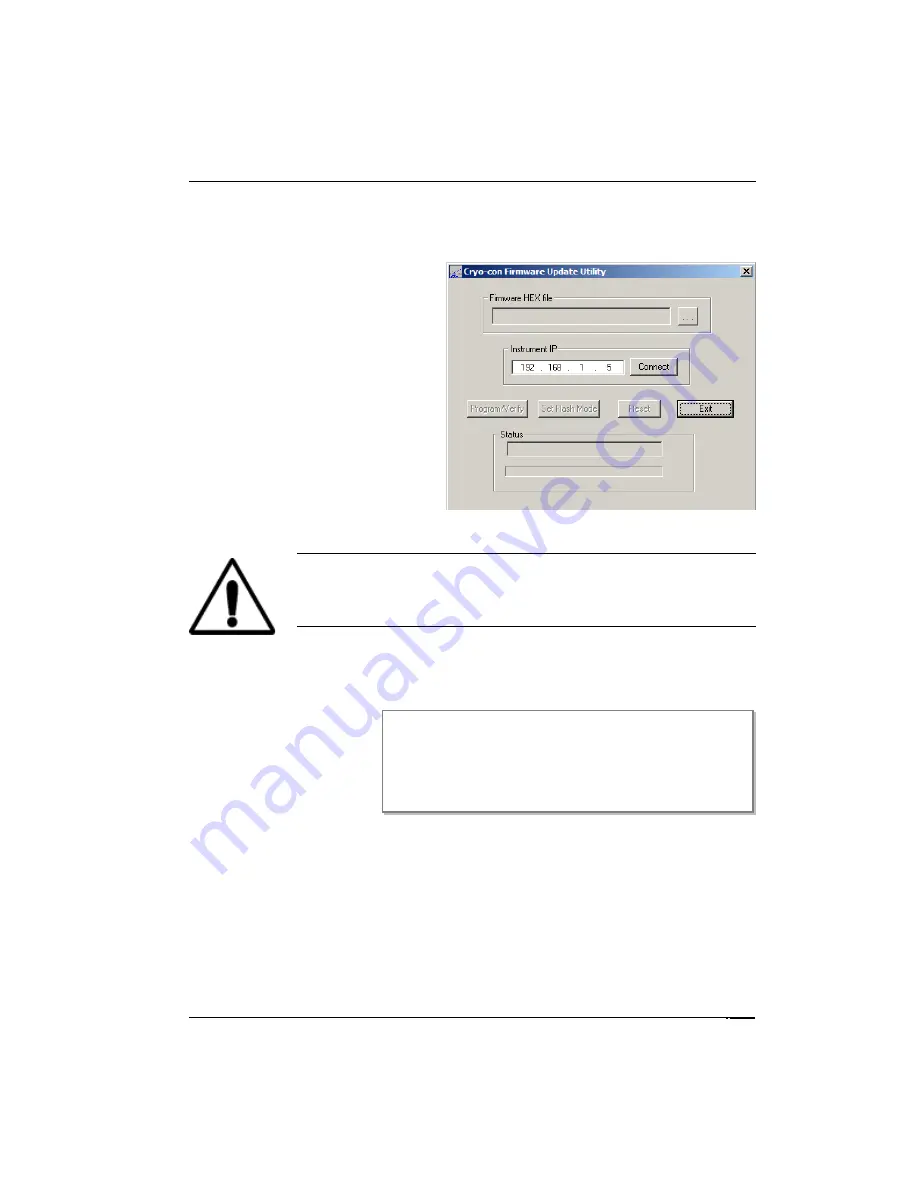
Start the firmware update by running the Cryo-con Firmware Utility. This launches a
dialog box as shown here.
The instrument's default IP will
appear in the dialog box. This can be
changed if necessary.
Click the
Connect
button. The status
box should update to indicate a
connection, but the instrument
display will not change.
Next, the firmware update file needs
to be selected. Click on the browse
button (
. . .
) to launch a file selection
dialog.
Select the firmware hex file and click
Open
. The Firmware HEX file field
will be updated with the file name.
Also, the
Set Flash Mode
button will
become active.
Caution
: Once you click the
Set Flash Mode
button, the instrument
will enter the firmware update mode and will not function normally
again until the entire firmware update process is complete without
error. Be sure you have the correct hex file before proceeding.
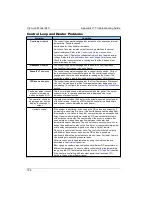
Click the
Set Flash Mode
button to set the instrument into the flash programming
mode. The instrument will reset and start in the flash load mode. This is indicated by
the display shown.
Since the instrument was
reset, click
Connect
again
to re-establish contact.
This activates the
Program/Verify
button.
The instrument will now
display “Connected...”
Click the
Program/Verify
button to start the firmware download.
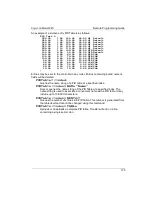
The last few lines of the instrument's display will indicate the status. First, the flash
memories are erased and then individual records are programmed and verified.
There are about 6800 records in a typical file and the programming process takes
about ten minutes.
When programming is complete, the unit will automatically reset and begin running
the updated firmware. Factory defaults are also restored.
Cryogenic Control Systems, Inc.
Boot Loader Waiting for connect.
IP:192.168.1.5 Port:5000 Rev:1.07A
149


