Page
82
of
128
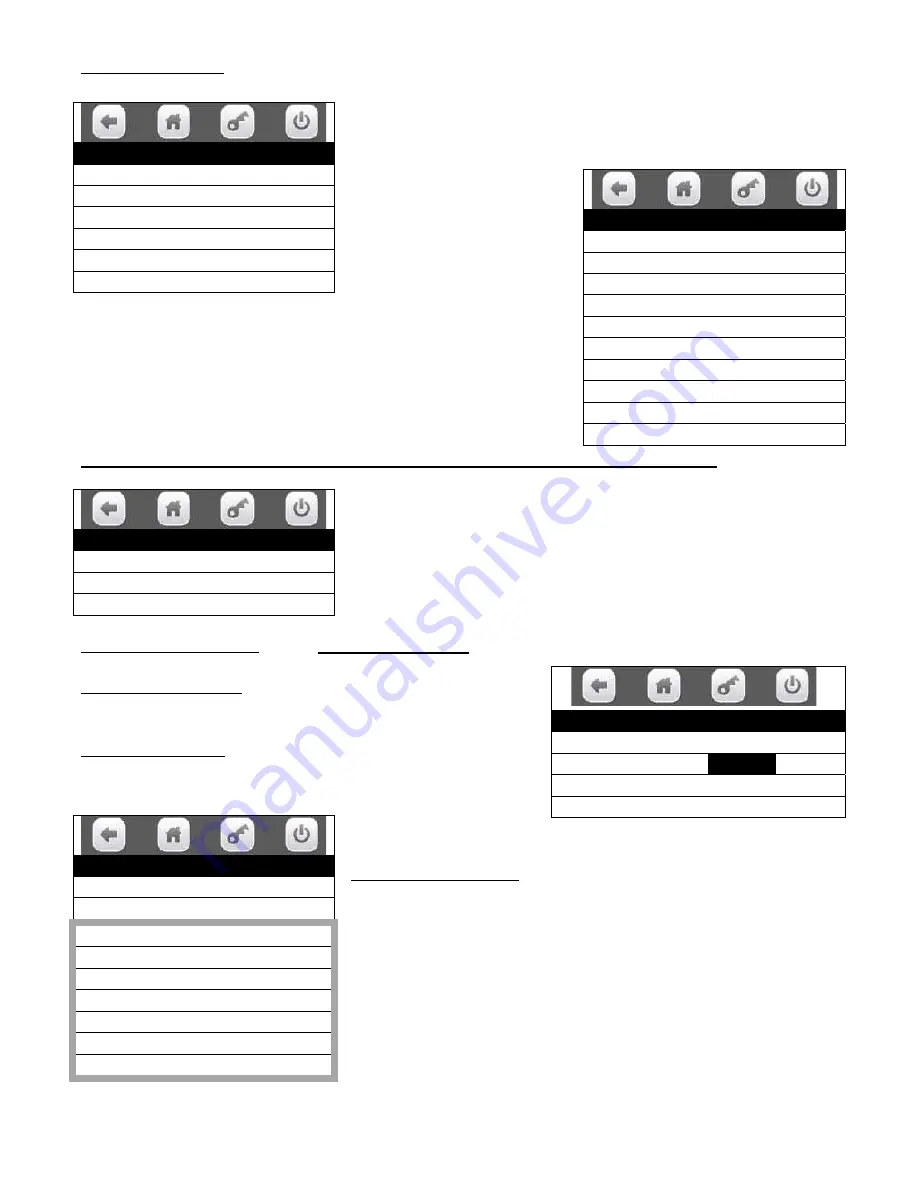
Press the Selections icon to bring up a tray list.
Use the icons to choose a tray.
Choosing a tray will bring up a screen listing all the selections on
that tray.
Some selection lists will use
more than one screen. Use the
up and down arrow icons to
scroll thru the entire list.
Use the icons to check or un-check the selections as needed.
Checked selections will be involved in the event.
REMEMBER TO SAVE YOUR SETTINGS OR YOUR
WORK WILL BE LOST!
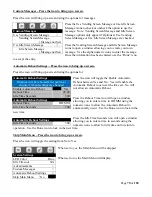
2. Press the Backup Events icon will bring up the first screen for Backup Events.
Press the Backup Events icon will bring up a screen allowing you
to set up a timed backup of events.
Press the Save this event icon to
SAVE your settings
or your work will be lost.
Press the Enable state icon to toggle the setting for the state of
the event between ON and OFF.
Press the Start time icon to open a window allowing you to
use the numeric icons to enter a time of day for the event to
begin.
Press the Done icon to
save the time entered and returns to the menu.
Press the Days of week icon to bring up a screen allowing you to
choose the days of the week when the event will be active. The
checked days are active.
A. Use the up and down arrow icons to scroll thru the screens.
B. Use the Set All icon to check all the days of the week at
once.
C. Use the Clear All icon to un-check all the days of the week
at once.
D. You do not need to save the choices here, just return to
the set up menu for the event and proceed.
Selections for event
Tray 1
Tray 2
Tray 3
Tray 4
Tray 5
Add all selections
Tray #2
Add all selections
201
202
203
204
205
206
207
208
209
Timed Events
Time of Day Events >
Backup Events >
Power Saving Events >
v
Backup Events
Save this event >
Enable state
On Off
Start time
00:00
Days of week >
Days of week
Set All
Clear All
Monday
Tuesday
Wednesday
Thursday
Friday
Saturday
Sunday
Содержание BevMax MEDIA
Страница 1: ...0 of 130 English 80390486 Tier 3 ...


