Chapter 1
1-34
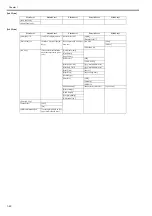
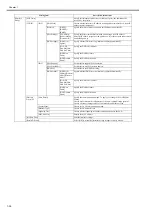
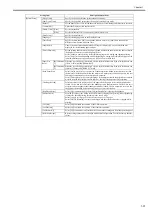
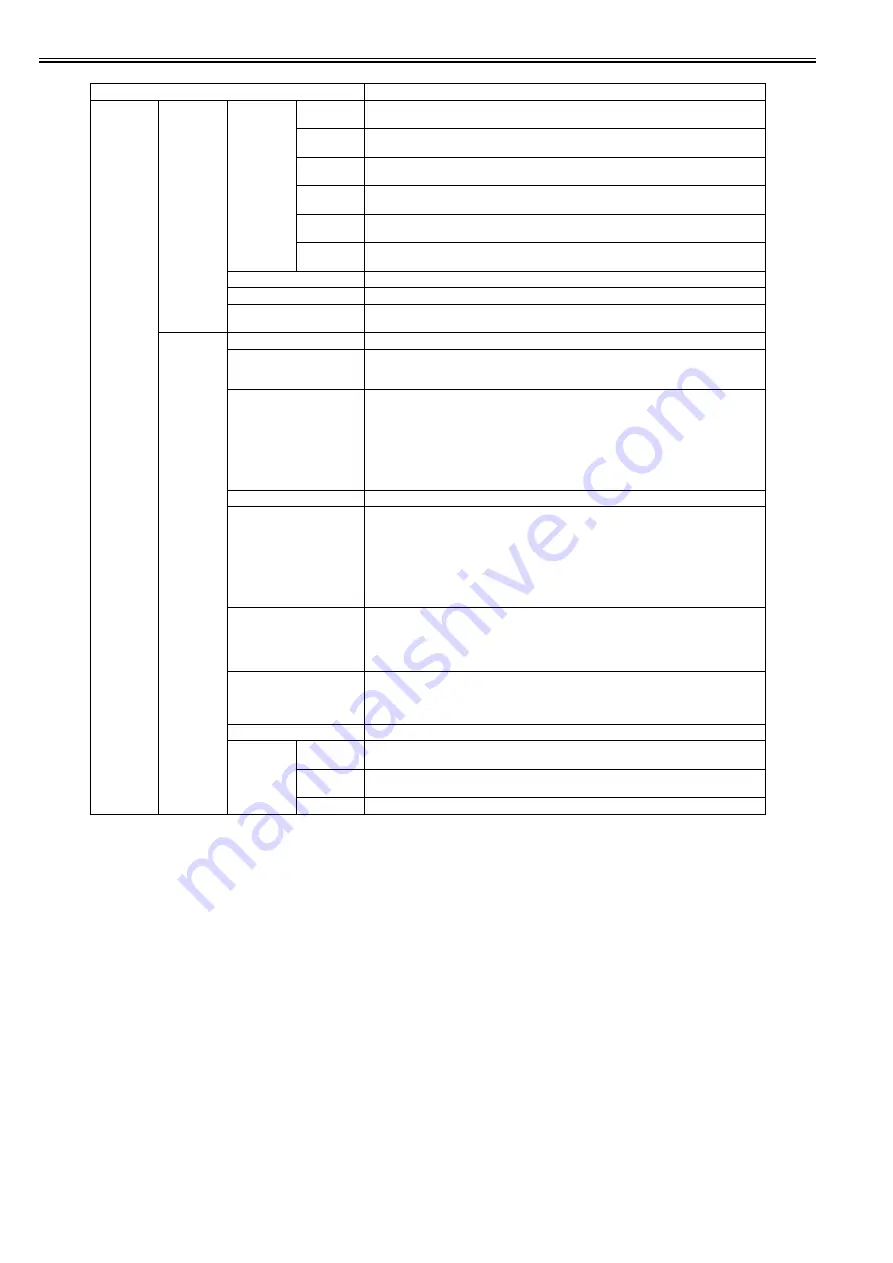
Setting Item
Description/Instructions
[GL2 Settings] [Quality
Manager]
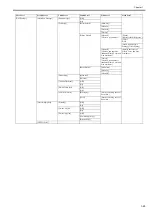
[Color Mode] [Monochrome
]
Print by the monochrome.
[Color (CAD)
1]
Print by the standard color.
[Color (CAD)
2]
Print by the bright color.
[Color (CAD)
3]
Print by the color emulated the Canon iPF500/iPF600/iPF700/iPF510/iPF610/iPF710/iPF605/
iPF720/iPF810/iPF820.
[Color (CAD)
4]
Print by the color emulated the HP Designjet 500/800.
[Color (CAD)
5]
Print by the color emulated the HP Designjet 1000.
[Print Quality]
Select the print quality.
[Input Resolution]
Choose the printer input resolution from between [600dpi] and [300dpi].
[Print (Economy)]
Print with a lower grade of print than normal, but with less ink consumption. Select [ON] to
economize on inks.
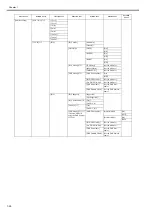
[Paper
Manager]
[Paper Source]
Select how to feed paper for printing on the HP-GL/2.
[Margin]
Set the top/bottom and left/right margins of the paper. For cut-sheet, the trailing edge margin is
23mm.
However, if the leading edge margin is set with [Paper Details], that value has priority.
[Oversize]
Set the positions of the margins.
Select [On] to adds the margins to the outer edge of the rendering region set by the [Detect img
size] function. (This corresponds to the case where the [PaperSizeProcess 1] function in the old
menu is set to Off)
Select [Off] to sets the margins inside the rendering region taking the size set by the [Detect
img size] function as the rendering region. Areas that overlap with the margin are not printed.
(This corresponds to the case where the [PageSizeProcess 1] function in the old menu is set to
On)
[Conserve Paper]
Print by economizing on paper.
[Auto Rotate]
If a document has its long side shorter than the roll width, the page rotates by 90 degrees
automatically to economize on paper. If a document contains horizontally long data such that
it has its long side longer than the roll width and its short side shorter than the roll width, the
page rotates 90 degrees to print within the boundaries of the paper.
HP RTL cannot rotate.
In case of HP RTL image, the image may be truncated or a blank paper may be ejected because
the image cannot be rotated even if the paper size is rotated by 90 degrees. In that case, set [Auto
Rotate] to [Off].
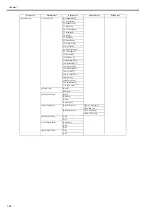
[Enlarge/Reduce]
Set the enlargement or reduction.
Select [Off] to enlargement and reduction are not executed.
Select [Specify scaling] to prints at the specified magnification. You can specify the
magnification in the range of 25 to 400%.
Select [Fit to paper] to print at enlargement or reduction ratio to fit the paper size.
[Print centered]
Set the printing position on the paper.
Select [On] when printing on roll paper, prints in the center of the width of the roll paper. When
printing on cut paper, prints in the center of the paper.
Select [Off] to print at the top left of the paper.
[Standard cut]
Select [On] to print depending on the standard paper size.
[Nesting]
[Use Nesting] Select [On] to print pages when they are tiled fully to the roll width, instead of printing them
one by one.
[Nesting
WaitTime]
Set the time to elapse before printing.
[Cut Lines]
Select [On] to print perforated lines between pages.
Содержание image Prograf iPF780 Series
Страница 1: ...Mar 27 2014 Service Manual iPF780 760 750 series iPF785...
Страница 9: ...Chapter 1 PRODUCT DESCRIPTION...
Страница 57: ...Chapter 2 TECHNICAL REFERENCE...
Страница 117: ...Chapter 3 INSTALLATION...
Страница 125: ...Chapter 4 DISASSEMBLY REASSEMBLY...
Страница 133: ...Chapter 4 4 7 3 Remove one screw 1 release two hooks 2 and then remove the output guide middle left 3 F 4 11 1 3 2 2...
Страница 175: ...Chapter 4 4 49 2 Shaft Cleaner 1 F 4 97 1 1...
Страница 176: ...Chapter 4 4 50 3 Upper Cover Hinge Catch 1 Roll Cover Slide Guide 2 F 4 98 2 1...
Страница 179: ...Chapter 5 MAINTENANCE...
Страница 186: ...Chapter 6 TROUBLESHOOTING...
Страница 212: ...Chapter 7 SERVICE MODE...
Страница 267: ...Mar 19 2014 PARTS CATALOG iPF786 785 781 780 765 760 755 750...
Страница 275: ...STAND UNIT ST 33 STAND UNIT ST 34 100V Q51 1767 000 230 KOR Q51 1768 000 Q51 2560 000 Q51 2800 000...
Страница 299: ...2 23 FIGURE 09 CUTTER UNIT J12 J7 J11 J31 J34 J33 A A 10 8 1 502 7 5 13 13 9 11 8 501 6 12 2 3 4 14 14 14 15 503...
Страница 301: ...2 25 FIGURE 10 PLATEN GUIDE UNIT 1 3 6 2 8 4 5 10 10 10 9 9 11...
Страница 326: ......


