


Operation
36
P/N 113564 Rev. 2
Twister II Robot User’s Manual
Caliper Life Sciences, Inc.
Adding Materials to the Twister II Racks in iLink PRO
(Continued)
To add materials to the Twister II racks:
1
Click the desired consumable icon and drag it to the desired
rack.
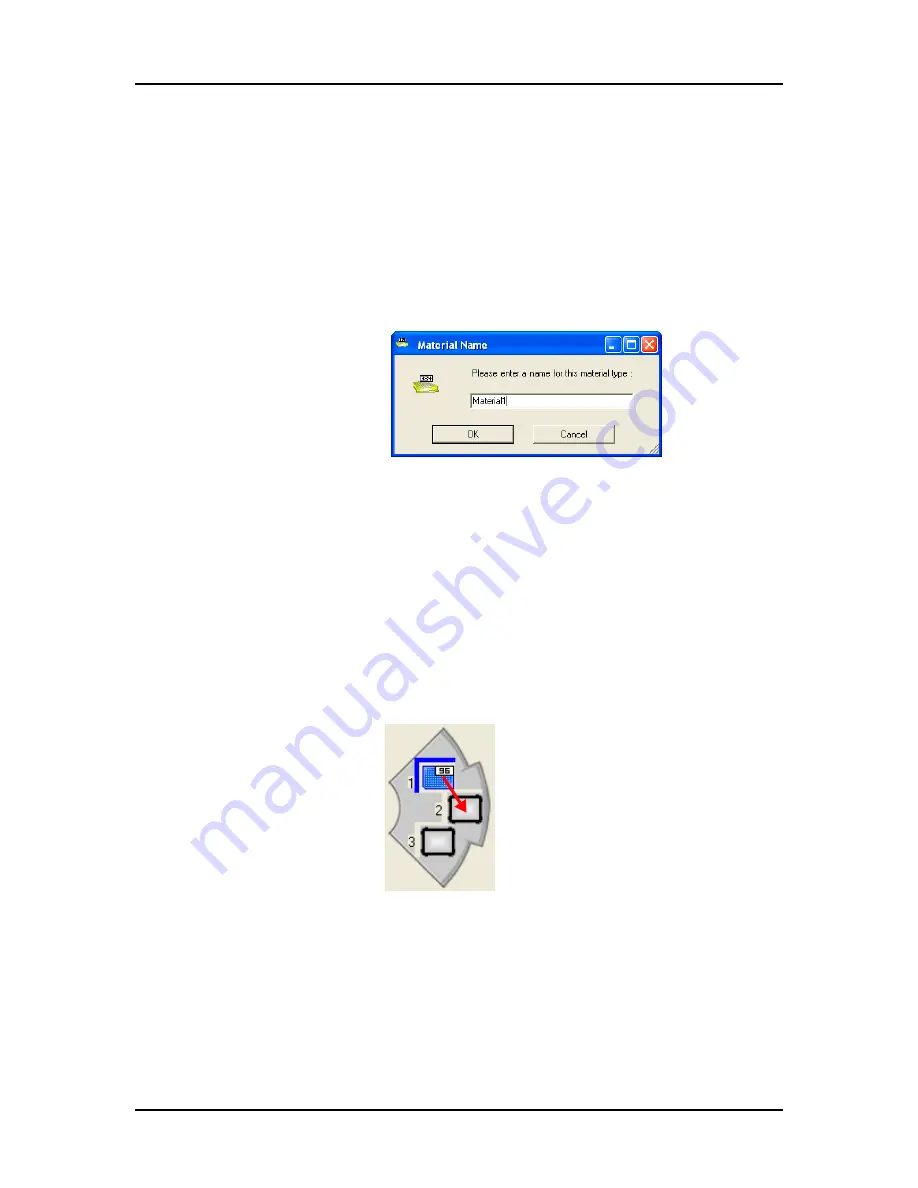
2
When you drop the material onto a rack location, the Material
Name window opens as shown in
Figure 13. Material Name Window
3
In the
Name
text box, type a name for the material. Note that
when adding multiple materials to the same Twister II storage
rack, the material s are sorted alphabetically, with the name
closest to Z appearing at the top of the stack. To add materials
correctly, you must add materials alphabetically, starting with
the name closest to A.
4
Click the
OK
button to add the material to the rack.
5
If the same material is located in more than one rack at the
beginning of the method, click on the material in the rack and
drag the material to the next rack.
Figure 14. Multiple Racks for One Material
6
If the method moves the plates to an empty Twister II rack
during the method, you must define an output rack:
a
Drag the material from the last input rack to the output rack.
b
Drag the
Make Output
icon onto the output rack as shown in
Drag and Drop to Rack 2


