75
A.
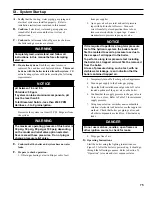
Verify
that the venting, water piping, gas piping and
electrical system are installed properly. Refer to
installation instructions contained in this manual.
B.
Confirm
all electrical, water and gas supplies are
turned off at the source and that vent is clear of
obstructions.
C.
Confirm
that all manual shut-off gas valves between
the boiler and gas source are closed.
Warning
Completely read, understand and follow all
instructions in this manual before attempting
start up.
D.
If not already done
, flush the system to remove
sediment, flux and traces of boiler additives.
This must
be done with the boiler isolated from the system.
Fill
entire heating system with water meeting the following
requirements:
nOTiCE
pH between 7.5 and 9.5.
Chlorides< 50 ppm
if system contains aluminum components, pH
must be less than 8.5
Total Dissolved Solids - less than 2500 PPM
Hardness - 3 to 9 grains/gallon.
Pressurize the system to at least 12 PSI. Purge air from
the system.
Warning
The maximum operating pressure of this boiler is
30 psig, 50 psig, 80 psig or 100 psig depending
on the model and relief valve option selected.
never exceed these pressures. Do not plug or
change pressure relief valve.
E.
Confirm that the boiler and system have no water
leaks.
F.
Prepare to check operation.
1. Obtain gas heating value (in Btu per cubic foot)
iX. System Start-up
from gas supplier.
2. Apex gas valves have inlet and outlet pressure
taps with built-in shut off screw. Turn each
screw from fully closed position three to four
turns counterclockwise to open taps. Connect
manometers to pressure taps on gas valve.
nOTiCE
If it is required to perform a long term pressure
test of the hydronic system, the boiler should
first be isolated to avoid a pressure loss due to
the escape of air trapped in the boiler.
To perform a long term pressure test including
the boiler, ALL trapped air must first be removed
from the boiler.
a loss of pressure during such a test, with no
visible water leakage, is an indication that the
boiler contained trapped air.
3. Temporarily turn off all other gas-fired appliances.
4. Turn on gas supply to the boiler gas piping.
5. Open the field installed manual gas shut-off valve
located upstream of the gas valve on the boiler.
6. Confirm that the supply pressure to the gas valve is
14 in. w.c. or less. Refer to Table 22 for minimum
supply pressure.
7. Using soap solution, or similar non-combustible
solution, electronic leak detector or other approved
method. Check that boiler gas piping valves, and
all other components are leak free. Eliminate any
leaks.
DangEr
Do not use matches, candles, open flames or
other ignition source to check for leaks.
8. Purge gas line of air.
G.
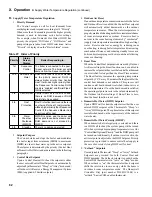
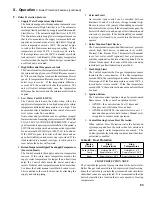
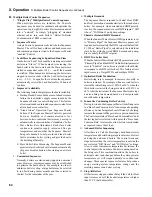
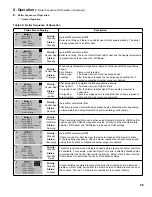
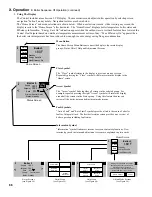
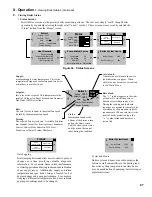
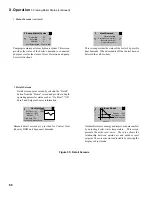
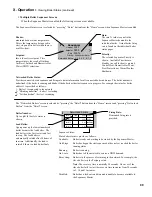
Operating Instructions
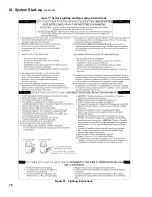
Start the boiler using the lighting instructions, see
Figure 51. After the boiler is powered up, it should go
through the following sequence. Refer to Section X,
“Operation” to locate and view sequence status.
Содержание Apex APX399
Страница 7: ...7 I Product Description Specifications and Dimensional Data continued Figure 1A Apex Model APX399 ...
Страница 8: ...8 Figure 1B Apex Model APX500 I Product Description Specifications and Dimensional Data continued ...
Страница 9: ...9 I Product Description Specifications and Dimensional Data continued Figure 1C Apex Model APX800 ...
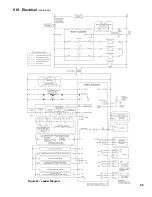
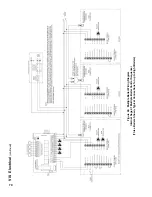
Страница 65: ...65 VIII Electrical continued Figure 43 Ladder Diagram ...
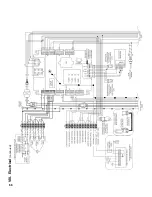
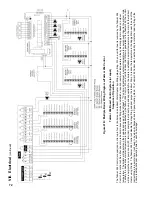
Страница 66: ...66 VIII Electrical continued ...
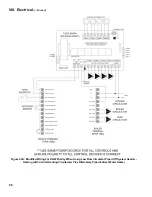
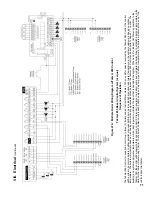
Страница 67: ...67 Figure 44 Wiring Connections Diagram VIII Electrical continued ...
Страница 110: ...110 1P 3 1P 2 1P 1 XIII Repair Parts continued 1C 1D 1E ...
Страница 116: ...116 XIII Repair Parts continued ...
Страница 118: ...118 XIII Repair Parts continued ...
Страница 129: ...129 SERVICE RECORD DATE SERVICE PERFORMED ...
Страница 130: ...130 SERVICE RECORD DATE SERVICE PERFORMED ...
Страница 131: ...131 SERVICE RECORD DATE SERVICE PERFORMED ...

