121
Contents
Before Using
Getting Started
Design Center
Layout & Editing
Programmable
Stitch Creator
Quick Reference
Alphabetic Index
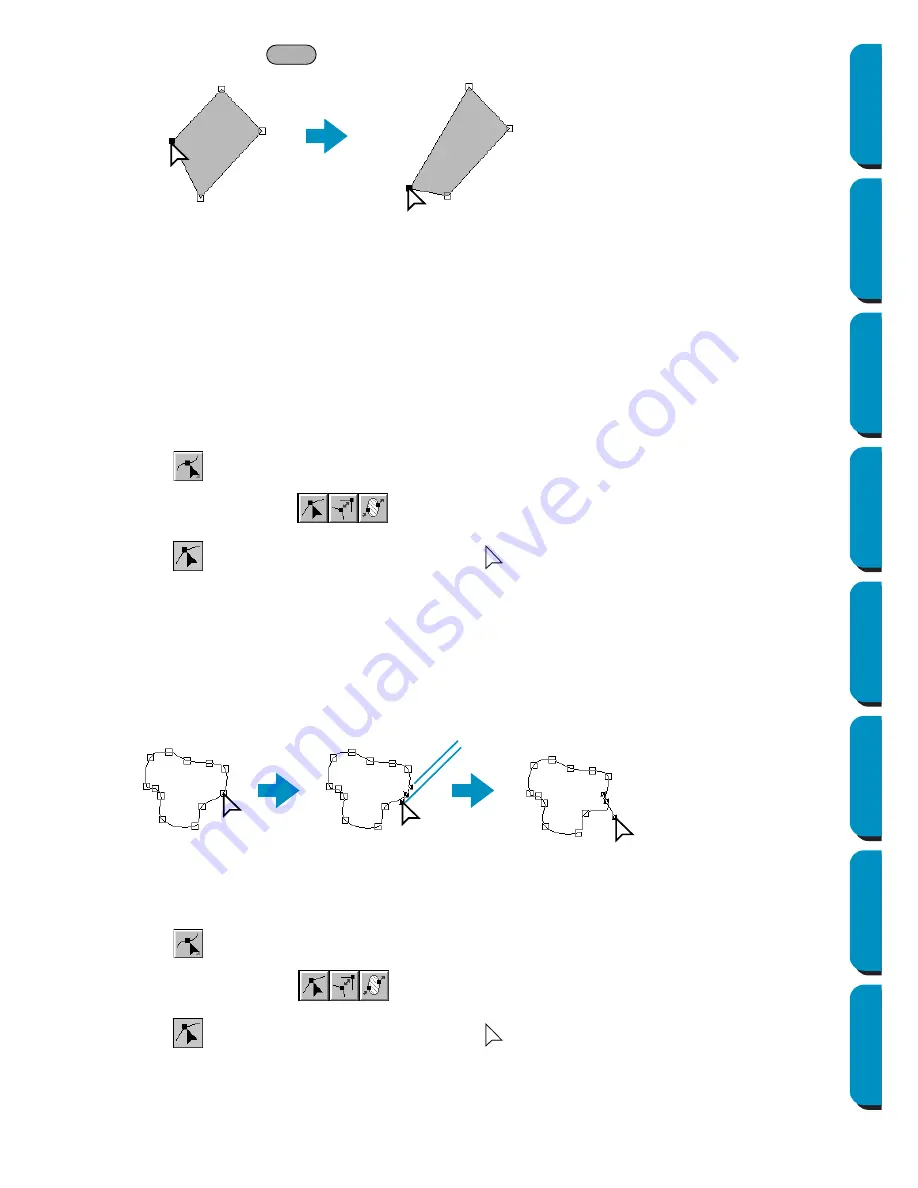
Holding down the
key while dragging the point moves the point horizontally or vertically.
Note that you must drag a point that is selected. If you start dragging by clicking elsewhere on the
outline, a new point will be inserted or the selected point(s) will be deselected.
NOTE:
By pressing the arrow keys, the selected point can be moved 0.5 mm (about 0.02 inch) to the left,
right, up or down.
•
If
Snap to Grid
is selected, each press of an arrow key moves the point 1 grid mark in the spec-
ified direction.
•
The arrow keys cannot be used to move the endpoints of an arc or text on a path if just the text
is selected.
■
Reorienting a tangent to a point
1
Click
on the Tool Box.
Three buttons appear:
.
2
Click
. The shape of the cursor changes to
.
3
Click the pattern that you want to edit.
The pattern can only be a curve.
The existing points of the pattern are marked with small empty squares.
4
Click the point at which you want to reorient the tangent to the curve.
The selected point is marked with a small black square and a control handle.
5
Click on one end of the handle and drag it without releasing the mouse.
■
Inserting points
1
Click
on the Tool Box.
Three buttons appear:
.
2
Click
. The shape of the cursor changes to
.
Shift
4
5
4
5
4
Handle
Содержание PE-DESIGN
Страница 1: ...PE DESIGN PE DESIGN Version 5 0 Instruction Manual ...
Страница 274: ...ENGLISH XC3894 001 Printed in Japan ...


