BEYERTONE
®
www.beyertone.com
© VIII-2011 BEYERTONE GmbH
CR-200 / CR-100 USB Ver. 2-3 - Installation and User Guide
26/64
4.2 Recording telephone conversations
Having now installed your CR-100 USB unit and the PC software and made the main
settings (see section 4.1), you can now start to record telephone conversations. To do
this, the PC software must be running and the CR-100 USB unit must have an active
connection to your PC or laptop (the yellow ‘USB’ LED on the appliance should be lit up
and the symbol on the taskbar should be coloured green).
Tip:
Copy the ‘CallRecorder’ programme symbol from the ‘Start’ menu into your PC’s
autostart directory. That way the PC software will always be launched whenever
Windows is started up. Coupled with the ‘Enable automatic recording’ option you can
thus set everything up so that recordings are essentially made automatically.
1. Start recording
Depending on how your CR-100 USB is configured (see section 7.1), a trigger that
starts the recording is either produced automatically as soon as an audio signal from a
telephone conversation is received from your telephone, or you are able to produce the
start trigger manually by pressing the ‘Start / Stop’ button on the device.
Based on the configuration of the PC software’s ‘Enable automatic recording’ option
(see section 4.1), either an audio file now automatically starts to be recorded or you
have to confirm the trigger relayed from the CR-100 USB by clicking on the record
symbol in the dialog window to start the recording.
If you have neither enabled automatic triggering, nor wish to press the ‘Start / Stop’
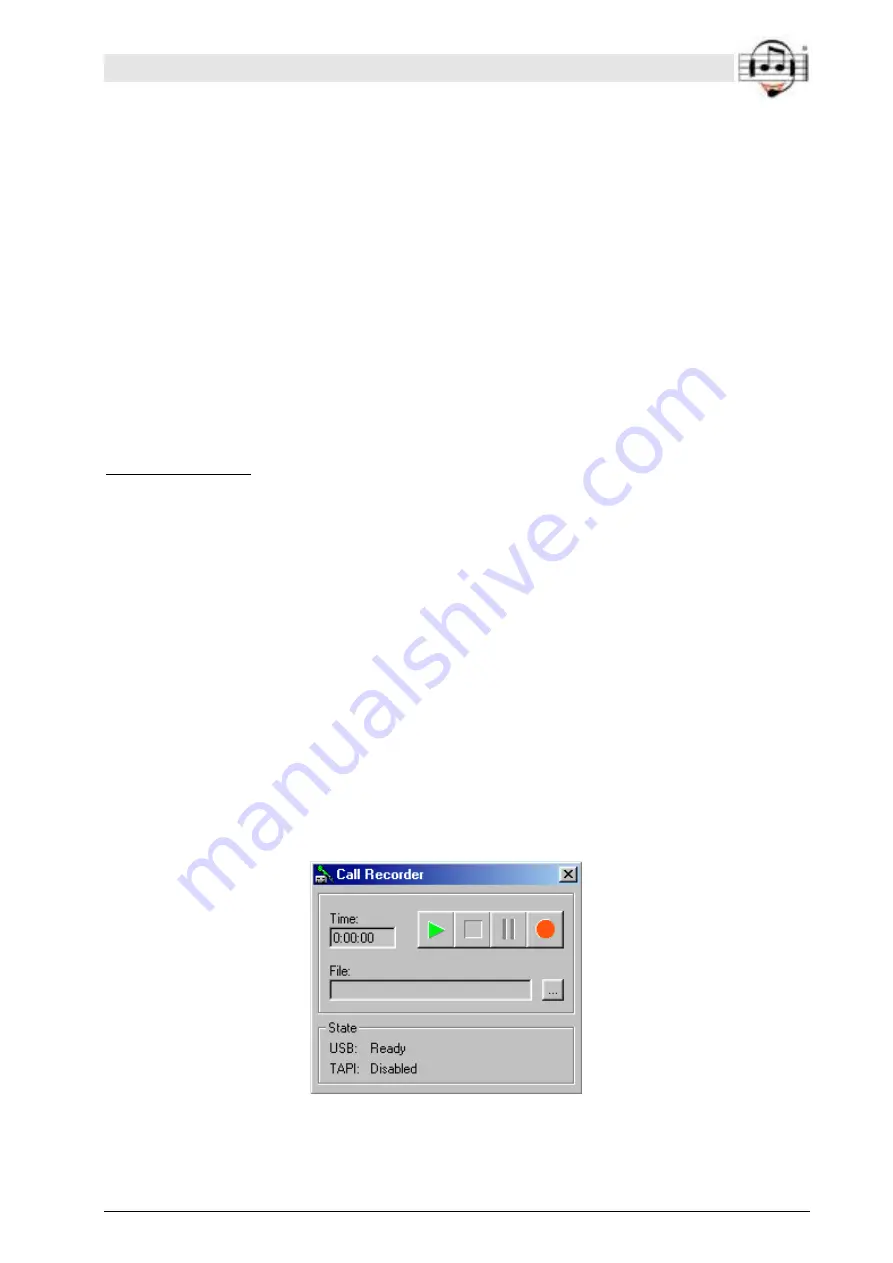
button, you can also start a recording from your PC. To do this, you launch the ‘Control
Dialog’ window from the menu by right-clicking on the CallRecorder symbol on the
taskbar. In the ‘Call Recorder’ window you can then start the recording by clicking on
the red record button.


