© 2021 Avaya Inc. All rights reserved
Release Notes for Avaya Collaboration Unit CU360
Avaya CU360 Setup and Control 15
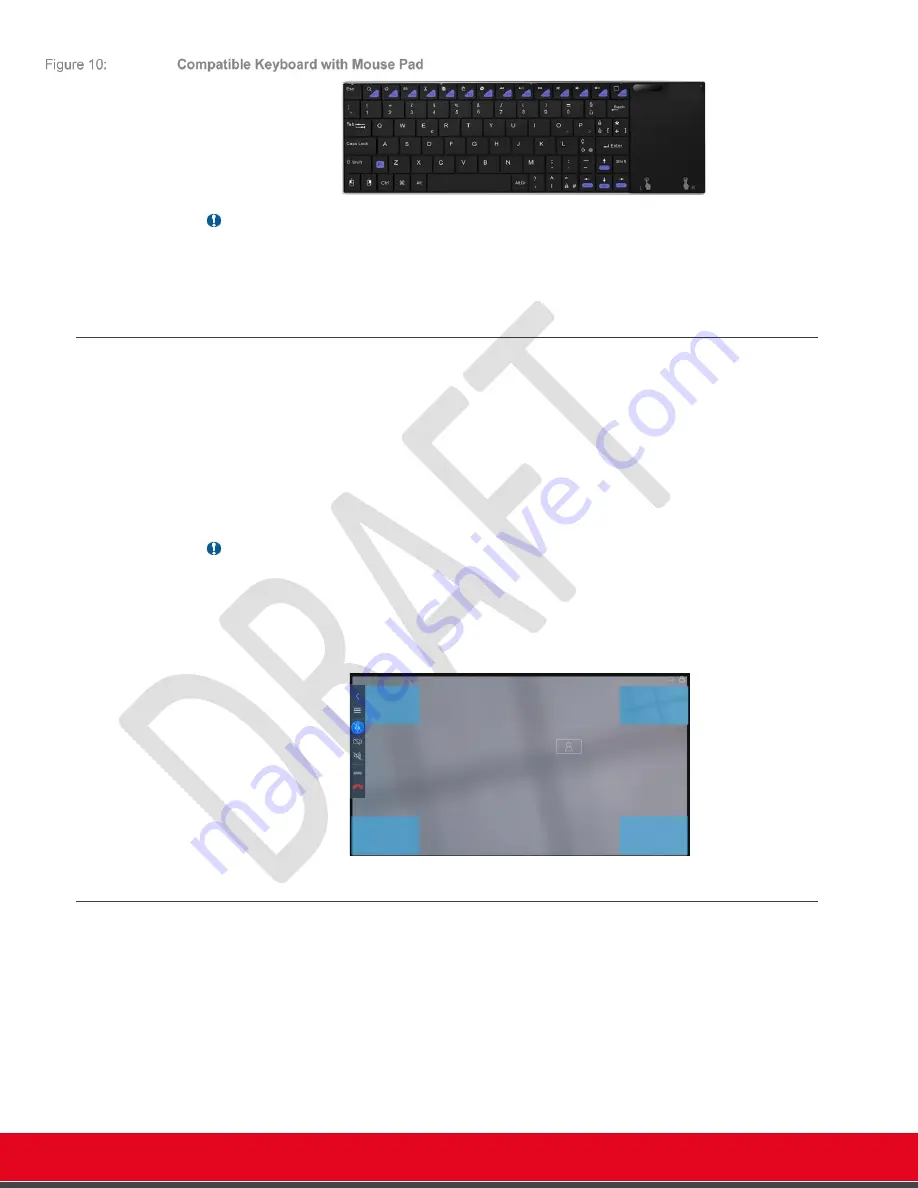
Important
•
A keyboard
named “
Avaya Remote-controller
” is the physical keyboard of the remote-
control. Its input layout must not be changed (default is English (US) - Android), otherwise
the remote-control will not work properly.
Using a Touch Screen Monitor
In addition to the supplied remote-control, you can operate the Avaya CU360 with a standard
touch screen display. The display only needs to be connected through HDMI and the USB
interface to the device.
Having a touch screen display attached to your Avaya CU360 makes it easier to type using the
virtual keyboard (visible on the screen by tapping on any edit field) and to access the menu.
When you connect a touch screen display to your Avaya CU360, please assure that a standard
“multitouch touch screen” display or monitor supporting Android 7 via USB is used.
Tips
•
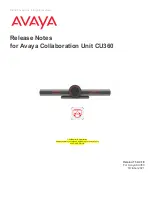
When using a touch screen monitor, you can navigate back to previous page in the
CU360 app by touching any “empty” portion of the page with
two fingers
.
•
When using a touch screen monitor, you can drag a PIP/PAP/POP window when in a
CU360 app call with your finger. For instance, drag the local image to the center of the
screen to see your local image bigger, or move it to another PIP position.
Using the Web Interface for Mouse Emulation
You can also control your Avaya CU360 by a Web interface on a computer or mobile device.
Browse to
[W
EB
]
M
ORE
O
PTIONS
>R
EMOTE
D
EVICE
to open a panel which allows to emulate a mouse
connected to the Avaya CU360
– Using a touch screen (mobile device or computer)
– Touch and drag over the panel to move cursor over the device GUI
– Short touch to emulate a click
– Long touch to emulate a long press


