Load plates for run and create the injection list
Load the plate in the instrument (see “Load the plate in the instrument“ on page 56)
and link the plate (“Link the plate“ on page 57) before proceeding.
1.
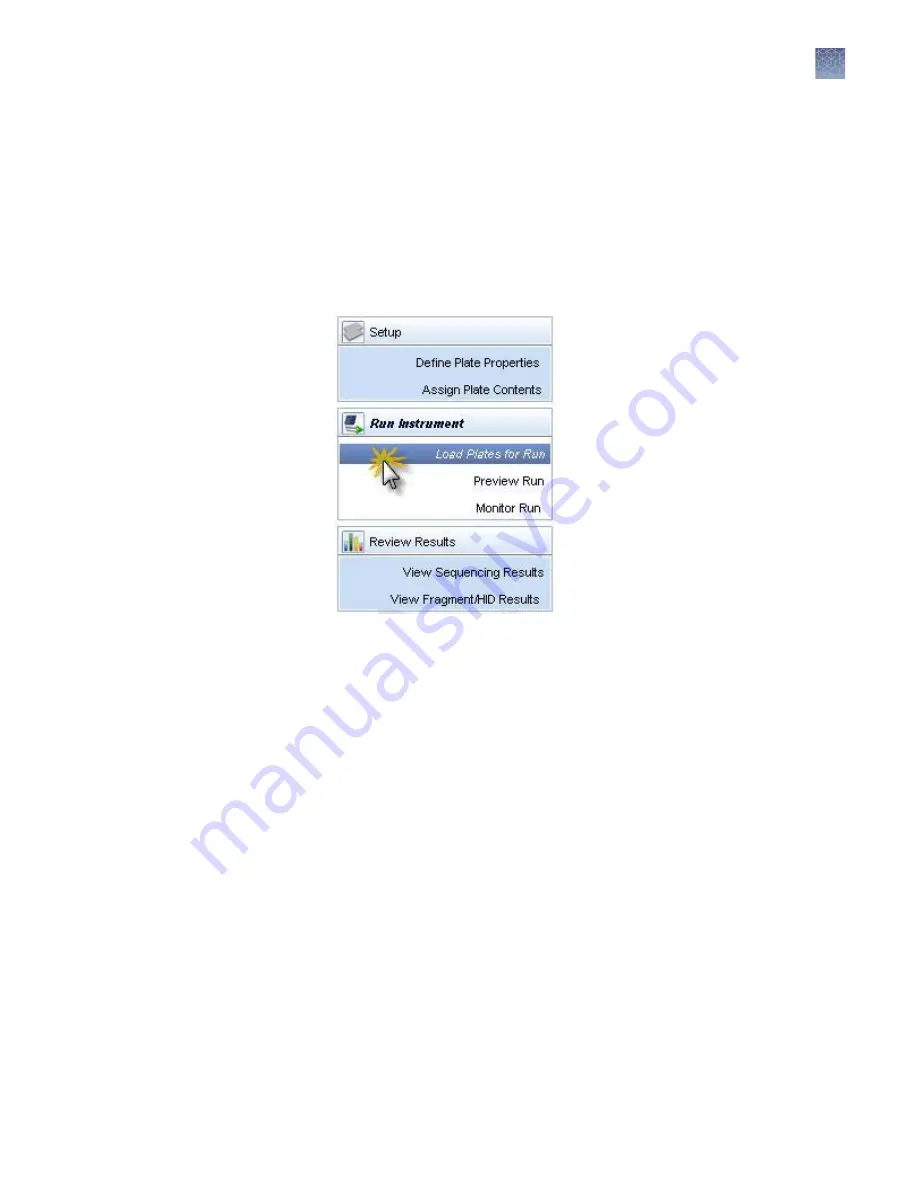
Access the Load Plates for Run screen (Figure 7) from:
• The Assign Plate Contents screen by clicking Link Plate for Run.
• The navigation pane by selecting Load Plates for Run in the navigation
pane.
• The Dashboard by clicking the Workflow tab, then selecting Load Plates for
Run in the navigation pane.
2.
Review the consumables information and the calibration information and ensure
the status is acceptable for a run.
3.
Enter a Run Name or use the default run name: <Start Instrument Run
Date/Time Stamp> YYYY-MM-DD-hh-mm-ss-SSS (milliseconds), for example,
“Run 2014-06-10-17-33-46-522” where the run start date is February 5 2009 and
the run start time is 15:03:42:096.
Note:
An instrument run begins when you click Start Run (on the Load Plates
for Run screen) and ends when the last injection on the last plate has completed.
For example, if you link two plates, then start the run, both plates and any
duplicate injections or re-injections are part of the same instrument run. An
injection is an instance of 8 or 24 samples (depending on instrument
configuration) processed simultaneously under the same conditions.
Chapter 3
Set up and run
Load plates for run and create the injection list
3
3500/3500xL Genetic Analyzer User Guide—Data Collection Software v3.1
59
Содержание 3500
Страница 325: ......
Страница 326: ...thermofisher com support thermofisher com askaquestion thermofisher com 25 October 2018 ...


