AT-SBx908 GEN2 Installation Guide for Virtual Chassis Stacking
179
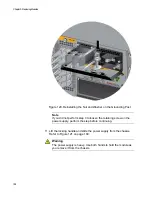
2. Move the retaining clip from the appropriate power cord on the rear
panel of the chassis, and disconnect the cord. Refer to Figure 110.
Figure 110. Disconnecting the AC Power Cord from the Chassis
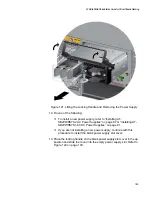
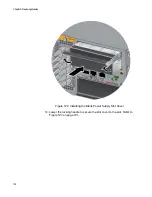
3. Lift the locking hand on the power supply. Refer to Figure 111.
Figure 111. Lifting the Locking Handle on the AT-SBxPWRSYS2 AC
Power Supply
4. Carefully pull on the locking handle to slide the power supply from the
Содержание AT-FAN08
Страница 10: ...Figures 10...
Страница 12: ...Tables 12...
Страница 16: ...Preface 16...
Страница 38: ...Chapter 1 Overview 38...
Страница 60: ...Chapter 2 Virtual Chassis Stacking 60...
Страница 80: ...Chapter 4 Installing the Chassis 80 Figure 32 Chassis Orientations in the Equipment Rack Continued...
Страница 82: ...Chapter 4 Installing the Chassis 82 Figure 34 Example of Adjusting the Equipment Rack Brackets...
Страница 104: ...Chapter 4 Installing the Chassis 104...
Страница 140: ...Chapter 5 Powering On the Chassis 140...
Страница 166: ...Chapter 7 Cabling the AT XEM2 Line Card Ports 166...
Страница 214: ...Appendix A Technical Specifications 214...


