61
above 1200 dpi. If you are printing on a device below 1200 dpi and this feature high-
lights many characters on a page, you can make all text appear consistent by applying a
preset where Convert All Text to Outlines is turned on.
• Raster-fill Text and Regions highlights text or strokes that may be affected by RIPs
that record continuous tone (CT) objects at a different resolution than linework (LW)
objects. Affected objects are likely to use transparency effects that create images, such
as drop shadows or feathered edges. You don’t need to use this option if you don’t have
this type of RIP, or if you have this type of RIP and its version has no issues outputting
text or strokes with drop shadows and feathers.
• All Rasterized Regions highlights all areas that will be filled using rasterization because
of the current flattener preset—not just complex regions. This involves rasterization
of fills, not outlines, and the rasterized fills are clipped to the original smooth outlines.
Again, this view is useful if you output to a RIP that processes CT and LW objects
differently, because it indicates which parts will appear on the CT page as a result of
flattening. It also highlights objects that will be rasterized when the Raster/Vector
Balance uses a value less than 100. If many areas are highlighted, you may want to
consider using transparency flattener settings with the Raster/Vector Balance set to 100,
or increase the Line Art and Text Resolution if you set Raster/Vector Balance to less
than 100.
Note:
If you don’t want text to rasterize, see if it’s possible to stack the text in front of
all other objects; for example, by moving it in front of other objects. If this can be done
without changing the look of the design, it may prevent the text characters from being
flattened by getting them out from under the transparency objects.
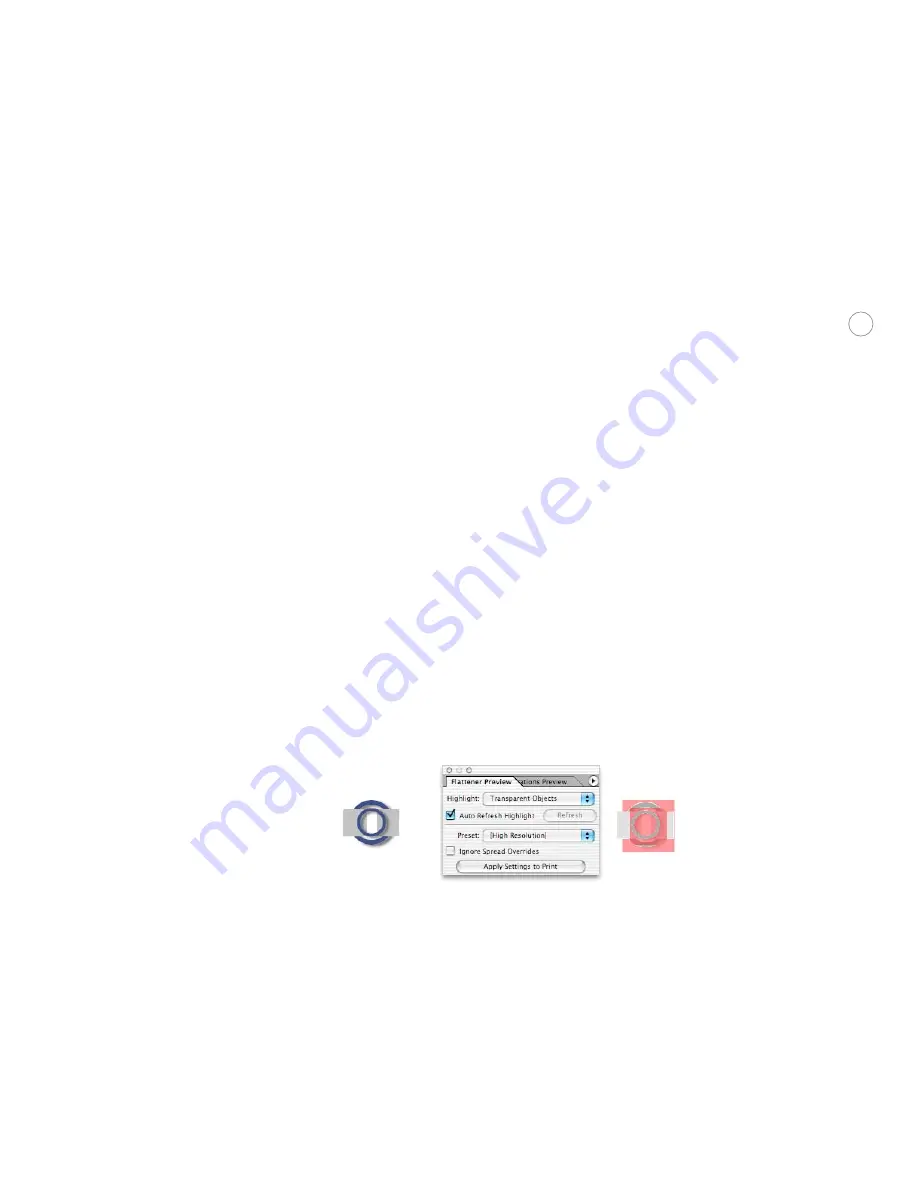
2. Select a flattener preset from the Preset pop-up menu.
3. If Auto Refresh Highlight is off, click Refresh to see the effect of the preset you selected.
The original object is on the left. The flattener preview on the right shows the effect of the drop shadows.
To control preview refresh, do one of the following:
•
Click the Refresh button after changing Highlight or Preset settings.
•
Select Auto Refresh Highlight to let InDesign refresh the display after you change
Highlight or Preset settings.


