Introduction
xi
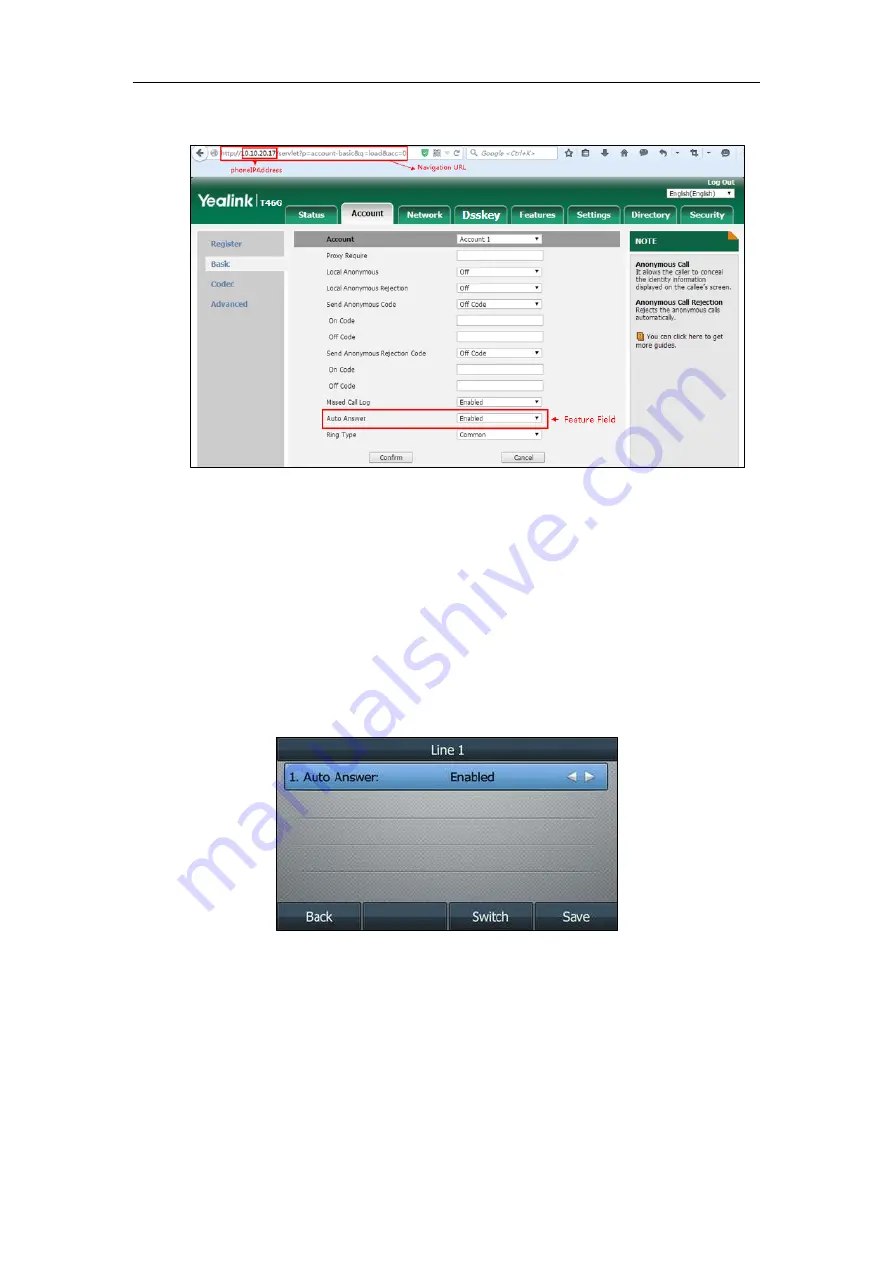
As shown in the following illustration:
To successfully log into the web user interface, you may need to enter the user name (default:
admin) and password (default: admin). For more information, refer to
Method 3: Phone User Interface
You can configure features via phone user interface. Access to the desired feature according to
the phone path (e.g.,
Menu
->
Features
->
Auto Answer
->
Line X
->
Auto Answer
) and then
configure it as required.
As shown in the following illustration:
Recommended References
For more information on configuring and administering other Yealink products not included in
this guide, refer to product support page at
To access the latest Release Notes or other guides for Yealink IP phones, refer to the Document
Download
Summary of Contents for CP860 SERIES
Page 1: ...63 ...
Page 51: ...Getting Started 25 For SIP T46G S Desk Mount Method Wall Mount Method Optional ...
Page 53: ...Getting Started 27 For SIP T42S T41S Desk Mount Method Wall Mount Method Optional ...
Page 55: ...Getting Started 29 For SIP T23P T23G Desk Mount Method Wall Mount Method Optional ...
Page 70: ...Administrator s Guide for SIP T2 Series T19 P E2 T4 Series T5 Series CP860 CP920 IP Phones 44 ...


