Input/output patching
76
Chapter
4
Operation section
Using the patch library
Up to 20 different patching settings you make in the
PATCH screen Patch IN page and Patch OUT page
can be stored in an area of internal memory called the
“patch library.” The contents of the patch library are
saved on the internal hard disk as part of the song.
Here we will explain how to perform patch library
operations.
Storing the patching settings to
the library
Here’s how to assign a name to the patching settings,
and store them in the patch library.
1
Press the [PATCH] key
→
[F3] (Patch Lib.)
key.
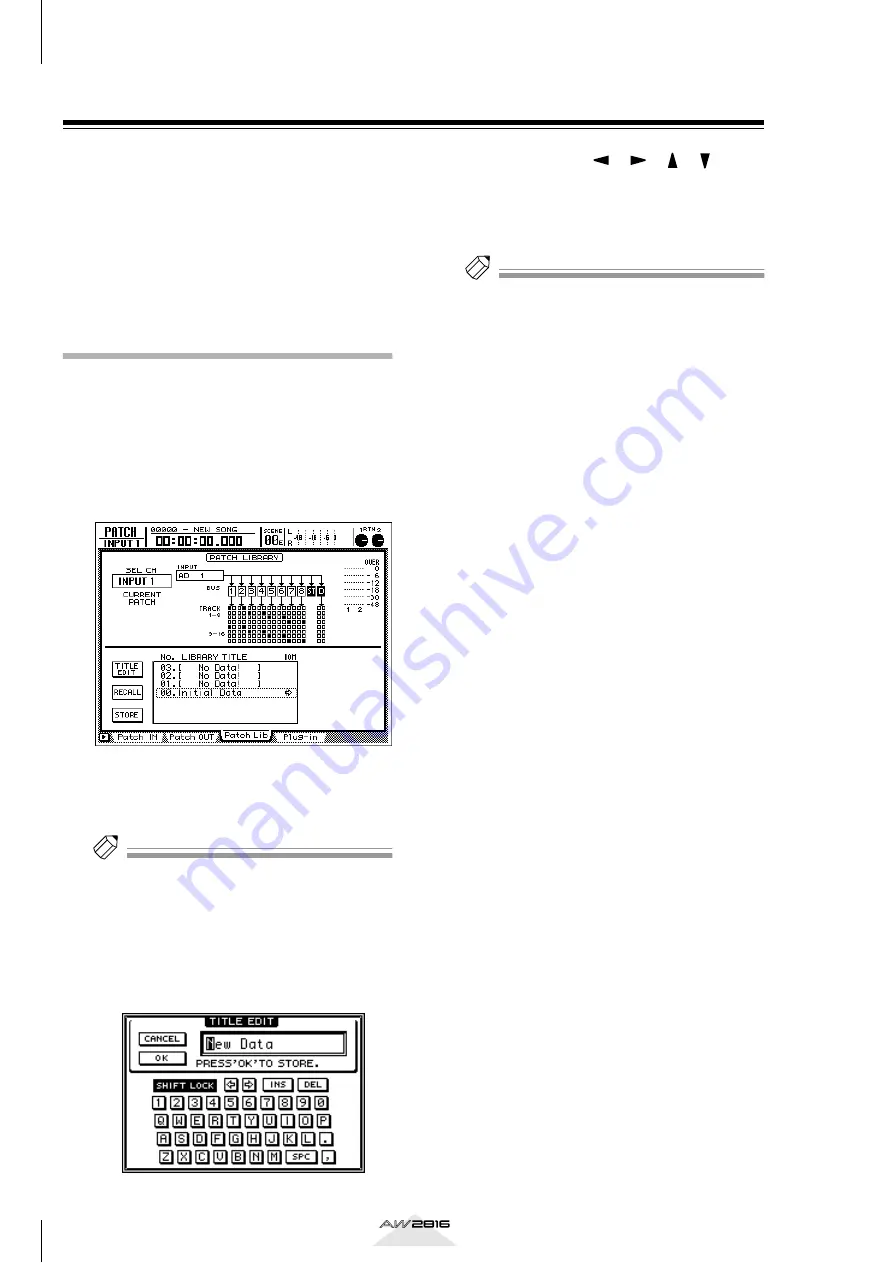
The PATCH screen Patch Lib page will appear.
The list in the lower part of screen shows the
contents of the patch library.
2
Use the [DATA/JOG] dial to select the patch
library number (01–20) into which you will
store.
Tip!
Library number 00 contains a recall-only preset that
resets all patching settings to their default state. Thus,
it is not possible to store to number 00.
3
Move the cursor to the STORE button and
press the [ENTER] key.
A TITLE EDIT popup window will appear, allow-
ing you to assign a name to the patching settings.
4
Use the CURSOR [
]/[
]/[
]/[ ] keys
and the [ENTER] key to assign a name to
the patching settings.
For details on inputting characters, refer to
page 37.
Tip!
You can also omit inputting a name, and save directly
to the library. To do so, go to the UTILITY screen Pre-
fer. 1 page ([UTILITY] key
→
[F2] key) and turn off the
STORE CONFIRMATION setting. In this state if you
execute step 3, the settings will be saved in the library
with a name of “New Data.”
5
To execute the Store operation, move the
cursor to the OK button and press the
[ENTER] key.
To abort the Store operation, move the cursor to
the CANCEL button and press the [ENTER] key.
When the Store operation is executed, the patch-
ing settings stored in the list will be displayed.


