Using the internal hard disk/external storage devices
176
Chapter
11
Operation section
8
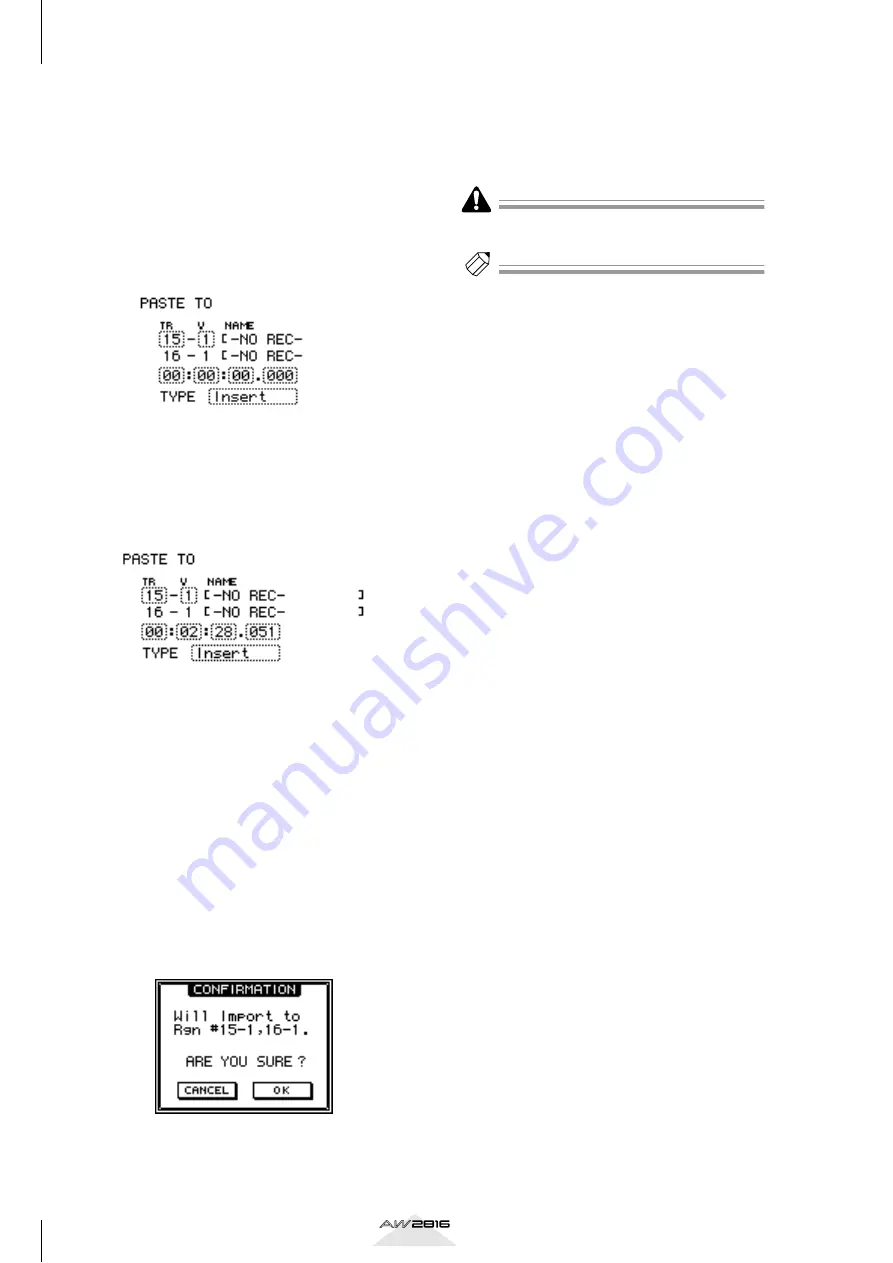
Move the cursor to the PASTE TO area, and
turn the [DATA/JOG] dial to specify the
track number (TR area) and virtual track
number (V area) of the track into which the
data will be loaded.
Since CD-DA data is always loaded in stereo, the
track number will be selected as an odd-num-
bered/even-numbered pair. The same virtual
track number will always be assigned for both
tracks.
9
Move the cursor to the location point set-
ting, and use the [DATA/JOG] dial to spec-
ify the location in the track at which the
CD-DA audio data will be placed.
10
Move the cursor to the TYPE area, and
select “Insert” if you want to insert the CD-
DA data into the track, or “OverWrite” if
you want to overwrite the existing data.
If you select “Insert,” audio data following the
specified location will be moved backward
according to the length of the loaded CD-DA
data.
11
When you have finished making all set-
tings, move the cursor to the EXECUTE
button and press the [ENTER] key.
A popup window will ask you to confirm the
CD-DA Import operation.
12
To execute the operation, move the cursor
to the OK button and press the [ENTER]
key.
To cancel without importing, move the cursor to
the CANCEL button and press the [ENTER] key.
It is not possible to halt the CD-DA Import operation
while it is being executed.
Tip!
• The time required for loading CD-DA data will
depend on the reading speed that is set in the FILE
screen/Disk Util. page (
• After loading is completed, you can press the
[UNDO] key to return to the state prior to loading.


