Network Connectivity
LDAP Server
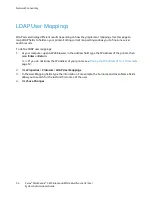
Lightweight Directory Access Protocol (LDAP) is a protocol used to process queries and updates to an
LDAP information directory, on an external server. LDAP can also be used for network authentication and
authorization. LDAP directories are heavily optimized for read performance. Use this page to define how
the printer retrieves user information from an LDAP directory.
1.
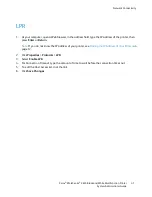
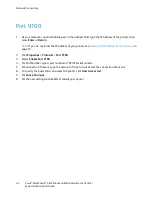
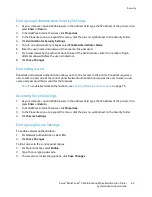
At your computer, open a Web browser, in the address field, type the IP address of the printer, then
press
Enter
or
Return
.
Note:
If you do not know the IP address of your printer, see
Finding the IP Address of Your Printer
on
page 12.
2.
Click
Properties
>
Protocols
>
LDAP Server
.
3.
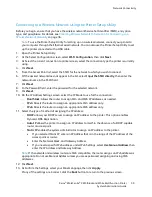
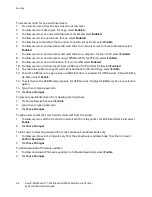
Type the LDAP IP address or host name and port number.
Notes:
•
The settings for the LDAP-SSL/TLS appear only if the optional Device Memory Data is installed
and Device Memory Data encryption is enabled under Secure Settings.
•
Before you click the SSL link, save any changes on the LDAP Server page.
4.
To enable LDAP-SSL/TLS, click
SSL
.
5.
Configure the optional LDAP server information as needed.
a.
Type the root path of the search directory in the Search Directory Root field using Base DN
format. For example, DC=xerox, DC=net.
b.
If you select System, type the Login Name and Password used to access the server.
None
instructs the printer to access the server without providing credentials.
c.
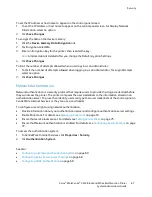
For Search Timeout, specify the type of timeout to use for the server. You can set the LDAP
server to limit the time or you can set the time limit manually in the seconds field.
d.
For Search Name Order, specify the method to search names.
e.
To enable the Network Address Book for the Scan to Email service, for Server Email Address
Book, select
On
.
f.
To enable the Network Address Book for the fax service, for Server Fax Address Book, select
On
.
6.
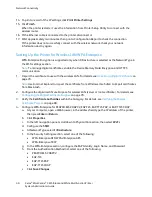
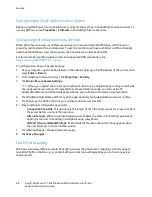
Click
Save Changes
.
Xerox
®
WorkCentre
®
3615 Black and White Multifunction Printer
53
System Administrator Guide

